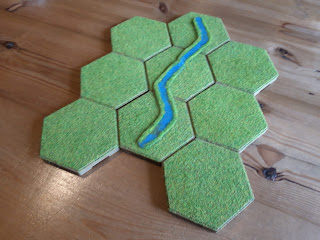
Another outing for the Neil Thomas ACW rules, and the third in my ACW Western Campaign. This time I wanted to try and fix the real estate problem I'd hit in the last game, and played it using hexes rather than a tabletop. Using a grid introduces some complications of its own, but also simplifies some things.
Bakers Creek/Champion Hill involved Grants Army of the Tennessee surprising Pembertons Confederate garrison of Vicksburg marching to join up with Johnson. Pemberton was drawn up on Champions Hill, with its flanks resting on rough ground, but Grant identified a route around Bakers Creek on the right and was able to move some divisions right around behind the CSA flank.
The closest battle to this one in the One Hour scenarios was Scenario 7, 'Flank Attack'.
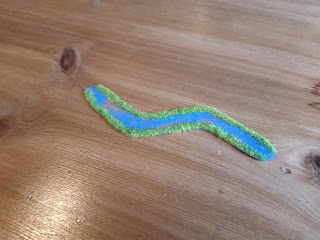
Battlefield from the east, the suggested table layout bears an uncanny resemblance to the Bakers Creek battlefield.. Champions Hill is the big hill on the far side. Bakers Creek is on the top right but the creeks are just for show. The only significant terrain feature is the dense woods hex (which funnily enough is almost exactly where it was on the real battlefield, as is Champions Hill. The other trees are just scatter terrain.
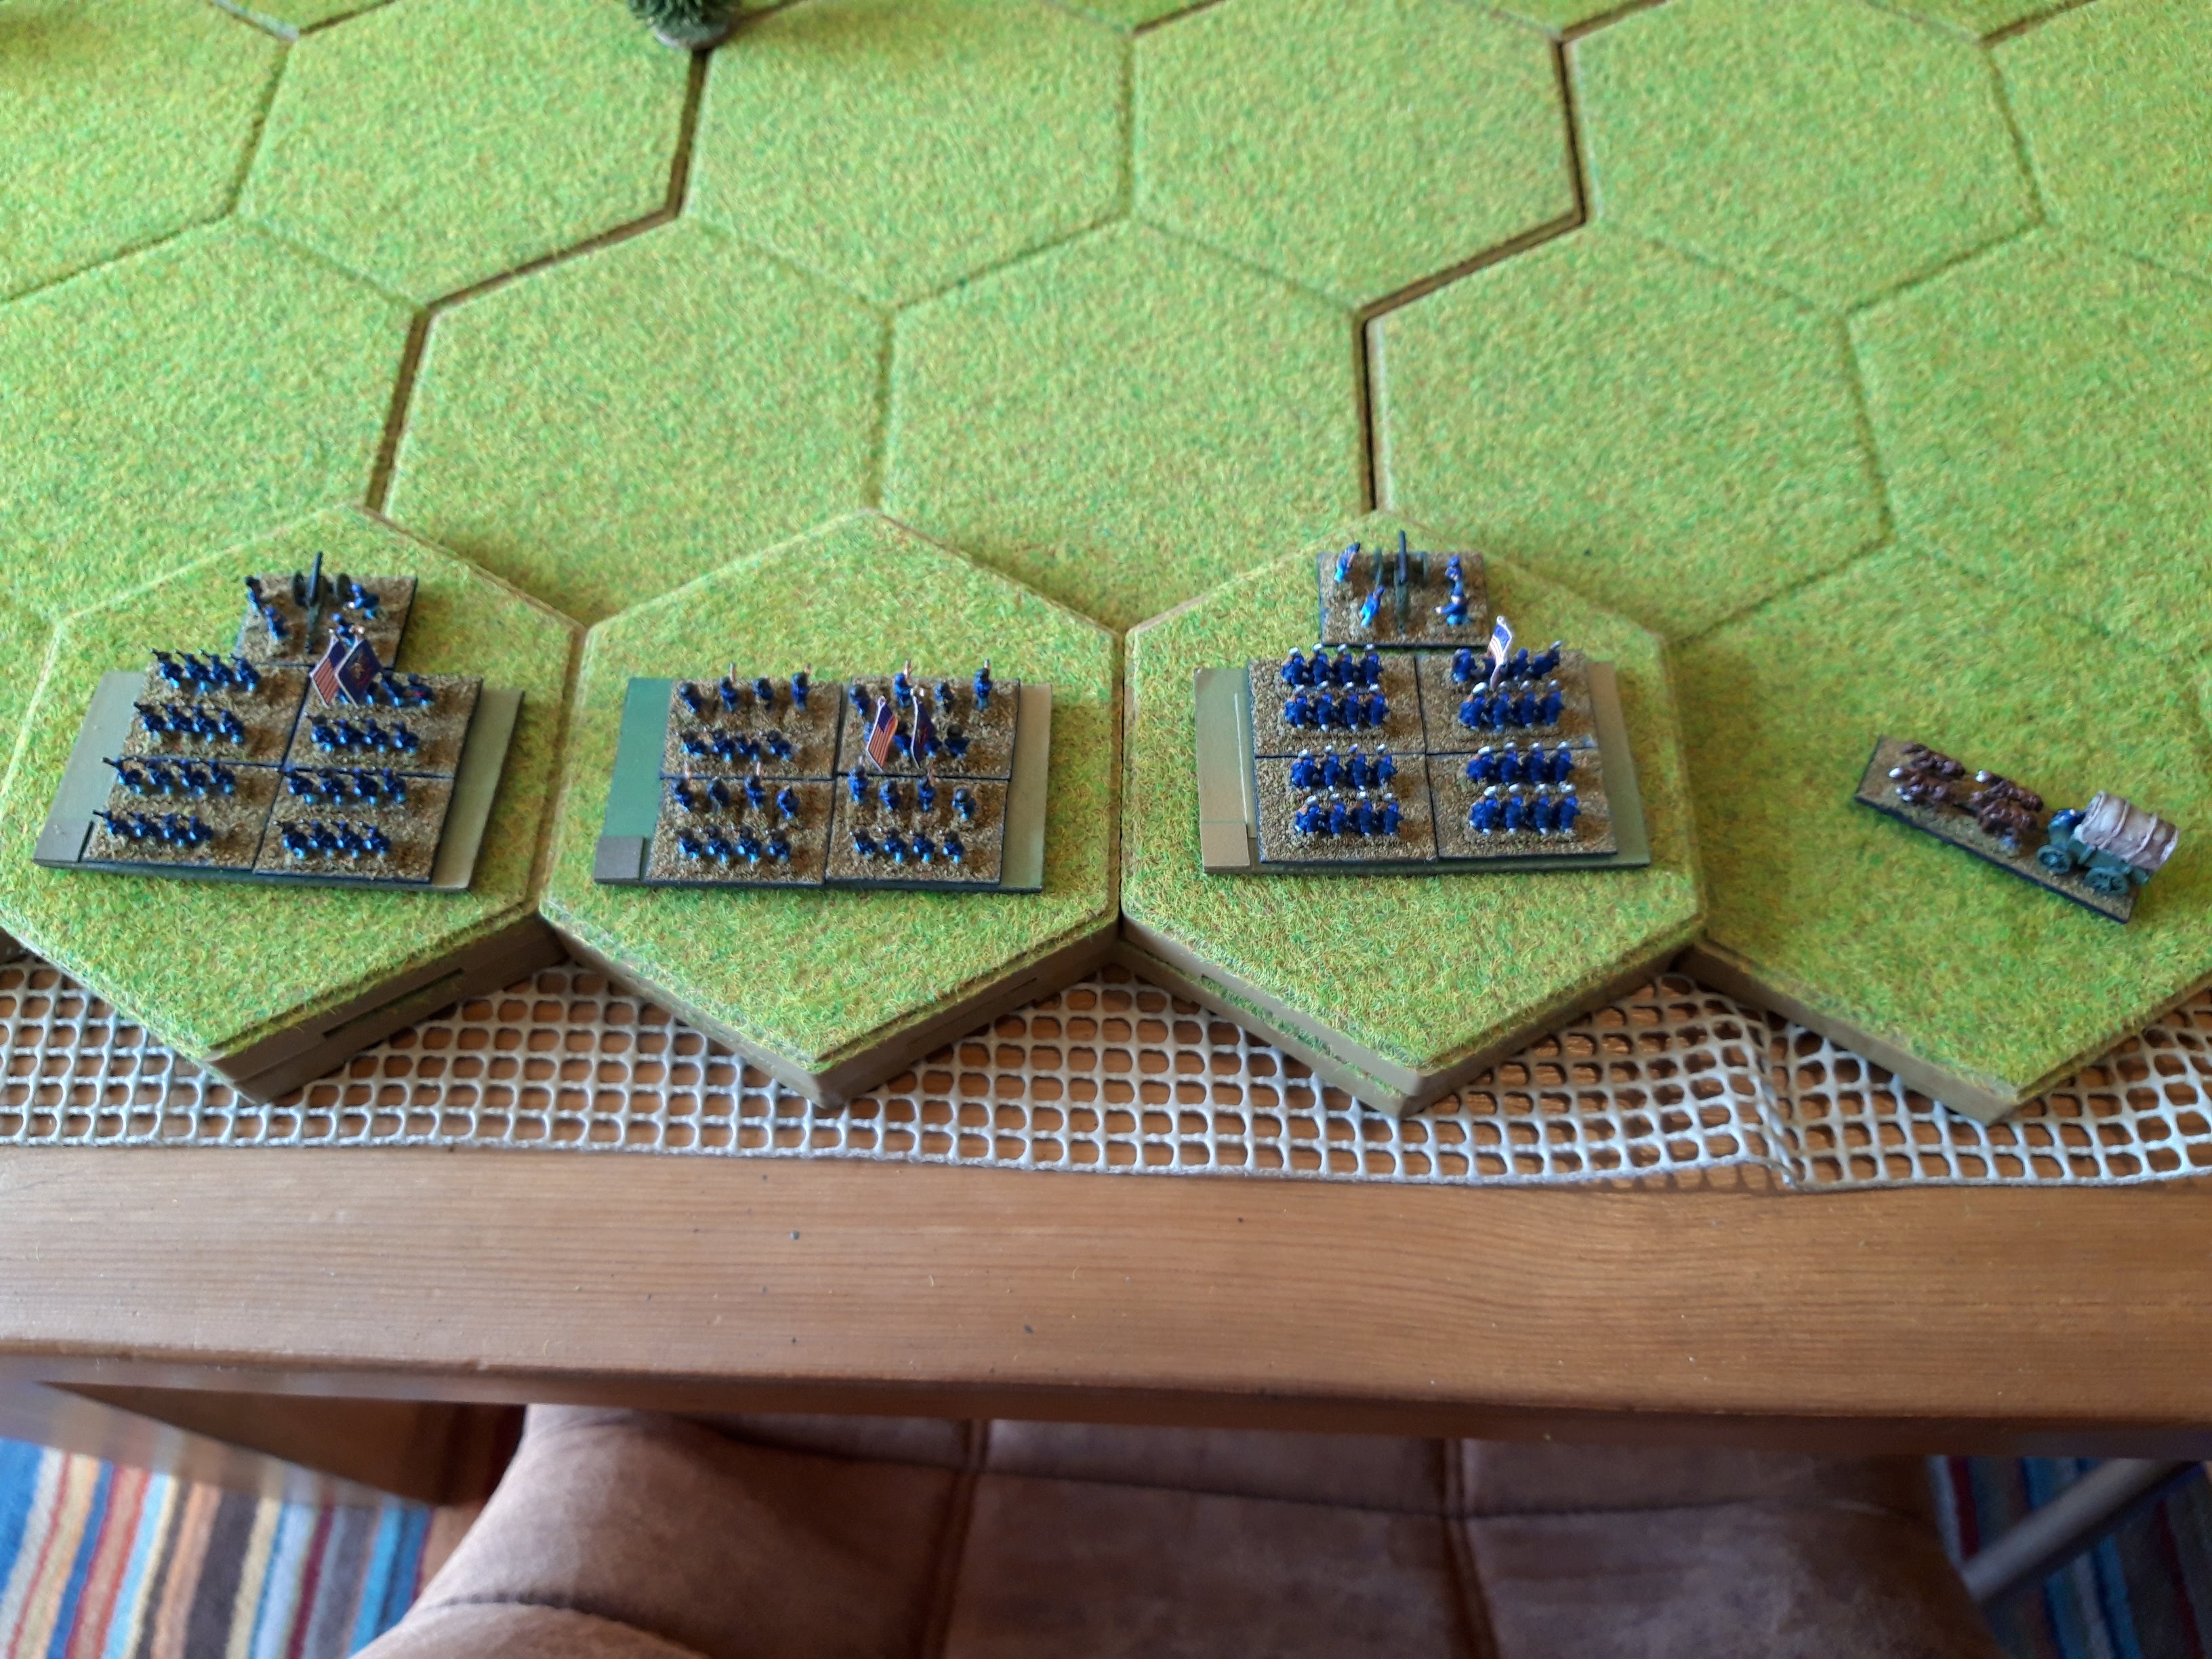
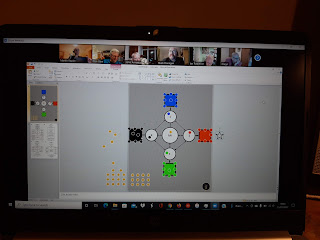
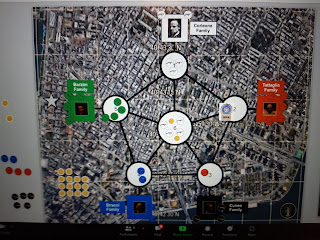
General setup of forces as per the scenario suggestion. Some US forces on the hill nearest, the rest around the right flank near Bakers Creek. The CSA are all on Champions Hill facing south.
One seasoned and two green US infantry, supported by two Parrot guns. Each unit roughly corresponds to a US division (they had eight in the real battle but one was very small). These units are a very klong way from Grants leader figure, so may have some problems activating for movement. I chose the Parrots as they have an opportunity to fire right across the valley and are more effective at long range than Napoleons.
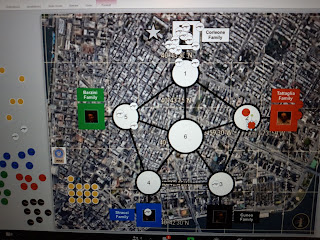
To use hexes I allow one unit plus a gun to stack, the gun is 'protected' by the unit, so the unit takes hits first. Units can face hex sides or vertices, allowing a range of movement options and firing arcs. Each hex corresponds to roughly 4" on the tabletop.
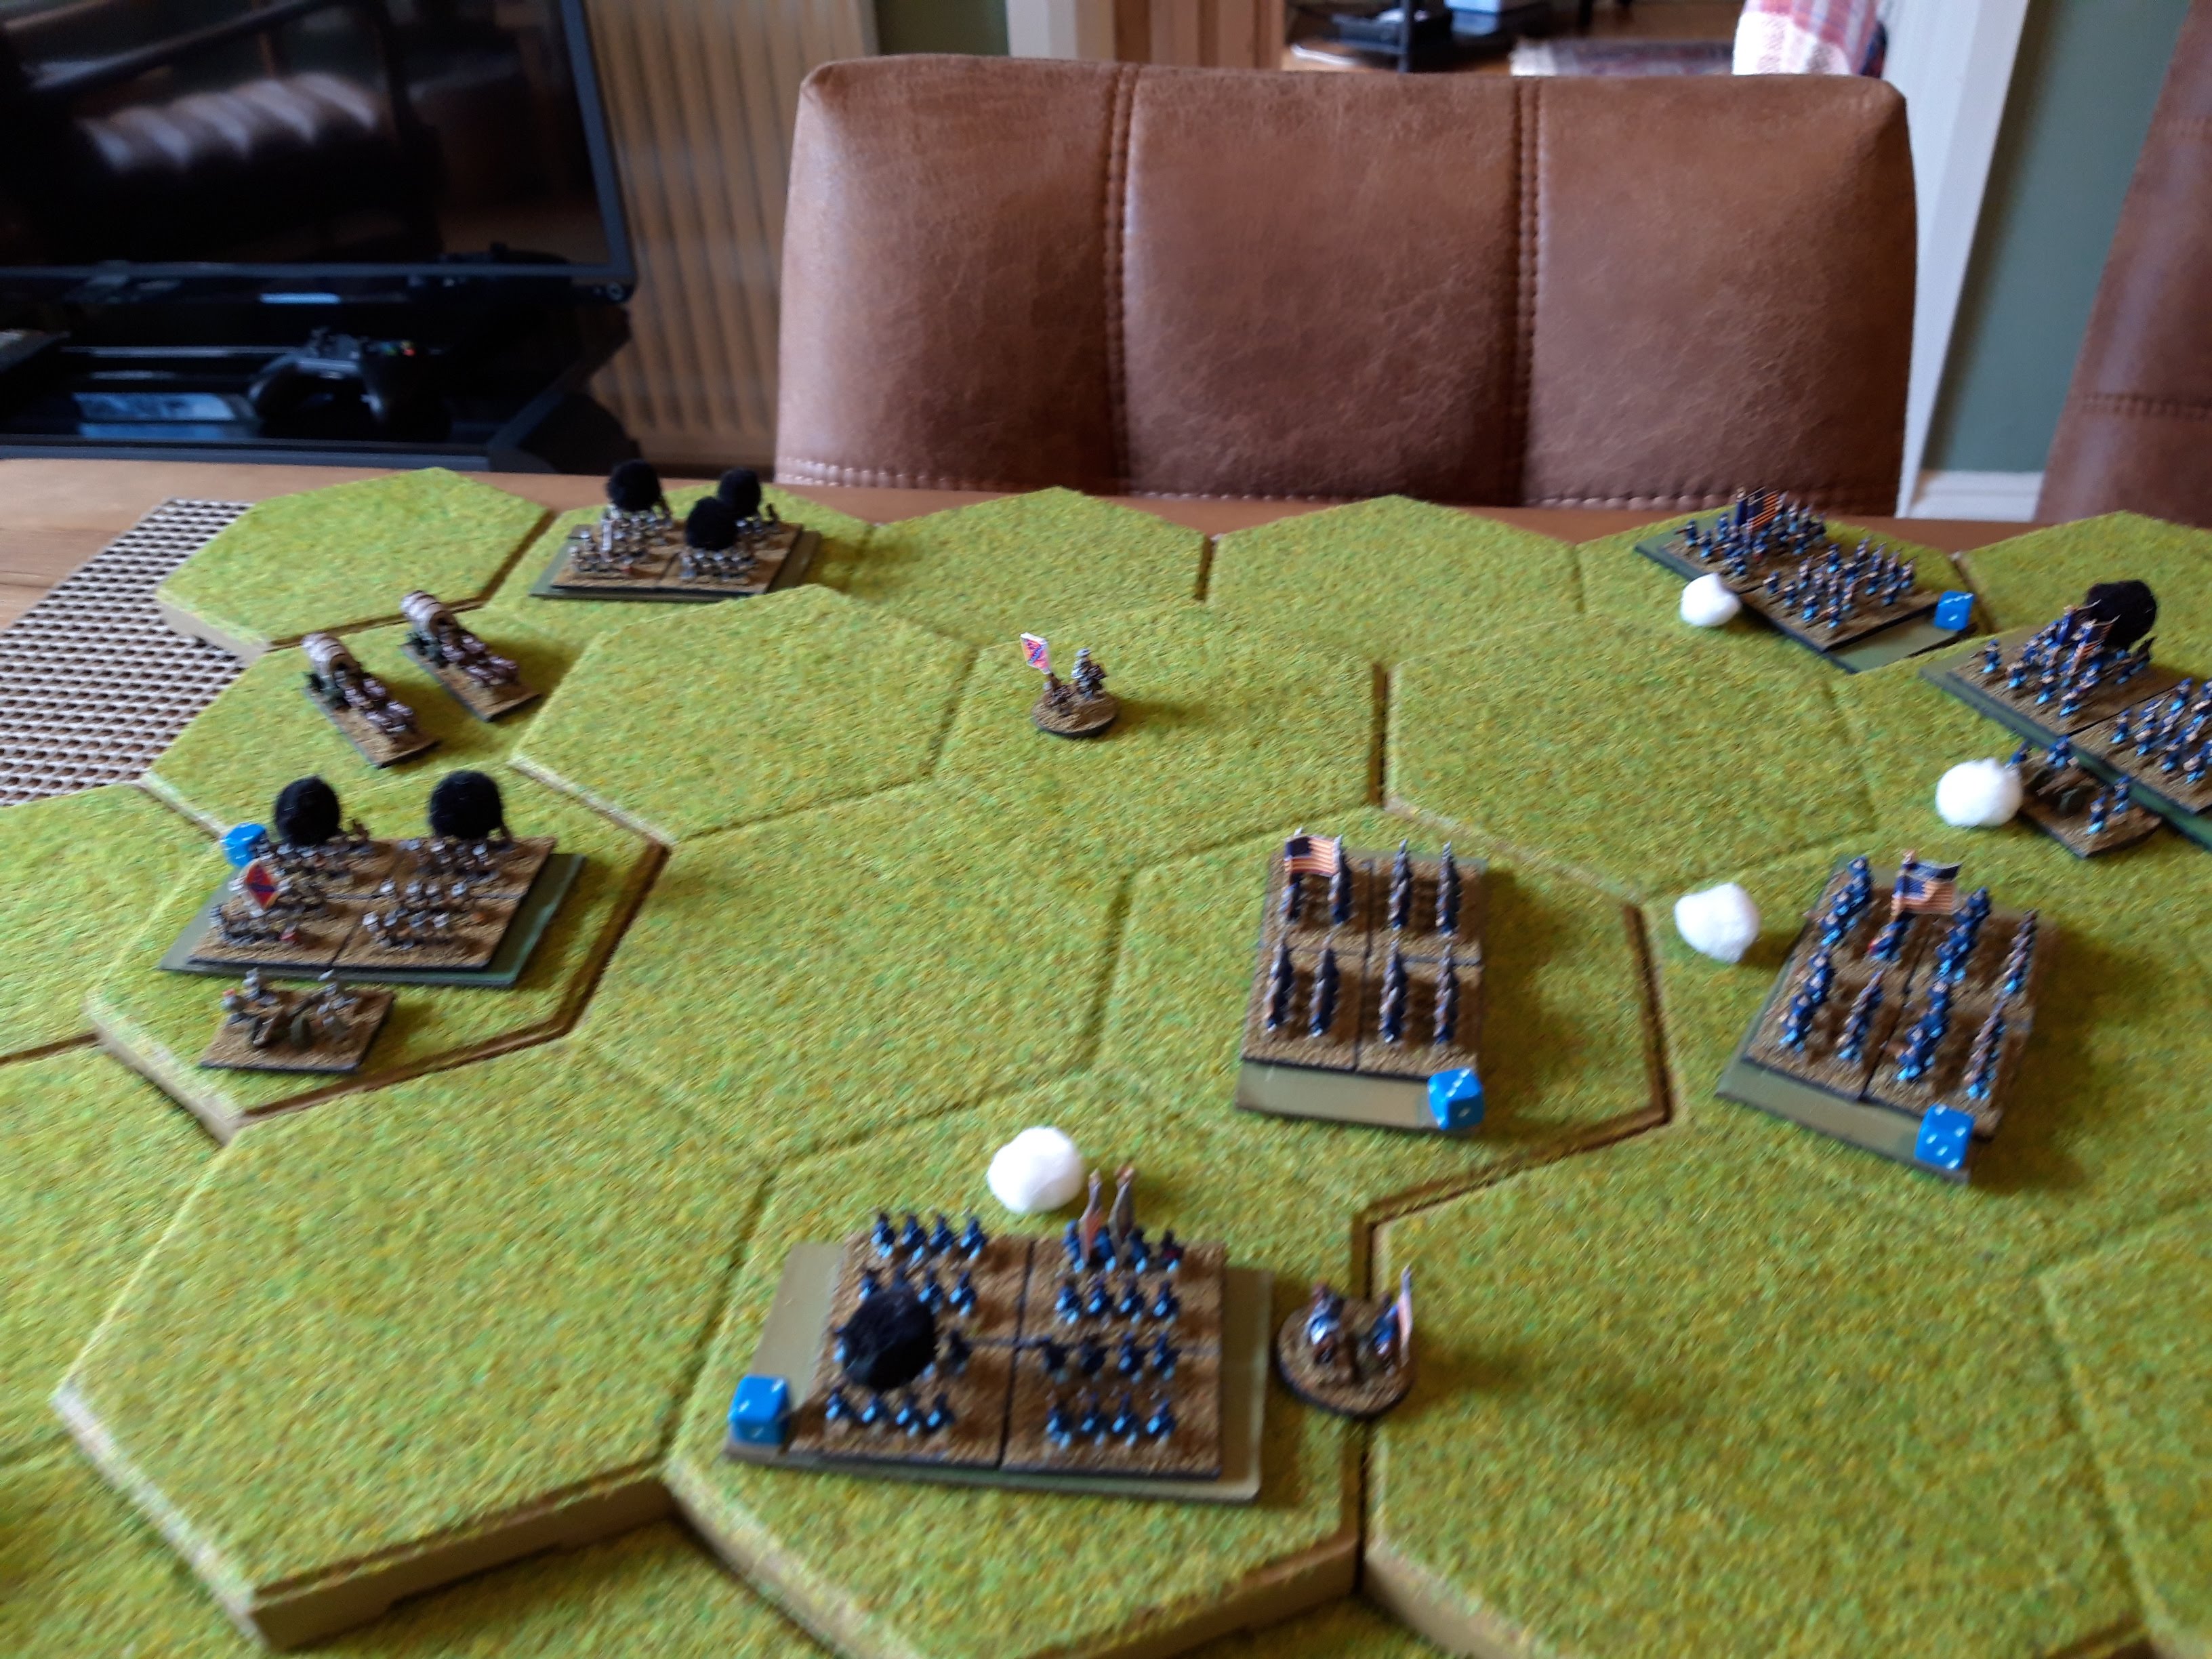
The CSA. irl they had three divisions, so assume each unit is half a division. They have got two Napoleons in support. The CSA quality is higher and they have two Green, two Seasoned and two Veteran units. The seasoned units are on the right, the veterans in the middle and the green troops on the left.
The main problem they have is that they have to deploy on the hill facing south, and I've put them away from the crest on the right to protect them from flanking fire. Hopefully they can turn as the US troops attack from the flank, which is also why the Napoleons are split between two lines.
The US outflankers. irl this was only two divisions but the scenario calls for two thirds of the attackers to be here. I compromised and deployed four infantry and one Napoleon here. The US have more troops as their average troop quality is lower, and their better units are here. Three Seasoned and one Veteran infantry. They have a Napoleon as it will need at advance with them and it may be able to fire cannister at close range. Grants command figure is also here, positioned in the wood so he can see everyone.
The battle opens with the US artillery firing across the valley. 9th, 10th and 12th Divs all make their activation rolls and advance into the valley. The only CSA response is the single gun on the ridge which opens fire. I've reverted to the low power artillery as suggested by the rules (one dice per base), it is often enough to make a difference but without dominating the game. I'm assuming the infantry divisions have attached close support batteries.
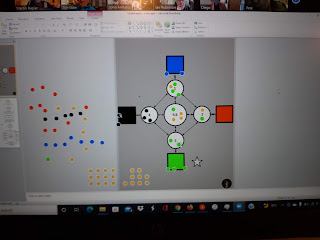
Things are more exciting on the hill. The US forces charge up the ridge, but the CSA deployment means none of them get to make an assault and the Confederates are protected from any prep fire. The downside is that they have given up some of the ridge without a fight. The CSA units turn to face the US units and one of them fills the gap in the line in the centre. All these CSA units are veteran or seasoned. You'd almost think I'd planned it that way...
Unfortunately because they turned, the US units get the first fire and a withering volley rings out, including point blank cannister fire. 9th, 10th and 12th Divs march to within rifle range of the CSA units on the ridge. The US fire inflicts serious losses on the Confederates and two of their units fail morale tests and retreat, although the (veteran) zouaves stand.
This raises a question about the order of retreats, and I decide to be kind and let the CSA do it in a way to avoid units being destroyed as they can't retreat. I've already binned the rule that the whole unit goes, instead they lose another base if they can't retreat (so more like the nineteenth century set). I also let them choose how far to go, as I've slightly upped the infantry movement rate, but it has to be at least one hex.
The CSA responds in kind with its own volley, although one of the retreated units (Bowans brigade) moves sideways to cover the rear. Pemberton goes to support the zouaves (Tilghman) who don't have a retreat route. The fire inflicts losses all along the line, but only one US unit loses a base - the green 9th Div, which passes its morale test on a 6.
More US fire pours in. More CSA bases are lost. Greens brigade on the left retreats due to losses, leaving the artillery exposed. The Confederate front line is now held by their two best units, Featherstone and Tilgmann, although the latter is down two bases.
The pounding continues, 3rd US Div loses a base but also rolls a 6 for morale. The other US divisions have all taken moderate losses.
The entire US Army is now firing and the Confederate position suddenly doesn't look very healthy.
With catastrophic results for the CSA units wedged into the angle of the line. Both Tilghman and Taylors brigades are destroyed, while Green is forced back again. All the Confederate guns are left isolated and Pemberton is also suddenly all on his own!
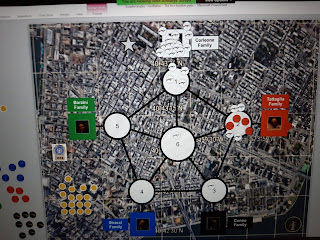
The Confederates fall back from the exposed position on the eastern ridge and form a hedgehog on the southwestern side of Champion Hill. A brigade moves up to support the northern gun, and the other gun falls back to join Green. All this moving around means there aren't any opportunities for firing apart from the northern gun.
The CSA units on the northern side of the ridge are outgunned 2:1 now.
But in the east the US are forced to climb the ridge to get at the Confederates. 9th Div fails its activation roll but 10th and 12th Divs move up onto the ridge.
Which masks the batteries on the eastern hill. Doh. One of them just has a shot at extreme range.
The concentrated US fire removes another Confederate brigade. The remaining CSA units blaze away at the new targets.
The artillery fire manages to push back the US Zouaves with significant losses.
The rest of the CSA fire is fairly ineffective, and the US try and assault the isolated CSA gun. Two units fail their charge morale tests, and the division in the far west fails its activation roll. I've reversed the morale tests for charging, so green units are more likely to charge than veterans (Paddy Griffiths noted that it was the more experienced units who were reluctant to charge frontally). It doesn't change the odds markedly, seasoned units still nee a 5+, but veterans need a 6 and green units 4+.
The 10th Div is attacking the flank of the guns so doesn't need to test and charges in, although this blocks some of the other US units.
The unsupported guns are overrun and US fire pushes back Bowen again.
There isn't a lot the CSA can do now, so they just stand and fire. This is enough to push 9th Div back again.
US return fire destroys another Confederate brigade and pushes the other two off the ridge.
The Confederates re-occupy the southern end of the ridge and their remaining guns managed to knock a base off 12th Div. But they roll a 6 for morale and stand (12th Div are green).
Time to wrap up. 9th and 12th Divs are both green, and both pass their charge morale checks and pile into the remaining CSA units. Their defensive fire inflicts some losses but not enough to stop the Yanks. The other US units move up in support and the charging divisions win both attacks and push the Confederates back off the ridge. Close Combat really is a crap shoot, but both US units had more combat dice than the Confederates.
Bowen and Green try to return the favour in a last ditch attempt to regain the ridge, but Green fails his charge morale test.
Bowens brigade is gunned down by the US defensive fire and disintegrates. Greens small arms fire is ineffective. There is a reason why units became more reluctant to charge as they became more experienced!
By now half the US Army is in position to fire on Green and his brigade disintegrates under a hail of fire.
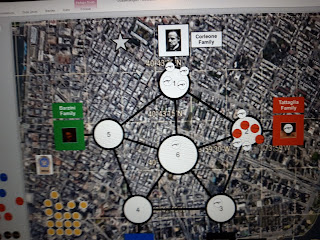
Final position, a very comprehensive US victory. Although their units had taken casualties, no complete brigade had been removed, while the entire Confederate army had been routed.
Flank Attack is a very hard scenario for the defender (it is based on Leuthen) and I have never seen the defender win in more shooty periods, although I have seen a defender win in the Ancients set. It was remarkable how the OHW Flank Attack scenario terrain mapped onto the Champions Hill terrain as outlined in GDWs 'Battles of the American Civil War' though.
It occurred to me that I might have been better off putting the CSA units on the northern edge of the hill as even with exposed flanks, they would still have an uphill advantage in close combat and it would give them a bit more real estate. Otoh, it would expose them to shattering fire on the first turn and they would still have to turn to face.
The rules mods to play on hexes worked very well, and I was much more pleased with them than I expected. Playing the game threw up a few questions around LOS and facing, but nothing out of the ordinary for imposing a grid. The best solution seems to be to allow units to face all 12 potential points, with no turning at all allowed for charges. Allowing artillery to stack worked really well, and it produced and interesting dynamic where one of the command decisions was whether to move forward to 'save' unsupported guns or to pull them back. The low dice guns also worked well, so I'll leave that alone. Using the firepower equivalent of Simplicity in Practice (where guns produce as much fire as an entire infantry unit) would have completely changed the flow and feel of the game. It means essentially I can field several artillery models for each side without unbalancing things.
I'll stick with the hexes for the next battle in the series, Chickamauga, so watch this space!