After my various playtesting experiments, I put the Jarama game on for the Sheffield regulars via Zoom. The setup was the same as I'd used for the playtests, and players seemed happy to go with the historical deployment. The only real change was that the Nationalists put one of the Pz 1 detachments with Barcuelos cavalry, and the Republicans concentrated a bit more artillery around St Martin de la Vega.
I had six players for this one, The Nationalists were Tim G (General Orgaz and overall CO), Pete (East Division) and Simon (West Division). The Republicans were John (Overall CO and Republican War Council), Mark (General Pozas and Central Army Corps) and Jerry (General Miaja and assorted Communist and International Brigade units). I did this in 15mm using my elderly collection of mainly Peter Pig SCW figures.
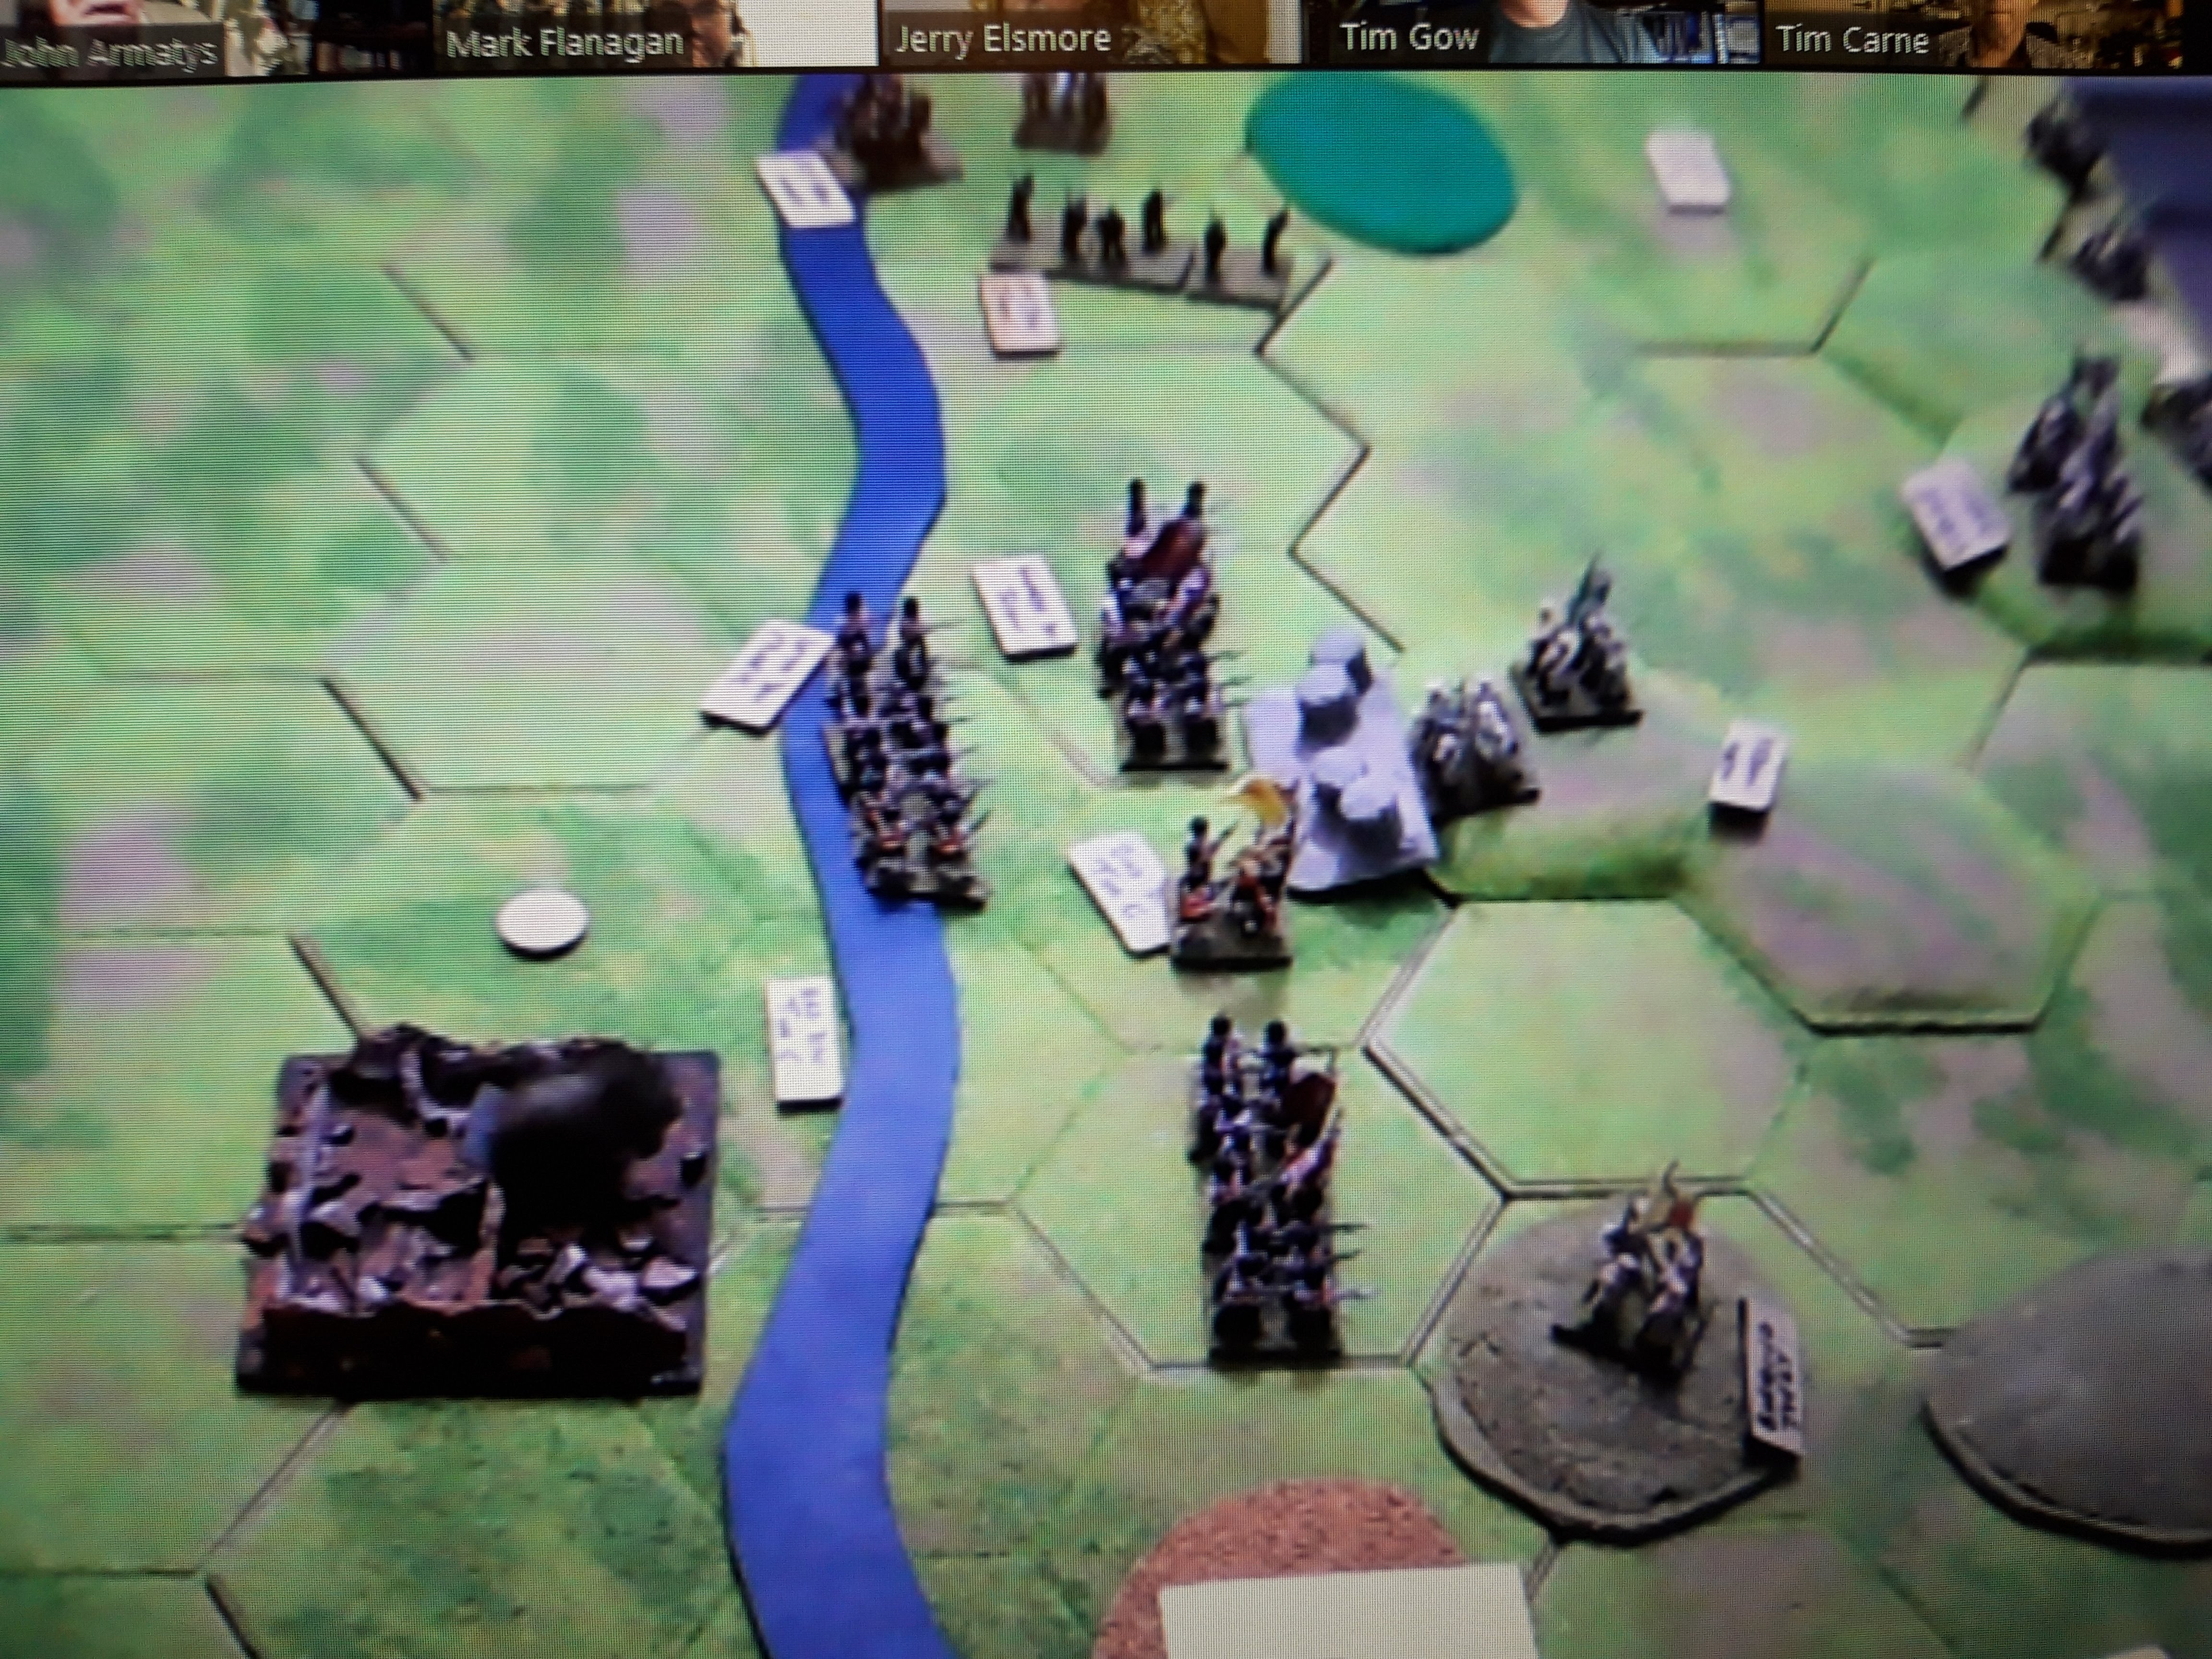
View from the West. Unlike the playtests, I used two bases for each infantry unit, which gave a better impression of how crowded the battlefield was. As Tim observed, it was quite 'busy', but the massed Nationalists had plenty of space to deploy, while the Republicans were strung out in a long line apart from their concentration around St Martin and Ciempozuelos.
The vital road from Madrid to Valencia on the far side of the Jarama. I used 6mm terrain with 15mm figures for this one. Heresy! In fact those bridges are Irregular 2mm ones...
The Nationalist East Division under Pete. Confusingly this was in the north. I am sure the designations of the higher formation of the Army of Africa made more sense when they were back in Morocco. The actual manouvre units employed with the 'brigades' which late rmorphed into entire divisions but I had enough stuff to keep track of already. Petes units have little white magnetic labels on.
In this sector the Republicans had four brigades dug in (each with less strength than a single Nationalist regiment), supported by a field gun brigade. Barcuelos cavalry brigade and its accompanying Negrillos can be seen in the centre-right. I made some temporary Nationalist insignia for the panzers out of sticky labels rather than deface my nice Panzer Grey tanks.
Simons West Division (with little blue labels) faces off against the Republicans around St Martin. The Republicans had four brigades on a two hex front here, plus two field gun brigades as they were determined to hang onto the road to Toledo. The Nationalists had six regiments in three brigades here, plus their field guns and Condor Legion 88s in support.
View from St Martin. Ciempozuelos has two brigades in it plus field guns in support. A tough nut!
The Republic is a bit thinner on the ground in the north. Historically the boundary with Miajas Corps was here, but I put the whole front under Pozas to try and reduce at least some of the command confusion.
Republican planes provide limited air support, and the horse carts provide an alternate supply route. I left the Pe 2 in its Soviet colours. I normally use 6mm planes for teh SCW (in the right colours!) but I wanted my new Zvezda planes to have an outing.
Condor Legion Ju52s. No, I didn't repaint this either and my 6mm Nationalist SM79s and Heinkels stayed in the box. The bad weather limited the impact of airpower, but occasionally a few extra air delivered SP made a difference.
The Nationalists attacked along their entire front. In the far north Legionaries and Regulares supported by Ju52s and Panzers pushed the Republicans back to the supply road. In an exciting development, the Cavalry/Panzer group even manged to conduct a successful exploitation attack, making use of their better mobility on the plain.
The Nationalists launched and all out attack on Ciempozuelos to try and reopen the road to Toledo, while Legionaries made a spoiling attack on St Martin.. The Republicans threw in their planes in support.
After a couple of days fighting, the Republicans were finally ejected and driven back into St Martin. The handful of aircraft were shot down (I blame the Condor Legion 88s) but that Nationalist brigades had all sustained some losses.
In the north the Republicans fell back, trying to reorganise as they went but not having time to dig in as the Nationalists followed up.
On the 8th Feb the Republicans managed to take the initiative, and used the opportunity to break contact and fell back over the Pindoque bridge. Pavlovs tank brigade arrive from Madrid and the tanks rushed to hold the river line.
By now the Republicans has lost half their brigades overrun and didn't have enough troops to hold a continuous front, so the Nationalists slipped their cavalry over the Manzanares, putting them adjacent to the vital road to Madrid. Ooops! In the absence of any organised opposition, Nationalist cavalry patrols entered Viaca de Madrid and cut the road. The rest of the Petes troops stopped to reorganise.
View from the Nationalists side. The infantry and panzers have recovered most of their hits, but one Moroccan unit is stubbornly refusing to sort itself out. Sadly, the road through St Martin hasn't been cleared yet, so the Nationalist cavalry have outrun their supply lines, hence the yellow counter. Normally the horse cart could provide supply, but the river is bad going.
In the south the Republicans fell back over the river and reorganised, while the Nationalists followed up. The Road to Toledo was now firmly in their hands, but they needed to open up the route further north (indicated by the green counters).
The Republicans had manged to extract their two remaining brigades on this front, and all their artillery. Both infantry units were back to full strength and now defending the river line. Not a pleasant prospect for the Nationalists. The only bright spot was that the attempt to demolish the bridge only lightly damaged it, leaving it passable.
We broke for the night at that point with three days fighting complete (6th-8th Feb).
The weather broke on the 9th which grounded everyones planes and turned the rivers into torrents. The Nationalists were unable to cross except at bridge, so both sides used to opportunity to redeploy, reorganise and dig in. The Nationalists rearranged their forces for an an opposed river crossing, and cleared their lines of communication but the supply situation for the cavalry deteriorated further as the flooded rivers blocked what little supply had been available before. The Republicans meanwhile moved Pavlovs tanks north to protect the road and dug in at the Pindoque Bridge. Their demolition attempt failed (irl the bridge lifted into the air and landed back on its supports!).
In the south the Nationalists reorganised and moved up their artillery, while the Republicans dug in and sidestepped a brigade to occupy the entire range of hills along the Jarama. The front was restored, but where were Miaja and the Communists?
On the 10th the weather cleared and fighting resumed. Legionaries and Panzers piled across the bridge, but were repulsed! The militia and Assault Guards jeered as they fell back.
Things didn't go so well at St Martin however, and the massed Nationalist attack supported by almsot all the artillery and aircraft forced both the bridge and heights behind. A mixed force of Legion and Regulares occupied the far side of the bridge. The flank support attack was repulsed by Milicianas however and the river was choked with corpses.
With the heights captured, all that Pozas could do was fall back and try to restore the line. The Republicans re-established the front while the Nationalists consolidated their gains, moving one of the Panzer units into the bridgehead to suport further attacks.
With the Nationalists well over the Jarama, Miaja was finally released from the defence of Madrid and Lister and El Campesinos divisions of (relatively) well equipped Communists and International Brigades piled on. These units were a very different prospect to poorly armed and understrength militia in Pozas's Corps. Lister moved three brigades up to seal off the Jarama bridgehead, while El Campesino put another three brigades into the north to secure the Pindoque bridge. This freed up Pavlovs tanks and two battalions of T-26s relocated to the south.
The front in the north was now fairy secure and although Barcuelos cavalry were back in supply, their chance had gone and they dug into their bridgehead over the Manzanares and waited for someone to build a bridge.
In the south however, the arrival of Pavlovs tanks prompted Posas to launch an immediate counterattack before the Nationalists had a chance to dig in. Three Popular Army brigades with a mix of Assault Guards, Army, Militia and Milicianas supported by 30 tanks and every gun which could be brought to bear surged up Suicide Hill.
View from the Nationalist side. Both Moroccan units have taken hits, and a few dozen Panzer 1s probably isn't going to help much.
Battle is joined! Combat was so intense it made the camera shake! The panzer crews found out the hard way that bullet prof armour isn't much use against 45mm guns. The adjusted combat values were 15:14..... to the Nationalists. The terrain modifiers and artillery support were just enough to tip the balance in the defenders favour and the Republican assault was repulsed. What a pity, but it will look fabulous in the film.
At this point the weather broke again. A real shame as it meant I couldn't use my shiny new SB bombers which had turned up to support Miaja, but put them on the table anyway. With the break in the weather, we called it a day at that point after seven days of fighting.
In the south the Nationalists had two brigades firmly across the river, and more importantly, a formidable line of guns in support. The Republican troops had the bridgehead sealed off with a thin line of troops, but Listers division was on the way so the Nationalists were unlikely to make much more progress.
In the north the front had also stabilised along the river line. El Campesinos troops would ensure the security of the river and the Nationalists would need to think about how many resources, if any, to commit to the bridgehead over the Manzanares.
That seemed a pretty good place to stop. In the far north the Nationalist had done a bit better than Orgaz did historically and had actually cut the Madrid-Valencia road, albeit briefly, but they had failed to take the Pindoque Bridge and open up a significant foothold across the Jarama, whereas in the real battle the Nationalist heavy guns ended up on the hills southeast of the bridge.
In the south the result was pretty historical, the Nationalists created a decent sized bridgehead in the face of strong opposition but the terrain and balance of forces made it a tougher proposition in this sector given the available artillery support they are likely there to stay, but the poor terrain makes any further advance unlikely without leaving their guns behind.
From a game point of view, it worked OK and we got through seven days of fighting ending in a plausible result. The weather played a key role in both the game and real battle, so I semi randomised using cards instead of a dice. In reality there were two days of torrential rain, so I made up a deck of nine cards with six overcast, two rain and one clear and drew them each turn. It was just a bit less random than a dice throw, but still unpredictable.
The stop/start nature of fighting in the SCW came across well with periods of intense fighting followed by lulls as both sides sorted themselves out again. I didn't bother trying to explicitly model command confusion, there was plenty of that in the game anyway due to the lack of any real force structures in this period. The main issue was that each side just operated as a random collection of semi independant brigades, which made keeping track of things quite hard and it was certainly harder work to run than Kasserine or Goodwood (despite the vastly larger forces in both of those). Later in the war, units operated more effectively as Divisions and Corps, which will make things easier to manage. Many thanks to the players for taking part, and I particularly enjoyed the discussions it prompted about wargaming the Spanish Civil War.