Saturday, 28 January 2017

Hillman

Many years ago I was struck by accounts of the early fighting in Normandy about the difficulties posed to the British attempts to take Caen on D-Day by the strongpoint codenamed 'Hillman'. The position is still there, located on the 'Rue de Suffolk' south of Coleville on the back route into Caen and Tim visited it in 2004. 

Anyway, after 17 years of planing and research, I finally got around to putting on a game of the Suffolks attack on the position, which followed on from the game I put on before Christmas covering the assault on Coleville and 'Morris'

The game are covered two map grid squares (approx 2km x 2km), and once again featured the plucky heroes of the Suffolks, supported by 76 Field Regiment and 246 Field Company Royal Engineers. Against them was the ominous looking Hillman position, known to contain two German regimental headquarters as well as artillery observation posts overlooking the invasion beaches (Sword Beach is a couple of map squares to the rear).

I ran this with my 15mm toys using Johns 'Battlegroup' rules, somewhat modified by myself. The action kicked off at around 1300 hours on 6th June 1944. John commanded the Suffolks, Jerry reprised his role as artillery commander, Tom took the assault infantry companies and Tim got to push some tanks around.


The battlefield from the south. The Suffolks will form up around Coleville, the previously captured German positions visible in the distance. Over in Hermanville to the west the KSLI and Staffs Yeomany are building up to drive down the main road to Caen, which they can't do until Hillman is cleared.


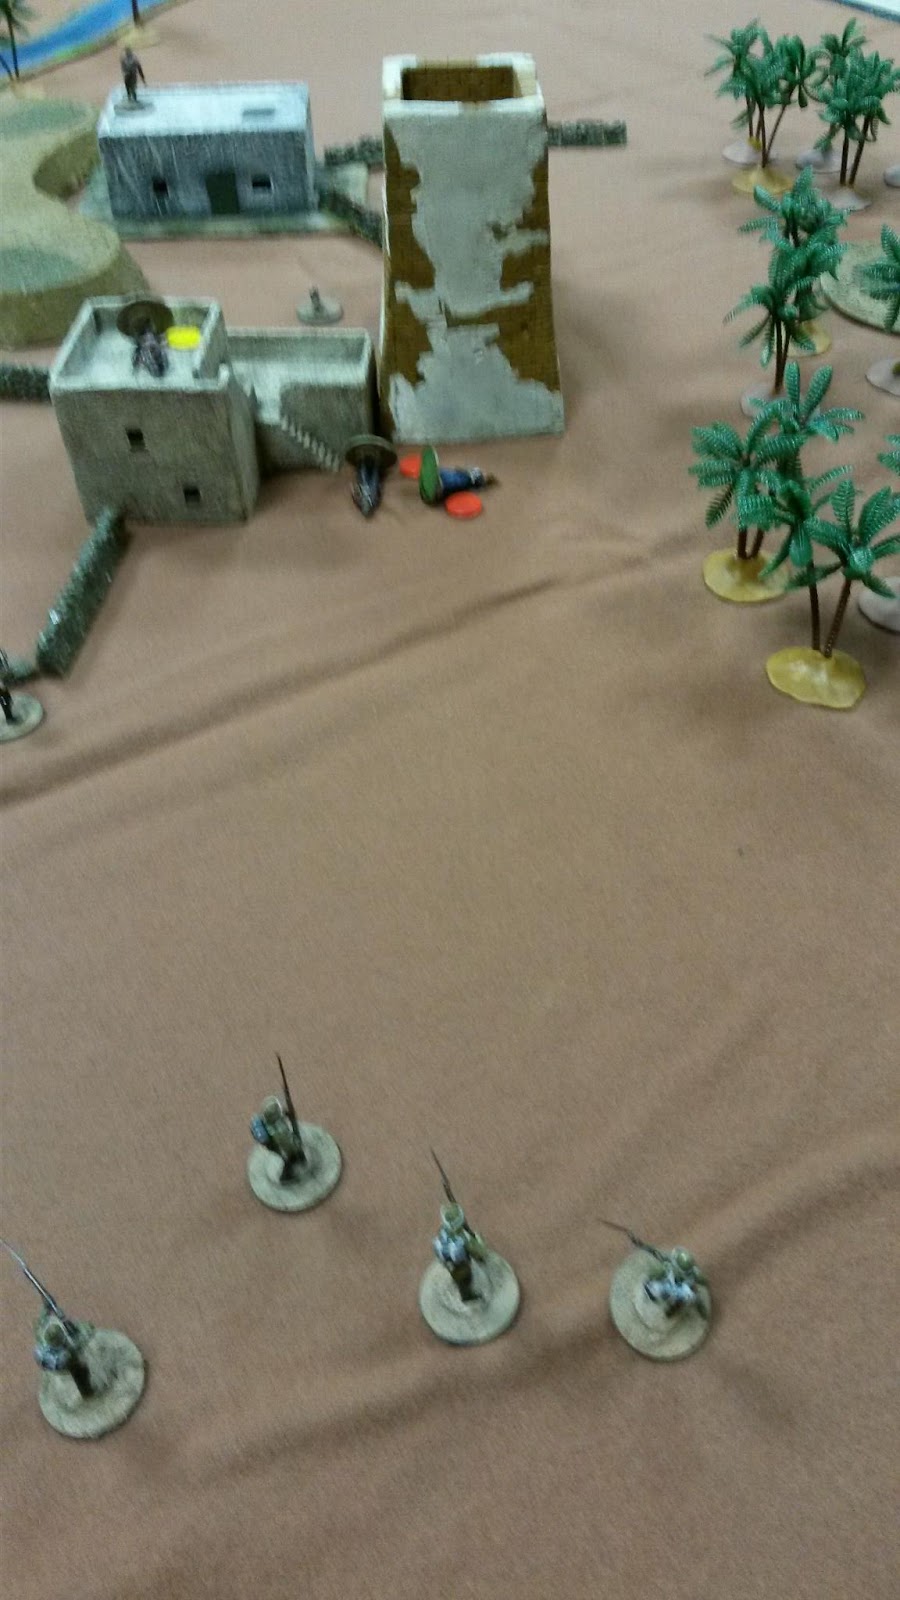
The Suffolks move out from Coleville. Left flanking covered by bags of smoke. I was a little disappointed that Jerry got out of his nice shiny OP tank and decided to scramble up the church steeple instead.


Oooeer. Ju 88s from KG56 make an appearance. Unlike their historical counterparts who were shot down in flames by Spitfires over the beaches, these actually made it through the defending fighters and the massed AA fire of the Royal Navy, only to dump their bombs ineffectively in the sea. Masterful flying by Tim as temporary bomber pilot.


A squadron of the South Staffs rolls on, along with a stray troop from 13/18th Hussars.  Nice bit of unexpected support for the Suffolks. The battalion mortar platoon and attached MMG platoon are also visible here.


The Royal Artillery lay down some covering fire. Meanwhile German artillery fire covers the exit from Coleville, one platoon is pinned down but rapidly recovers using the stone buildings as cover.


A full squadron shoot from the Shermans is quite impressive. The infantry move up under cover of the barrage.


A German AT bunker opens fire on the Shermans. They respond with massed HE fire to suppress the position.


Over on the left flank, a German pillbox opens fire to no effect, but the German artillery plasters one of the infantry companies. The ditches around the field provide decent cover but the company HQ is knocked out.


A gunnery duel ensues. The artillery bunker engages the Shermans, knocking one troop out, while artillery provides covering fire as the engineers to use bangalore torpedoes to clear the wire and mines (the great big explosion). Some German interval troops pop up and suppress one rifle platoon.


Over in front, things are getting a bit sticky. The German 10cm guns engage and disable another troop of Shermans and catch a rifle company in the beaten zone.  The infantry have fortunately been digging in and are protected by their shell scrapes.


Over in the far corner, direct fire from the AT platoon and HE fire from the atillery has failed to suppress the armoured pillbox. However, the battalion assault pioneer platoon has managed to get through the cleared path, soon to be followed by an infantry platoon.


The Assault pioneers failed to close with the unsuppressed pillbox, but the infantry distinguished themselves by knocking the pilbox out with their PIAT while the Germans interval troops are suppressed by mortar fire.

We called it at that point, as once the British had broken into the position, it was just a question of mopping up each bunker. In the actual battle, the last Germans didn't surrender until 0730 on 7th June as the position was fortified to a similar level as Fort Douament at Verdun with underground concreted tunnels etc.

I think this went rather well and rolled along at a fair old pace. I had originally imagined gaming the fighting to clear the trenches and bunkers too, but it would essentially have been a slow fire & movement slog, so I think ending the game at  the point the British broke into the fortification was the right thing to do. One again 'Battlegroup' worked well and produced a believable result, which is always a good sign. 


Saturday, 14 January 2017

Kartenspiel

One of the lesser known games in Phil Sabins 'Simulating War' is Kartenspiel, partly because it is buried in the appendices. It is an attempt to model a Napoleonic battle as a card game, in the style of Clausewitz (who observed that war is very much like a game of cards, with its mix of calculation,bluff and limited knowledge).

The game system is designed for ten(!) players, but I reckoned as a minimum I could get away with four. This was good, as I had four players at the club Christmas games day. The battle is abstracted out as four (opposing) Corps sized engagements, and the forces are allocated to each side as playing cards, each representing a division of infantry or cavalry. Initially the CinC holds all the cards, but then allocates some of them to each Corps. Once allocated, they are committed and cannot be recalled so the CinC has to deploy his forces wisely and keep a reserve. The Corps commanders then simultaneously  decide whether to attack or defend, and once all attacks are declared, the battles are resolved. It is only at this stage that the forces allocated to each Corps are (briefly) revealed. Battles are entirely deterministic, the side with the most combat power wins and if they double the enemy, they inflict an extra loss. An attacker can never lose more than three divisions in a battle and a defender can never lose more than two, so combat tends to be quite attritional.


I couldn't resist having a tinker around with it, one major thing missing was any consideration of terrain (something which shapes any battle) and also explicit representation of artillery which was assumed to be factored into each division. I added some simple terrain rules, and also allowed each side a single 'grand battery' which didn't greatly affect the outcome but did explicitly represent the third arm. I also couldn't resist using some toys, so I marked up a battle board into four zones and dragged out my Austrians and French.

Tim and Russell took the French (on the left above), Graeme and Jerry the Austrians (right).  


After a few turns of pounding,this was the French left/Austrian right. Lots of forces sucked into the IV Corps sector, while a couple of Austrian divisions hold a village opposed by the French grand battery.


The slugfest in IV Corps merely resulted in lots of casualties. The French had more luck against the village, gradually whittling the defenders down with repeated assaults supported by their guns. Alas it was in the woods of I Corps that the battle was decided. The French committed all their reserves in IV Corps in a huge effort, but the Austrians opposed them with enough strength to hold them up, while attaining a critical force superiority against the lightly held woods. With no reserves left, the French could only watch as they eventually managed to break through.

The saving grace was that as neither side had any reserves left at all, there was  no French rearguard, but neither was there an Austrian pursuit, so the French just fell back to lick their wounds and reorganise.

This seemed to go swimmingly well, and the rock/paper declaration of attacks/defences and cavalry charges was hugely entertaining as the Corps commanders thumped the table and the respective Army commanders looked on and hoped  they would make the right decisions. Russell actually threw away a chance to take the village on the last turn, much to 'Napoleons' fury, but c'est la guerre.

Thoroughly recommended, and one of the better simulations of mass nineteenth century warfare I've seen, especially the ability of subordinates to utterly mess up the CinCs carefully laid plans, and with not a dice in sight. Great stuff.

This will probably be making an appearance at COW.

Sunday, 18 December 2016

Zvezda Pz 38(t)

I felt the need of a spot more early war German armour, partly with an eye to Arras, partly with an eye to Barbarossa. I just could not resist these beautiful Zvezda Pz 38s, after all, who doesn't love a Pz 38, with all those lovely rivets. At £2.50 each (in a special deal) these guys were hard to beat.


I was only going to get three, but then I thought, what the hell, and got six. Coupled with my Pz IIs, Pz IV D/Es and PzBehfl III, that is enough for a whole battalion.


More of a close up of its angular loveliness. As with all the Zvezda kits this snapped together in a few minutes, the only slightly odd bits are the machineguns, but they look fine from a distance.


Engine deck, turret rear etc. The rivets stand out quite nicely here.


For this one I bodged up a commander from a PSC kit and just made up a hatch cover from plasticard. The hatch aperture is pretty small in real life, so I just cut the figure off flat and stuck it down and you can;t see that there isn't an actual hole in the turret.

I just did these in plain Panzergrau over a black, so good for 1939 to early 1943. I used Vallejo Panzer Grey, but it is ludicrously dark so I ended up lightening it with some added white. The turret decals are Battlefront, and otherwise I just heavily drybrushed the tracks and running gear in mud and finished the whole thing off with a very light overall drybrush of Vallejo Iraqi Sand.

These are lovely models and I'd recommend them to anyone. In fact I liked the some much, I then went and bought a load of Zvezda Pz IIs and Pz IVs to replace my elderly metal Peter Pig ones. Oh dear, that is going to be a slippery slope...

Saturday, 10 December 2016

The Man who would be Rich

Tom put on this Afghan Wars skirmish game using a variant of the 5Core Skirmish rules. It was set up on the frontier and featured a stuffy and unimaginative British Colonel, a horde of revoltighmn natives and a daring and raffish ex-Lieutenant, Ahem. The good Lt had got it into his head that it would be a great idea to kidnap the Colonels wife, and demand a ransom for her safe return whislt holed up in an Afghan village. The Colonel duly set out to retrieve his wife, whilst various dubious looking Afghan tribesmen assembled in the hills. 


The village in the distance. The cloth, river and hills are my own, the palm trees are mainly Tims and the buildings came out of the club terrain box. The profile mountains are also mine, and the whole thing looks rather smart I think.


The brave Lt and his mutinous gang in the village with lookouts posted. The Colonels wife is in the courtyard with her pet dog.


Rebellious Afghans assemble on the other side of the river.


The Lt leads the Colonels wife out for a parley with the British relief column, only to be gunned down in a hail of Martini-Henry fire! War crimes! Fortunately the wounds are not serious, however I suspect the Colonel will be in for a  bit of trouble when his wife gets home.


The British troops close in from the east and the Afghans from the west. The Colonels wife is left bleeding outside the compound while the Lt is retrieved by one of his men. The mutinous riflemen manage to bring down some Afghan horsemen.


With enemy closing from all sides, the Lt makes good his escape, pausing only to gun down another Afghan as the enemy start to break into the buildings.


Sadly he doesn't run fast and far enough. His accomplice is caught by angry Afghans and the Lt is left lying wounded in the hot sun by long range British rifle fire. Oh dear, we all know what happens to the Remains on the Afghan Plains. 

This was all great fun and very much in the spirit of Flashman et al. The Colonel retrieved his (somewhat shot up and very cross) wife, the Afghans got to chop up some infidels, and the Lt showed that crime really doesn't pay.

Saturday, 26 November 2016

To Boldly Go..

John laid on a Star Trek type game using his Planetside Sci-Fi skirmish rules. The USS Illustrious had detected an anomaly in the space-time continuum and went to investigate, but some wicked Space Goblins were also interested in the mysterious artefact. Jerry took the goblins, and myself, Tim and Tom the plucky Federation.


As is traditional, the entire bridge crew beamed down, accompanied by some red shirt security guards. This did not go very well as hordes of Goblins emerged to gun down the red shirts. 


Another party beamed in behind the Goblin firing line. This also didn't go very well as the tightly clustered target came under fire from rocket launchers.


The goblins formed a hedgehog around the mysterious artifact.


And despite (rather limited) planetary bombardment, stayed there. The artifact did not like being bombarded and disappeared making a strange grinding noise.

Well, that could have gone better. In fact we should have done almost anything apart from what we actually did, which was essentially to conduct a 'helicopter assault' into a hot LZ - with the bridge crew of the Enterprise. Maybe try scanning the area for life forms first, perhaps talk to the goblins, maybe beam the goblin commander up into the brig, maybe show them what 'kissing' is...

Oh well, that is that happens when you approach a scenario with 'wargame' in mind. I'd really like to try this again, and approach it with more of a Star Trek mindset. Lovely figures from John, which sound like an appalling ballache to put together.


Saturday, 19 November 2016

PSC 75mm LeIG

I already have a couple of  Peter Pig 1/100th 75mm infantry guns, but they are done up in late war colours and I felt the need for a few more suitable for the early and midwar period. I picked up one of the (astonishingly good value) PSC German heavy weapons boxes which includes four 75mm LeIG with a number of options including the Gebirgsjager variants.


I only made up a section of two in the standard tyred configuration to start with as I may want to make some spoke wheeled ones in future. Here they both are, lined up to provide fire support from the dining table.


These are beautiful, crisp models with loads of detail, and unlike metal guns, are really easy to stick together. I hate assembling metal guns, I wish they were all made of plastic.


I just did them with a couple of crew as these guns are tiny. I was fortunate enough to handle the real example at Shrivenham, and I'm not sure I could crouch down behind the miniscule gun shield.


The crew are from the figures included in the box, I just did a gunner and loader. For plastic figures these have quite deeply moulded detail, which takes a drybrush very well. The helmets are a little squashed, but at normal gaming distances this isn't noticeable.

I'm never really sure what colour to paint early war German equipment, I used to paint mortars, guns etc faded panzer grey but the Shrivenham LeIG is done in RAL 6006 (Feldgrau) so thats what I did these in. I rather think an 88 or 105 would look a bit silly in RAL 6006, but these look ok, and with a bit of a dust highlight, it all sort of blends in anyway.

I really can't recommend these highly enough, and as with all the PSC heavy weapons offerings they are astonishing value and very high quality, at least compared to their metal counter parts. If only Zvezda did their guns in 1/100th too, I'd be a happy bunny.

Sunday, 13 November 2016

Merry Men of Sherwood

John put on this interesting medieval skirmish game using Jim Wallmans Men at Arms 'one brain cell' rules. It was a complex multi-player featuring myself as the Sheriff of Mansfield and Graeme as the local Reeve of the Manor upholding the peace against a distinctly dodgy looking  band of outlaws led by Jerry.

Messing things up for everyone was local dignitary Sir John Bassett who had invited the King to go deer hunting.

The field of strife. Jerrys outlaws were supposed to be up to no good in the vicinity of the mill. Some deer are grazing peacefully in the distance.


The Kings hunting party comes thundering, oblivious to everything else. A large hunting dog is in attendance.


Meanwhile, in the village my chaps and the Reeves men mill around. I suppose if we were trying to lure the outlaws into a trap, this was probably not a good idea...


After a while we figured out where the outlaws were and formed up outside the village. The white cards are order chits for the leaders. They can only issue very simple commands, the main one being 'follow me'.


Over on the edge of the forest, the outlaws have shot some deer and hope to grab the carcass before the knights can intervene.


On the other half of the battlefield we continue to plod along


By the skin of his teeth Friar Tuck manages to grab the deer and make it back in the forest while the knights look on.

This was really good fun, and the command system worked extremely well. Only being able to do one 'action' per turn meant the leaders had to really focus on the important things and the forces of law and order probably spent far too long sending each other messages to try and co-ordinate our forces. Even though not a great deal 'happened' it felt very busy and there was always stuff to do. I'd recommend the system to anyone, and many thanks to John  for putting on such a pretty and enjoyable game.