This was a playtest of the NBC WW2 scenario I'm planning on putting on at Winter VCOW 2021. I wanted something which was fairly manageable for a single session, but which featured a combined arms operation with enough manouvre units to make it interesting. The desert games I was running last year were a bit big for the camera, so I also wanted to try something on a small table.
Command Decision came to the rescue with an interesting scenario covering a US RCT from the green 84th Div attacking the Westwall in November 1944 near the village of Lindern, garrisoned by elements of 10th SS Panzer Division. It fitted nicely into a 6x6 hex grid, with each grid being 800m.

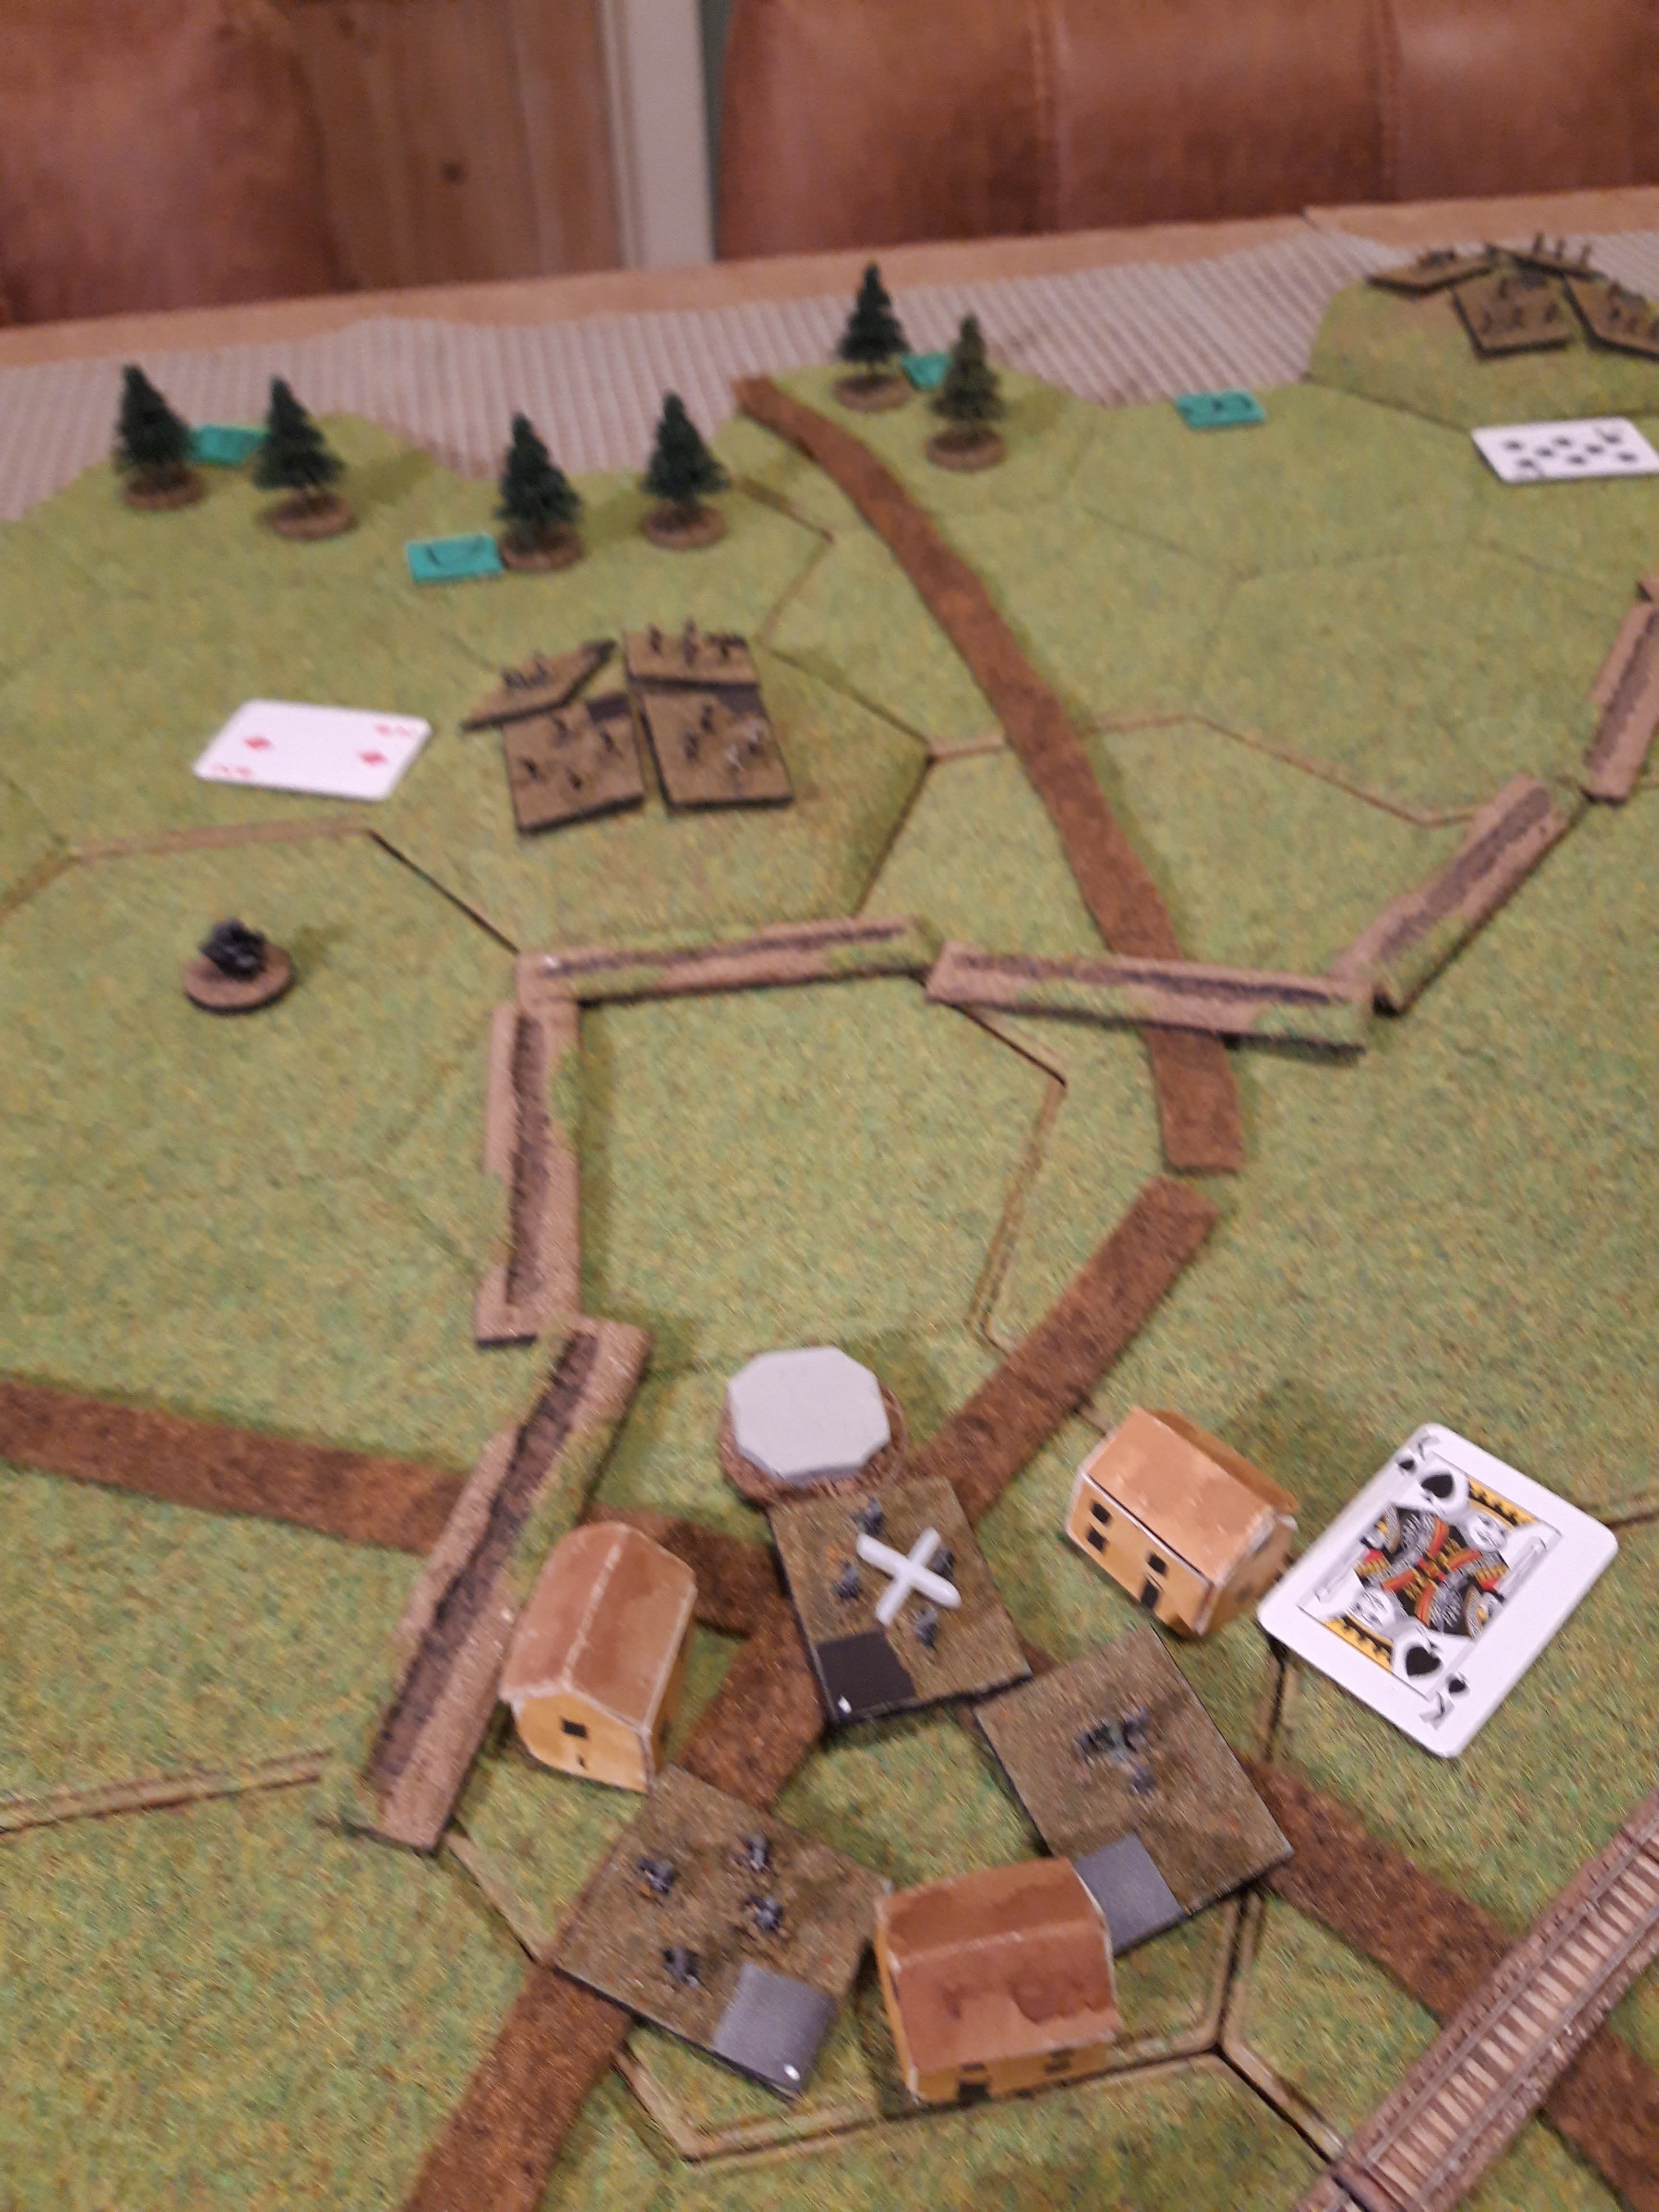
Battlefield from the east. Lindern in the foreground, with two major features, the railway line on a riased embankment to the rear, and an AT ditch snaking across the front. This is the last of the Westwall defences in this sector.

Lindern. The village is heavily fortified and garrisoned by a couple of SS panzergrenadier companies and some mortars and AT guns. The KG HQ is parked up behind the railway embankment. There was only a single battalion from 21st SS PGR in this sector, but they had so many heavy weapons it was more straightforward to model them as two small battalions, each with a weapons company. They were at full strength as they had been replenished after Arnhem, prior to taking part in the Battle of the Bulge in a few weeks time.

The north was secured by another SS KG with three companies on the heavily fortified 'Toad Hill'. This was one of the key US objectives as it outflanked the defences further north. One of the US battalions is occupying the hill opposite. The US Corps artillery shelled the German positons for two days beforehand, which cleared away any wire and mines, but the AT ditch and concrete bunkers survived.
In reserve the Germans had a small KG from 9th Panzer Division with a single company of panzergrenadiers and a platoon of Tigers from 506th SchwPzAbt. The rest of 9th Panzer was re-equipping for the Bulge. The 506th was also slated for the Bulge but supported the Westwall defences by committing odd platoons of tanks here and there, including the combat trials of the Jagdtiger. Nasty.
Tim G, Pete and Tom took the Germans.

The first wave of 335th RCT. Two infantry battalions with three rifle companies and a weapons company each. I factored the regimental AT company into the weapons companies to keep the element count down. The US had another battalion in reserve, as well as a battalion of Shermans supported by a company of armoured engineers and two battalions of artillery, including one of 155mm howitzers.
Tim C, John, Simon, Jerry and Mark took the US.
The action opened with Jerrys battalion occupying the hill in D2. Simon stayed on A1. Both sides exchanged mortar and artillery fire. irl the US moved up under cover of darkness to their jump off points without a prep barrage to take the Germans by surprise and got very close indeed. Petes battalion in Lindern suffered some losses from US Corps artillery, despite their concrete bunkers.

Simon was content to call in artillery fire on Toad Hill for now. The US were hampered in the real battle by poor communication due to bad weather, and the US artillery in the game was quite erratic.

Both sides were lucky with their reinforcement rolls. The 9th Panzer KG came rolling down the road (rather slowly thanks to the Tigers who failed their move roll for a second hex).

And Marks US tank battalion came on, and decided to lurk in the woods at E1. I was a bit concerned at this point that the US were being too passive, but it turned out that they had a cunning plan.

Johns reserve infantry battalion and the RCT HQ now turned up, so all the US forces were now on the table. This was Jerry's cue to start marching northeast, where he came under fire from the troops in Lindern as well as German artillery fire. Meanwhile Tigers and their accompanying infantry motored onto the hill in F4.

Things started hotting up on Toad Hill. Jerrys battalion took some losses but US 155s suppressed the Germans in their concrete bunkers.

The panzers on Hill F4 were suddenly faced with a 'target rich environment' as John and Marks battalions surged forward. The Tigers picked off some Shermans.

The German defenders on Toad Hill were still suppressed and suffered some losses from artilery fire. They did however manage to repulse Simons assault from A1 - the US marched into the valley, took some fire, and promptly broke and fell back again! It was too fast for me to even take any pictures. Jerry worked his way forward however.

Over in the south, the waves of US infantry and tanks rolled on forward. Mark threw his tanks and halftracks forward in an armoured overrun attack to negate the range and armour advantage of the Tigers. He passed his morale check, and then made his movement roll....

And in the the vicious close quarter fighting the Germans were overrun! The US didn't get off lightly however, and were left at half strength, the field littered with burning Shermans and half a dozen knocked out Tigers.

Meanwhile Jerry assaulted Toad Hill, his troops had been serious attrited by German defensive fire, but an assault would negate much of the cover provided by the bunkers.

Sadly his weakened troops weren't sufficient to carry the position. The US infantry scattered and the battalion disintegrated, and the SS held on, albeit at 50% strength.

Over in the south the US found that trying to push armour through a dense forest wasn't going to work. The US troops all jammed onto hill F4, under artillery, mortar and AT fire from Lindern.

Now it was Simons turn, and his battalion set off across the valley again, covered by artillery fire. The Germans managed to inflict some more losses but the US held on.

The 105s and 155s rained down on Toad Hill, suppressing the defenders, which was good news for the US infantry. The Americans had to pass a morale check to assault, and then a movement check, hampered by the deep AT ditch.

They made it however, and in a bloody close quarters battle, both sides took heavy losses. The SS were reduced to one damaged company, while the US were down to two damaged companies. Both sides morale was maintained and they hung on grimly.

Meanwhile John pushed his infantry through the forest, while the battered tankers fell back off Hill F4. German artillery managed to knock out the last of the Shermans as they withdrew.

In a final bloody conclusion on Toad Hill, the remaining SS were destroyed and the US were left with half a battered company among the wrecked fortifications. Toad Hill had fallen! The excitement made the camera shake.

Johns troops meanwhile pressed on with their flanking manouvre, but failed their move throw to enter the rail junction (the embankment is a linear obstacle). German mortars in Lindern chipped a hit off them.

In response, US artillery plastered Lindern, but with little material effect.

Next turn (the very last turn of the game), John managed to take the rail crossing and with both objectives firmly in US hands, it was declared a US victory.
That was a very satisfactory playtest, we rattled though the whole thing in an hour and fifteen minutes, so at VCOW the two hour slot should be long enough to allow for some preliminary blurb and a decent washup. At one point I was a bit concerned the US weren't going to make it, but it turned out they had a cunning plan, which was very effective. I also realised after the game that I kept forgetting to roll morale tests for units under artillery fire, I must make a mental note to myself for the game at COW. I'll also substitute a company of Pz IVs for the platoon of Tigers as the latter are so distracting. It is supposed to be a regimental level infantry game, not a tactical game for trackheads. The original CD scenario had also subbed Pz IVs for the Tigers, as I suspect given the terrain and the way tank combat works in CD, a platoon of Tiger IIs would knock out all the US armour in a couple of turns.

That wasa very enjoyable game- thanks for running it.
ReplyDeleteI hope everyone at VCOW enjoyed it as much.
Cheers,
Pete.
Thanks Pete. Yes the VCOW game went fine, albeit with a very different grand tactical approach by the US. Report to follow in due course!
DeleteThanks, a very enjoyable and gripping read! It also came at a pertinent time as I am looking at 6x6 or smaller games.
ReplyDeleteThe 6x6 worked surprisingly well. The relatively short move distances helped. I think the desert battles need a bigger playing area though (or lower unit density).
Delete