Showing posts with label Brown Bess. Show all posts

Friday, 30 June 2023

Marston Moor

 We've done Marston Moor before, but Russell missed out so John A put it on again. Russell is fairly familiar with the battlefield as he used to walk his dog over it!

The scenario is using Johns Pike and Shot Squared rules, run remotely over Zoom using Powerpoint to display and manipulate the toys.

I honestly can't remember who was who, I'll hazard a guess that me, Pete and Russell were Parliament and Tim G and John B were the Royalists. Something like that anyway. I do recall that I had Cromwells contingent as a subordinate commander, as I've played this one a couple of times before.


Prince Rupert is commanding the Royalist forces (blue) at the top, Parliament is in red at the bottom. My boys are the two lead cavalry on the left and the two infantry units on the left in the front rank. They are rather better than the raggedy Covenanters who are tagging along.

Rupert has a forlorn hope lining the hedge in front of us. The Royalists are outnumbered, but their troops are rather better.


First thing was to get out superior cavalry numbers into action. They moved up and shook out into line on each flank. The Parliamentarian infantry moved up, although a couple seemed to get left behind. Not sure what happened to them.


Ruperts infantry advanced over their Forlorn Hope, reabsorbing them and the infantry exchanged astonishingly ineffective musketry while the cavalry action got underway.


The first Royalist horse on the right break, but one of our chaps is routed too. Over on the left it is honours even. Our infantry are starting to win the firefight, although the second line has adopted a very exciting echelon sort of formation. 

The Royalist rear line isn't quite sure which way to go, and Rupert has got his reserve cavalry tangled up in an inconvenient enclosure.


Rupert had to take a break and John took the opportunity to show off his new Russian churches. Very nice indeed!


Back on the moor, Parliament is getting the upper hand. The Royalist cavalry is largely broken, and their infantry is looking very shaky.


The Royalists begin to collapse.


As the last of their cavalry routs, the few remaining Royalist infantry are looking distinctly isolated. Time to march back where they came from.

This is a tough scenario for the Royalists, but I do think they can win it, even if the odds are long. In this game they would have been better waiting for the Parliamentarian infantry to charge them, but there isn't much they can do about the cavalry imbalance apart from try and gain local superiority and beat them in detail.

Anyway, having unwisely offered this opinion, we swapped sides and did it again! This time Russell was Rupert and I commanded the Royalist infantry.

This time we let them come to us.


The Parliamentarian infantry took some losses from the Forlorn Hope as they advanced, while the enemy cavalry formed up on each wing.


Our infantry just held their ground, shooting away, although I re-aligned one of the second rank units to better cover the left flank. As we had local cavalry equality on both flanks, we charged. What else is Royalist cavalry going to do?


The cavalry battle began to go our way as they tardy Parliamentarian reserves moved up the far left. Their infantry overran the Forlorn Hope and ran straight into our infantry line. Personally I'd have rallied before advancing. 


We broke both the Parliamentarian cavalry on the right, and even Cromwells cavalry were forced to withdraw on the left. Most of the first line of Parliamentarian infantry were also broken now, and their second line was far too back to support.

Unfortunately the enemy reserve cavalry on the left managed to flank charge our victorious horse, breaking one of them. Still, this was looking much better than the same stage in the previous battle. 


Our infantry busily set about rallying while our cavalry re-focussed on the left flank. Cromwells cavalry were slowly reorganising.


The reserve line of enemy infantry now moved up.


And another firefight erupted.


At end game it was looking awfully like a draw. We still had our original five infantry left, plus three cavalry. Fairfax was down to four infantry and five cavalry, and Rupert was still in the field. Not exactly a shattering Royalist victory, but certainly much better than the previous three times we've done.

We were trying out some rules revisions in this game, particularly around interpenetration and cavalry pursuit, and I think the changes worked very well indeed. This felt much more 'in period' than some of the previous outings, which were still a bit Napoleonic for my taste. So much so, that I was inspired to have a think about retrofitting them to the Thirty Years War. Main challenge is how to model a Tercio and other large infantry formations, but I have some ideas.


Saturday, 27 May 2023

Naseby - twice!

 For our latest Tuesday/Wednesday Zoom session, John had produced a Naseby scenario for his Matchlock Squared grid rules.

Naseby was a showdown between the Kings Army and the shiny new New Model Army, although the latter still had a lot of bugs to shake out. For the game, Rupert was actually in command of the Royalists while the King looked serenely on from the rear. Fairfax commanded the Roundheads, while Cromwell galloped around with his cavalry.

Me, Pete and Russell took the Roundheads, Tim and Simon the Royalists. I commanded the infantry in the centre.


The Royalists are heavily outnumbered but their entire Army is rated as 'elite'(!). The Roundheads are more of a mixed bag. Iretons cavalry on the left are average, Cromwells boys on the right are also 'elite' whereas my numerous infantry are 'poor'. Oh, well, at least there are a lot of them. We also have some dragoons lurking in the enclosures to the left. Rupert is leading the cavalry on the Royalist right.


The Royalists shake out into line and march towards us. There isn't much else they can do, and it is what the Kings army did irl. Cromwells cavalry march out to meet them on the right. There isn't any particular benefit to multiple lines in these rules, but our deployment area is quite constrained, so we just have to grin and bear it.


The cavalry engage in melee on the right, which includes some slightly iffy diagonal moves. I'm increasingly unconvinced by 'in square' combat in these sorts of games as it produces some very strange positioning results. The rest of the Parliamentarians step forwards a square, including our Dragoons who are now nicely lined up.


Battle is joined. The Royalists just charge into contact along the whole line, relying on on their troop superiority. It is a bit scary as their infantry get five dice in combat while ours are only on  three. Our defensive fire doesn't make much of a dent.


The Parliamentarian infantry vanish like mist in the sun, while our cavalry on the left are doing surprisingly well, and Cromwell manages a flank attack on the right, routing one Royalist cavalry unit.


Although the Royalists have destroyed lots of Parliamentarian infantry, suddenly their flanks are looking very vulnerable and Ireton and Cromwell start to mop them up.


Suddenly it is all over, the cumulative Royalist losses means their army just collapses as the Cavalry rout, the infantry are just overwhelmed and Rupert is carried wounded from the field. It turned out to be a mini Cannae, just like the real battle.

As that was fairly short and sharp, we set it up again the next night with the sides reversed. I was the King this time, and Pete took the cavalry. Tim was Fairfax and Russell was Cromwell.


The Royalists went for another headlong charge, but this time shook their whole force out into line so they would all get engaged.


Cromwell got stuck in, but otherwise the Parliamentarians stood their ground. This time Rupert was on the extreme flank, which was perhaps a bit risky considering the lurking Dragoons.


The Parliamentarian defensive fire was less than impressive! Most of the Royalists units made contact with no or minor losses.


And soon there was a gruelling melee going on between the infantry, in which the superior quality of the Royalists told. The cavalry battle was all the wrong way round, Ruperts wing was losing heavily to Ireton, while Cromwells boys were taking a right kicking. As the Royalists were so heavily outnumbered I pushed the King and his escort forwards rapidly. 


The Parliamentarian centre collapsed and the victorious Royalist infantry pressed on the confront Fairfax himself. Perhaps the cavalry melee would prove to be irrelevant?


Ruperts wing collapsed and he withdrew wounded from the field, pursued by Iretons cavalry!


It was a real dog fight in the centre. The Kings Guard now engaged Fairfax, but the Royalist flanks were collapsing. Broken Parliamentarian infantry fled to the rear.


Fairfax was wounded and retired, but suddenly the Royalist Army fell apart, assailed from both flanks, with only the Kings Guard in any semblance of good order. Charles decided discretion was the better part of valour and withdrew from the field to join Rupert in the rear.

Those were both really close run battles, can the superior quality of the Royalists beat the more numerous Parliamentarians? , although in both cases it turned into a version of Cannae as the Parliamentarian infantry was driven back, exposing the Royalist infantry to being outflanked.

There are still some aspects of these rules I'm unhappy about, it is mainly the way the squares work, they are simultaneously far too restrictive but also allow far too much freedom of movement. I prefer the approach taken in 'Marston Less' where regiments are grouped into blocks  in either the centre or one of the flanks. The combat system in those rules leaves something to be desired, but in terms of the manouvre of formations, it is spot on. Having said that, Matchlock Squared produces a fast and decisive game, with plenty of dramatic moments, which is all you can really ask for isn't it. 


Friday, 14 October 2022

Marston Moor

 John put on a game of Marston Moor using his ECW version of Brown Bess. I got to play the Royalists (Prince Rupert no less), while Tim was the wicked Parliamentarians, which included a large contingent of Scots.


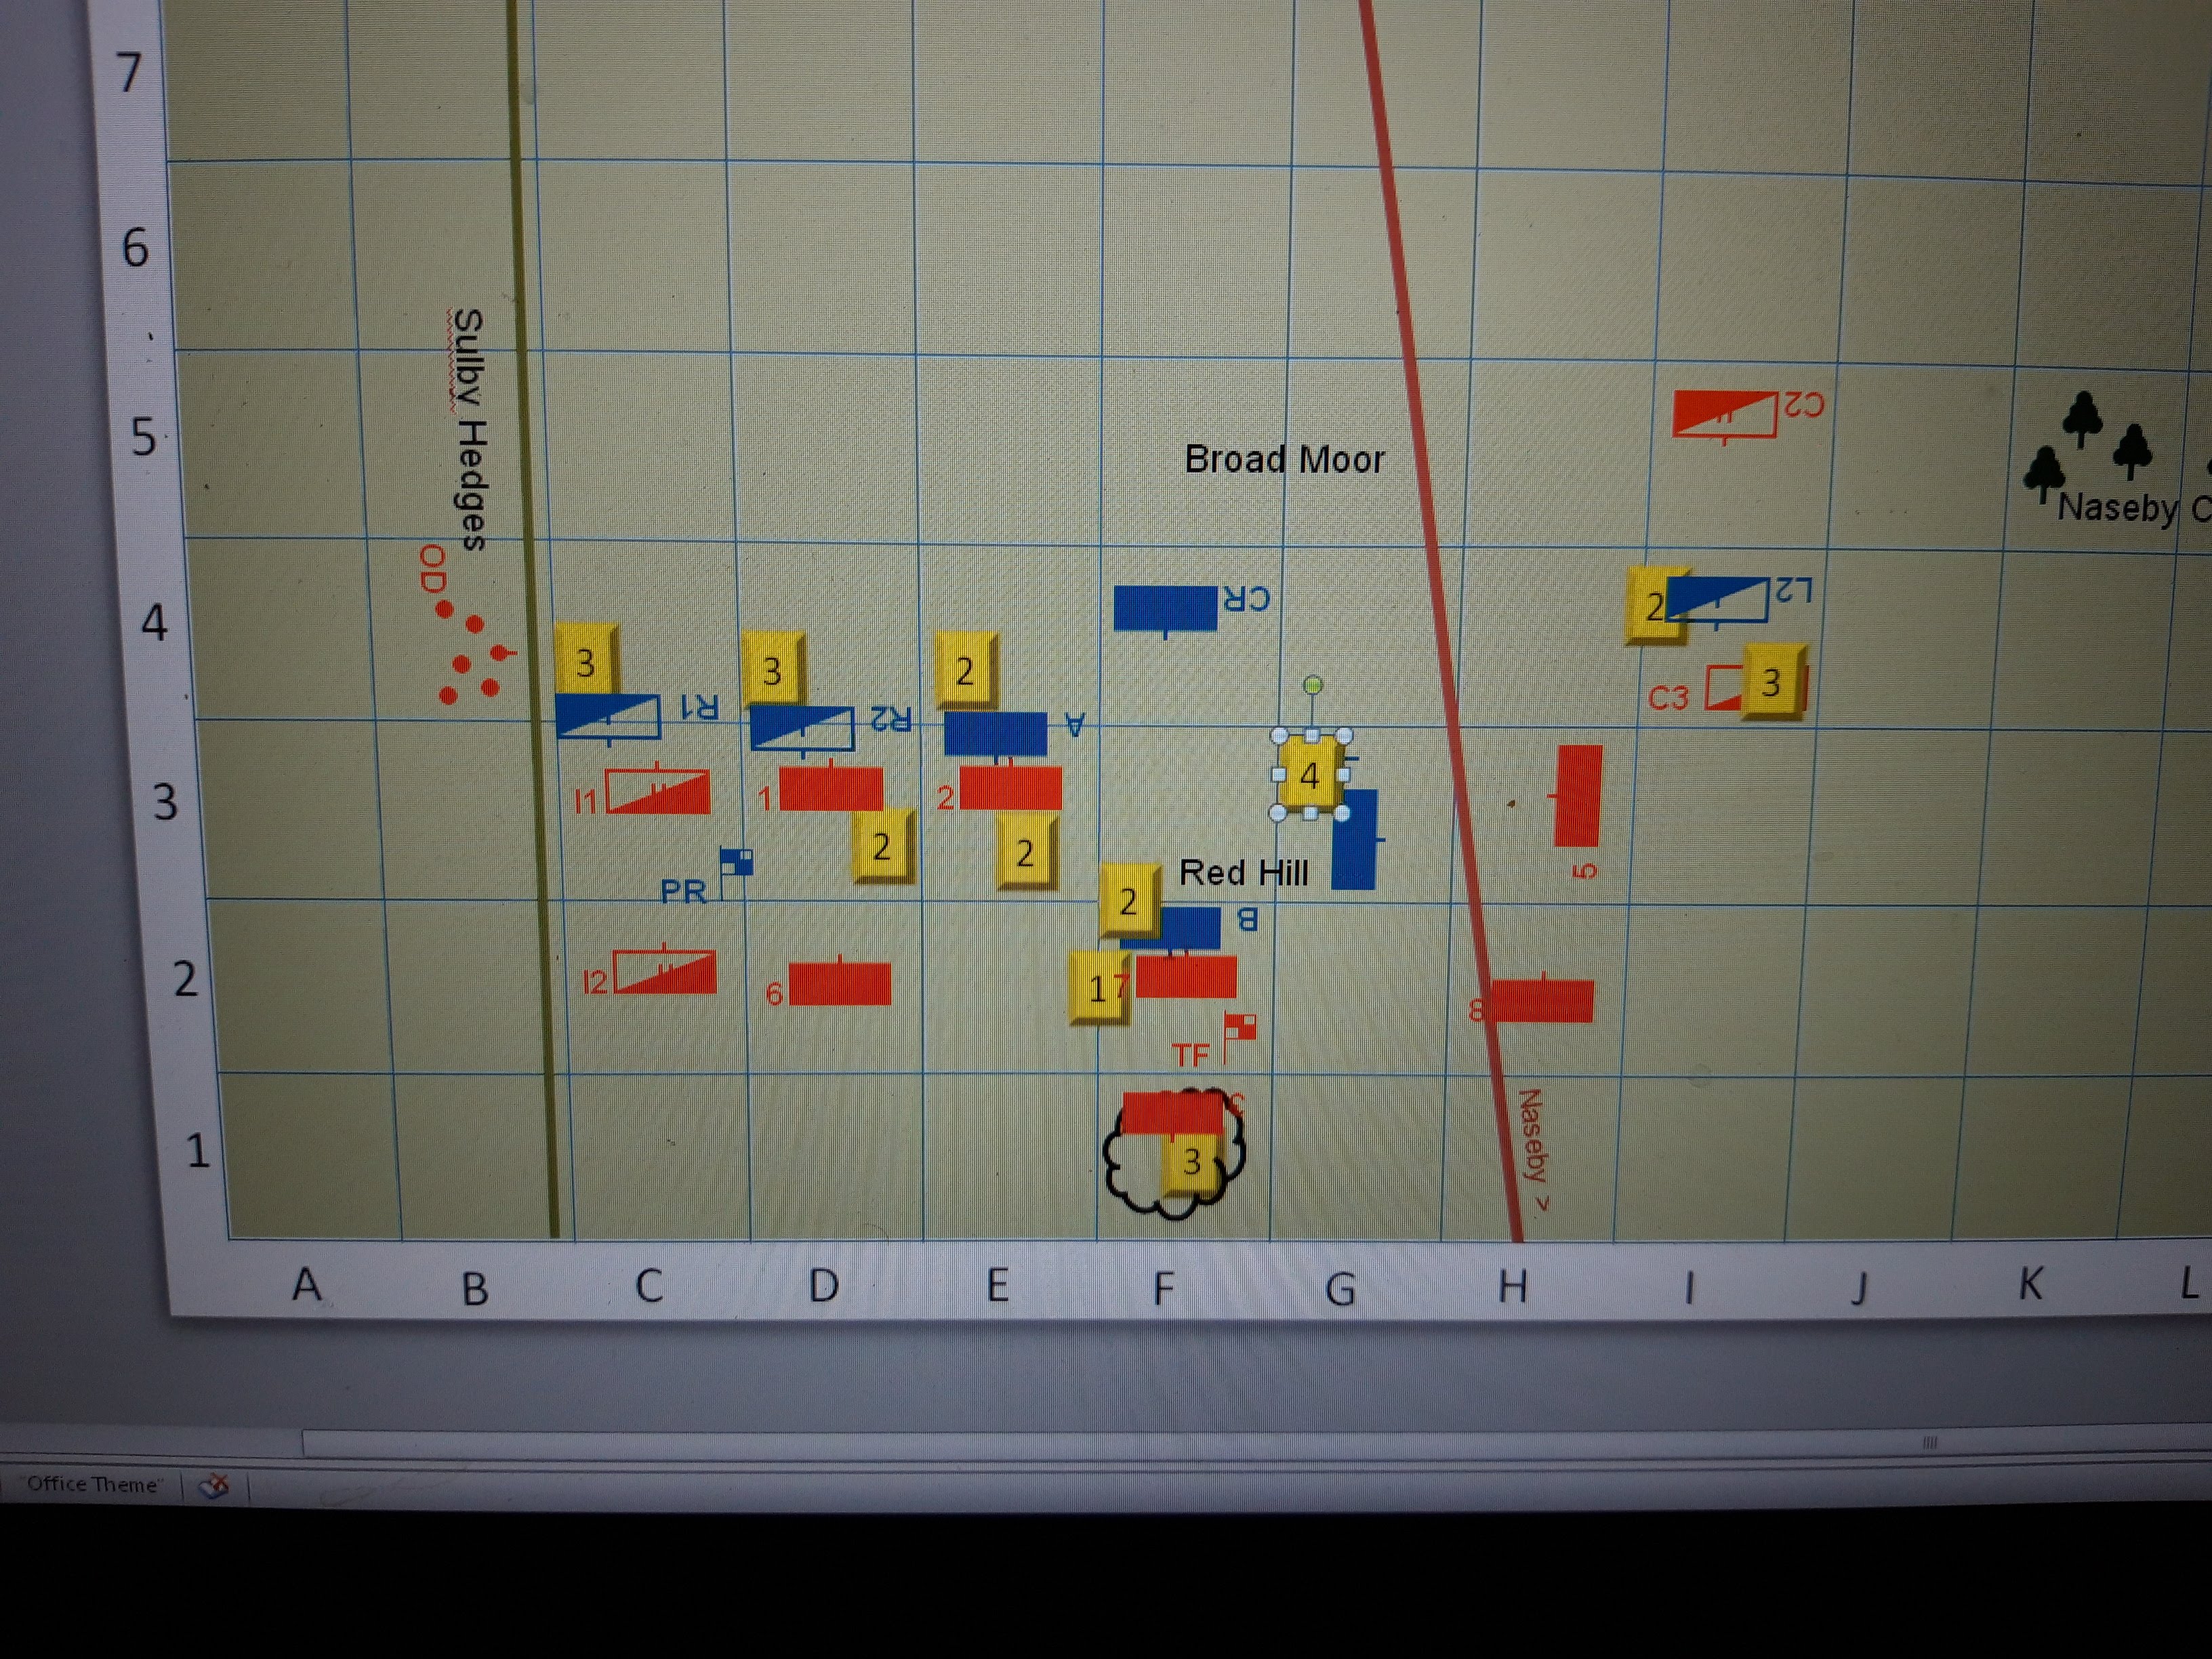
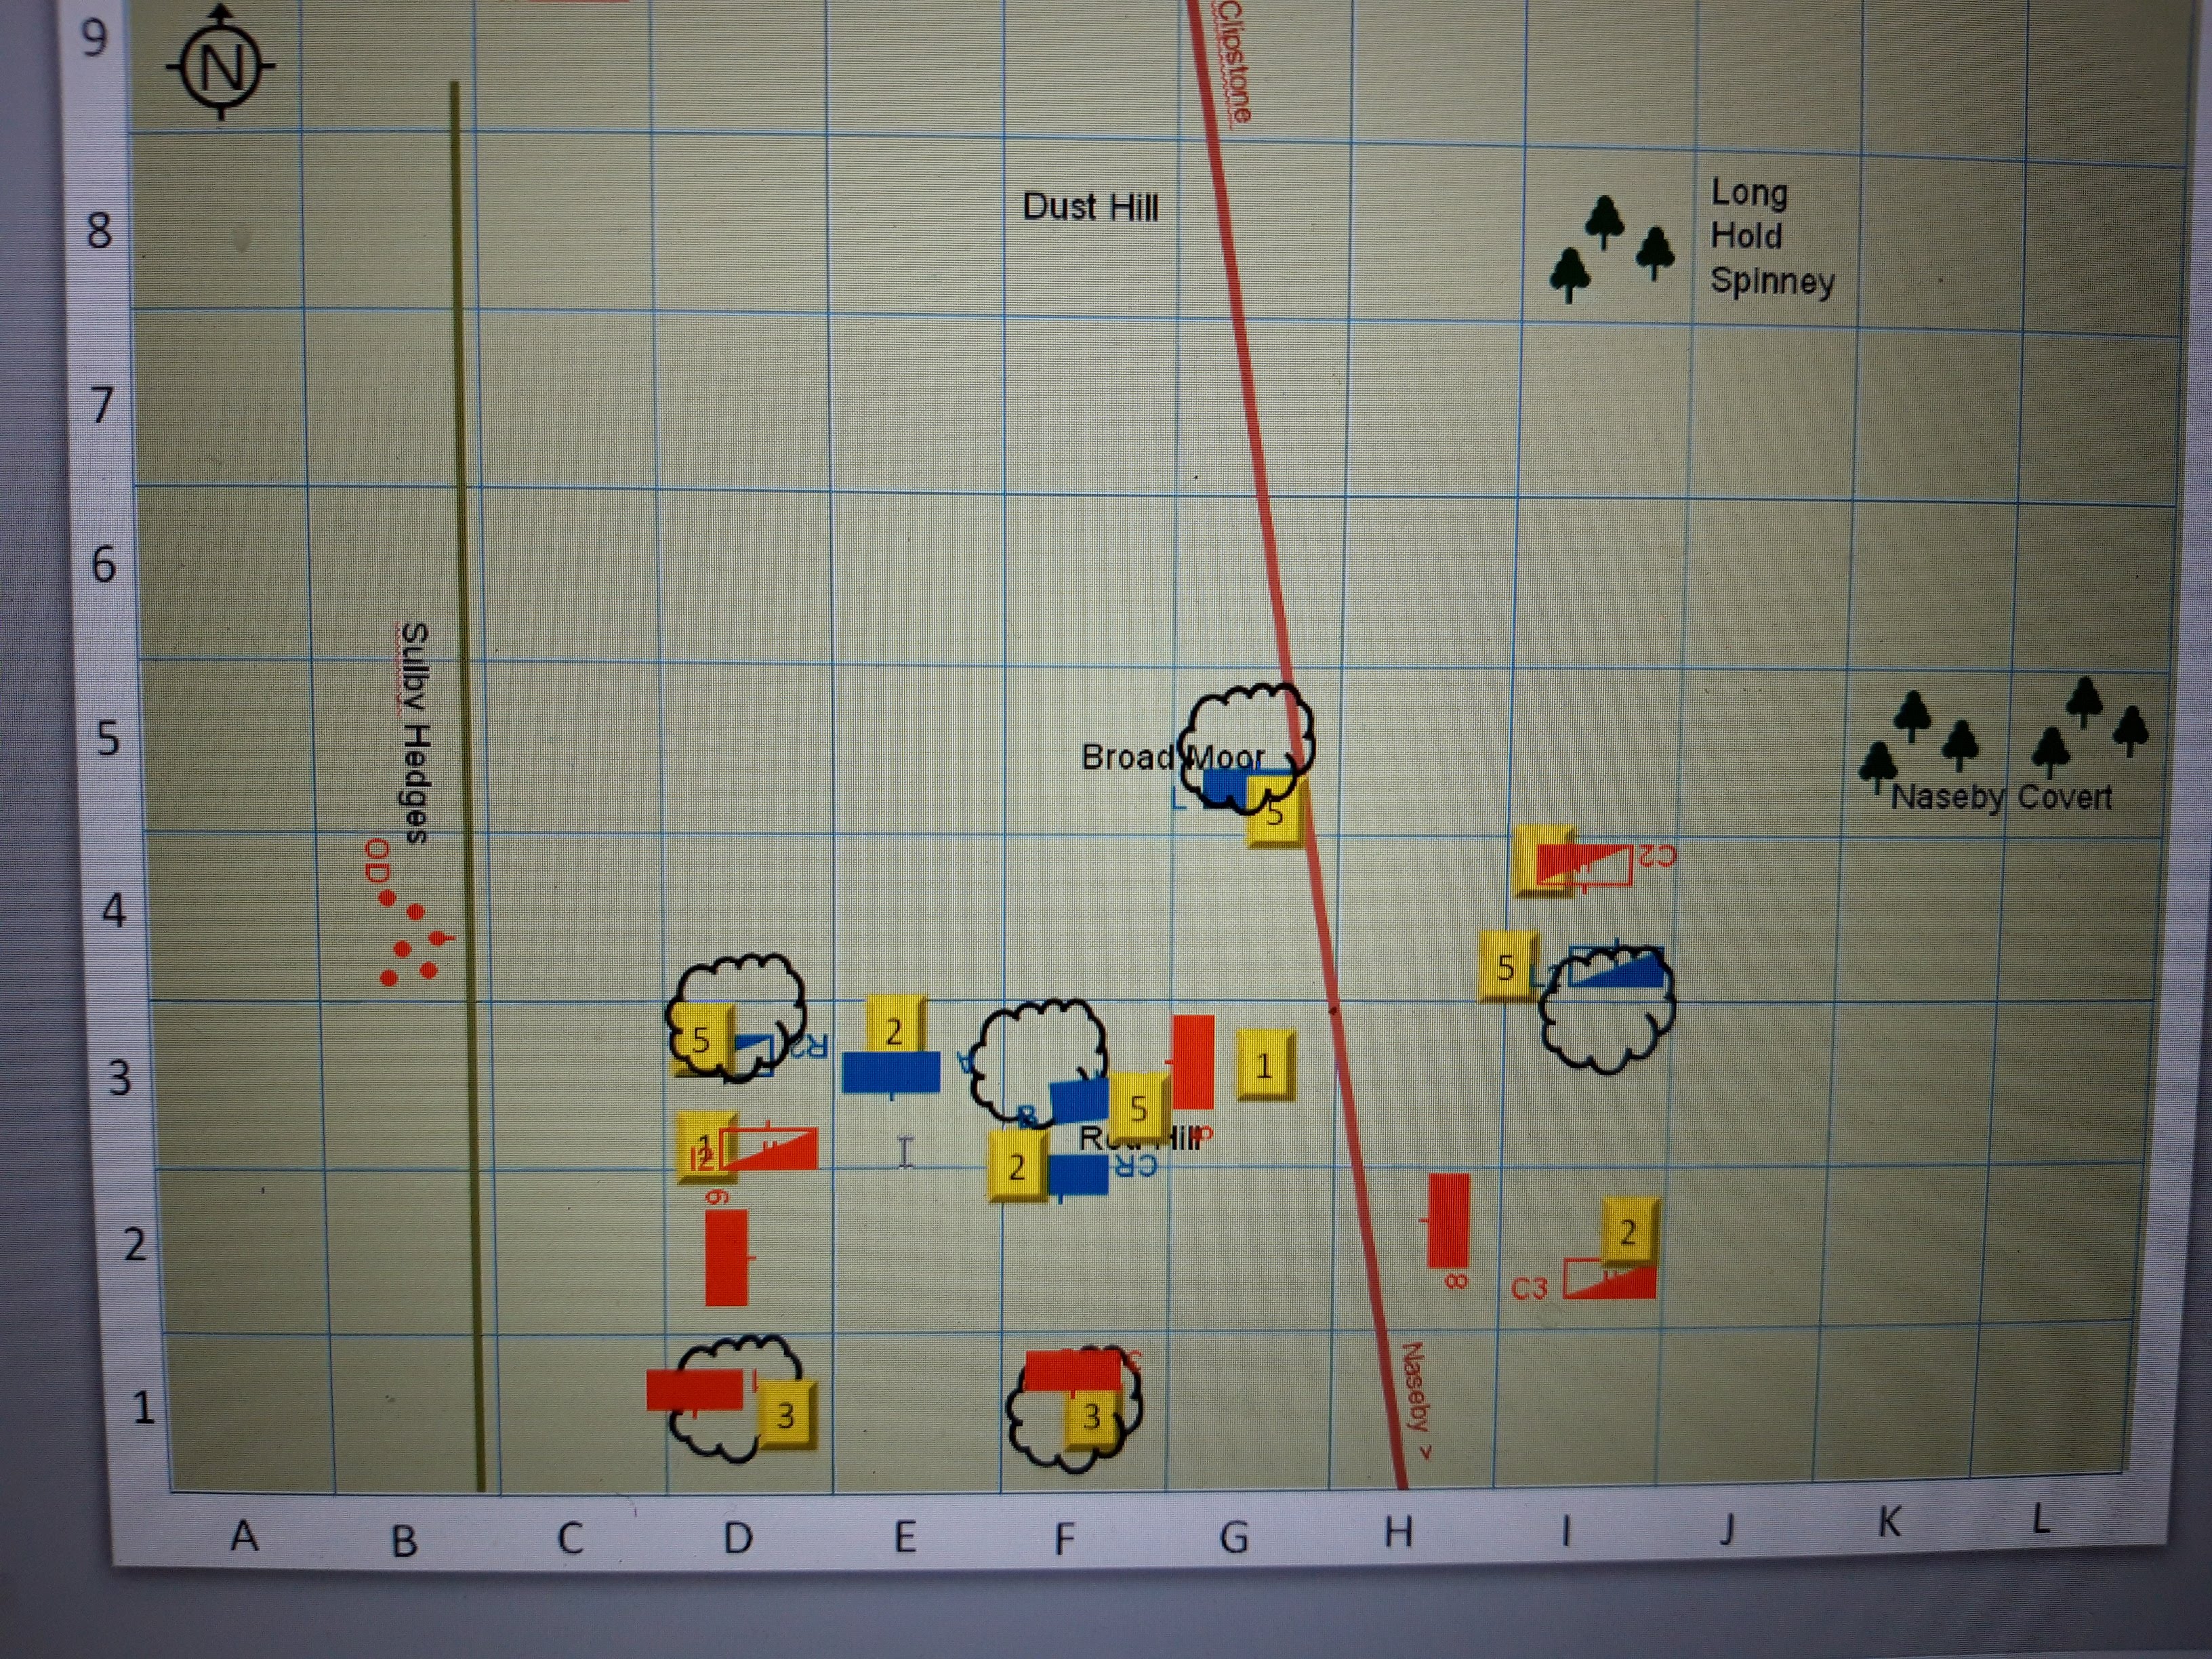
The initial deployment, Royalists in blue. My chaps have a big block of infantry in the centre with a Forlorn Hope lining the handy ditch (in green), and cavalry on the wings. Prince Ruperts Lifeguard are our only reserve.

The other lot are deployed in much the same way, except their blocks of infantry and cavalry look an awful lot bigger than ours! Oh well, I am sure Cavalier dash and spirit will carry us through.


The enemy infantry roll forwards, halting at the ditch, while their cavalry fan out on the wings.


Much to everyones surprise, the Forlorn Hope inflicts some hits.


My cavalry roll up to line the ditch, while I wheel the second line infantry to get them in the front and fill the gaps. Unlike real life, there is no discernible bonus for rear support and there are hideous penalties for retreating through your own units, so there is no incentive to fight in multiple lines.


Not wanting to hang around while my guys redeploy, the Covenanters just charge the ditch, with rather mixed results. There is some bloke called 'Cromwell' on the left and his cavalry take a real pasting trying to cross the ditch. The enemy infantry force the ditch and overrun the Forlorn Hope, but one of the regiments breaks in volley of defensive fire. 

Unfortunately the enemy cavalry has outflanked me on both sides, so things aren't looking too good already. The Lifeguards are heading for the Royalist right now.


There isn't any room for subtlety, just slaughter. The cavalry action on the right is fairly indecisive, although my infantry take a pasting in the centre. On the left, one of Cromwells 'elite' cavalry breaks! That is a turn up. Rupert had joined the action there, which may help.  


The enemy flanking cavalry attacks go in and drive back my cavalry on each extreme flank. My infantry in the centre chooses this moment to collapse. Rupert is holding things together on the left though, and the Lifeguards have managed to slip right down the flank into the enemy left rear.


Parliament presses its advantage and Royalist units break all over the place. One of the enemy infantry breaks as it overruns one of retreating Regiments, but generally things aren't looking too good. Rupert is still hanging on through.


My right and centre are a mess, but on the left the cavalry counterattack.


Which goes pretty well, two enemy cavalry destroyed. I'm just going to focus on keeping an Army in Being now.


The enemy mop up the remains of my centre and right, I do the same thing on the left, catching two more of the weakened enemy cavalry in a pincer.


The clears things up nicely as the last of my infantry in the centre goes down, outnumbered 4:1.


Rupert launches a last charge to cover the withdrawal of the remains of his Army, and victory goes to Parliament.

That was good fun, quick and decisive, and although the course of events weren't necessarily very historical, the overall outcome was. I'm still not convinced about the use of small squares each with only one unit in them to model this period, I works OK for Napoleonics and linear warfare, but units just weren't that manouverable in the seventeenth century, and I can't help thinking larger areas containing multiple units (like an ECW version of Lost Battles) might be the way to go. A project for another day perhaps.

Sunday, 28 August 2022

Fuentes D'Onoro

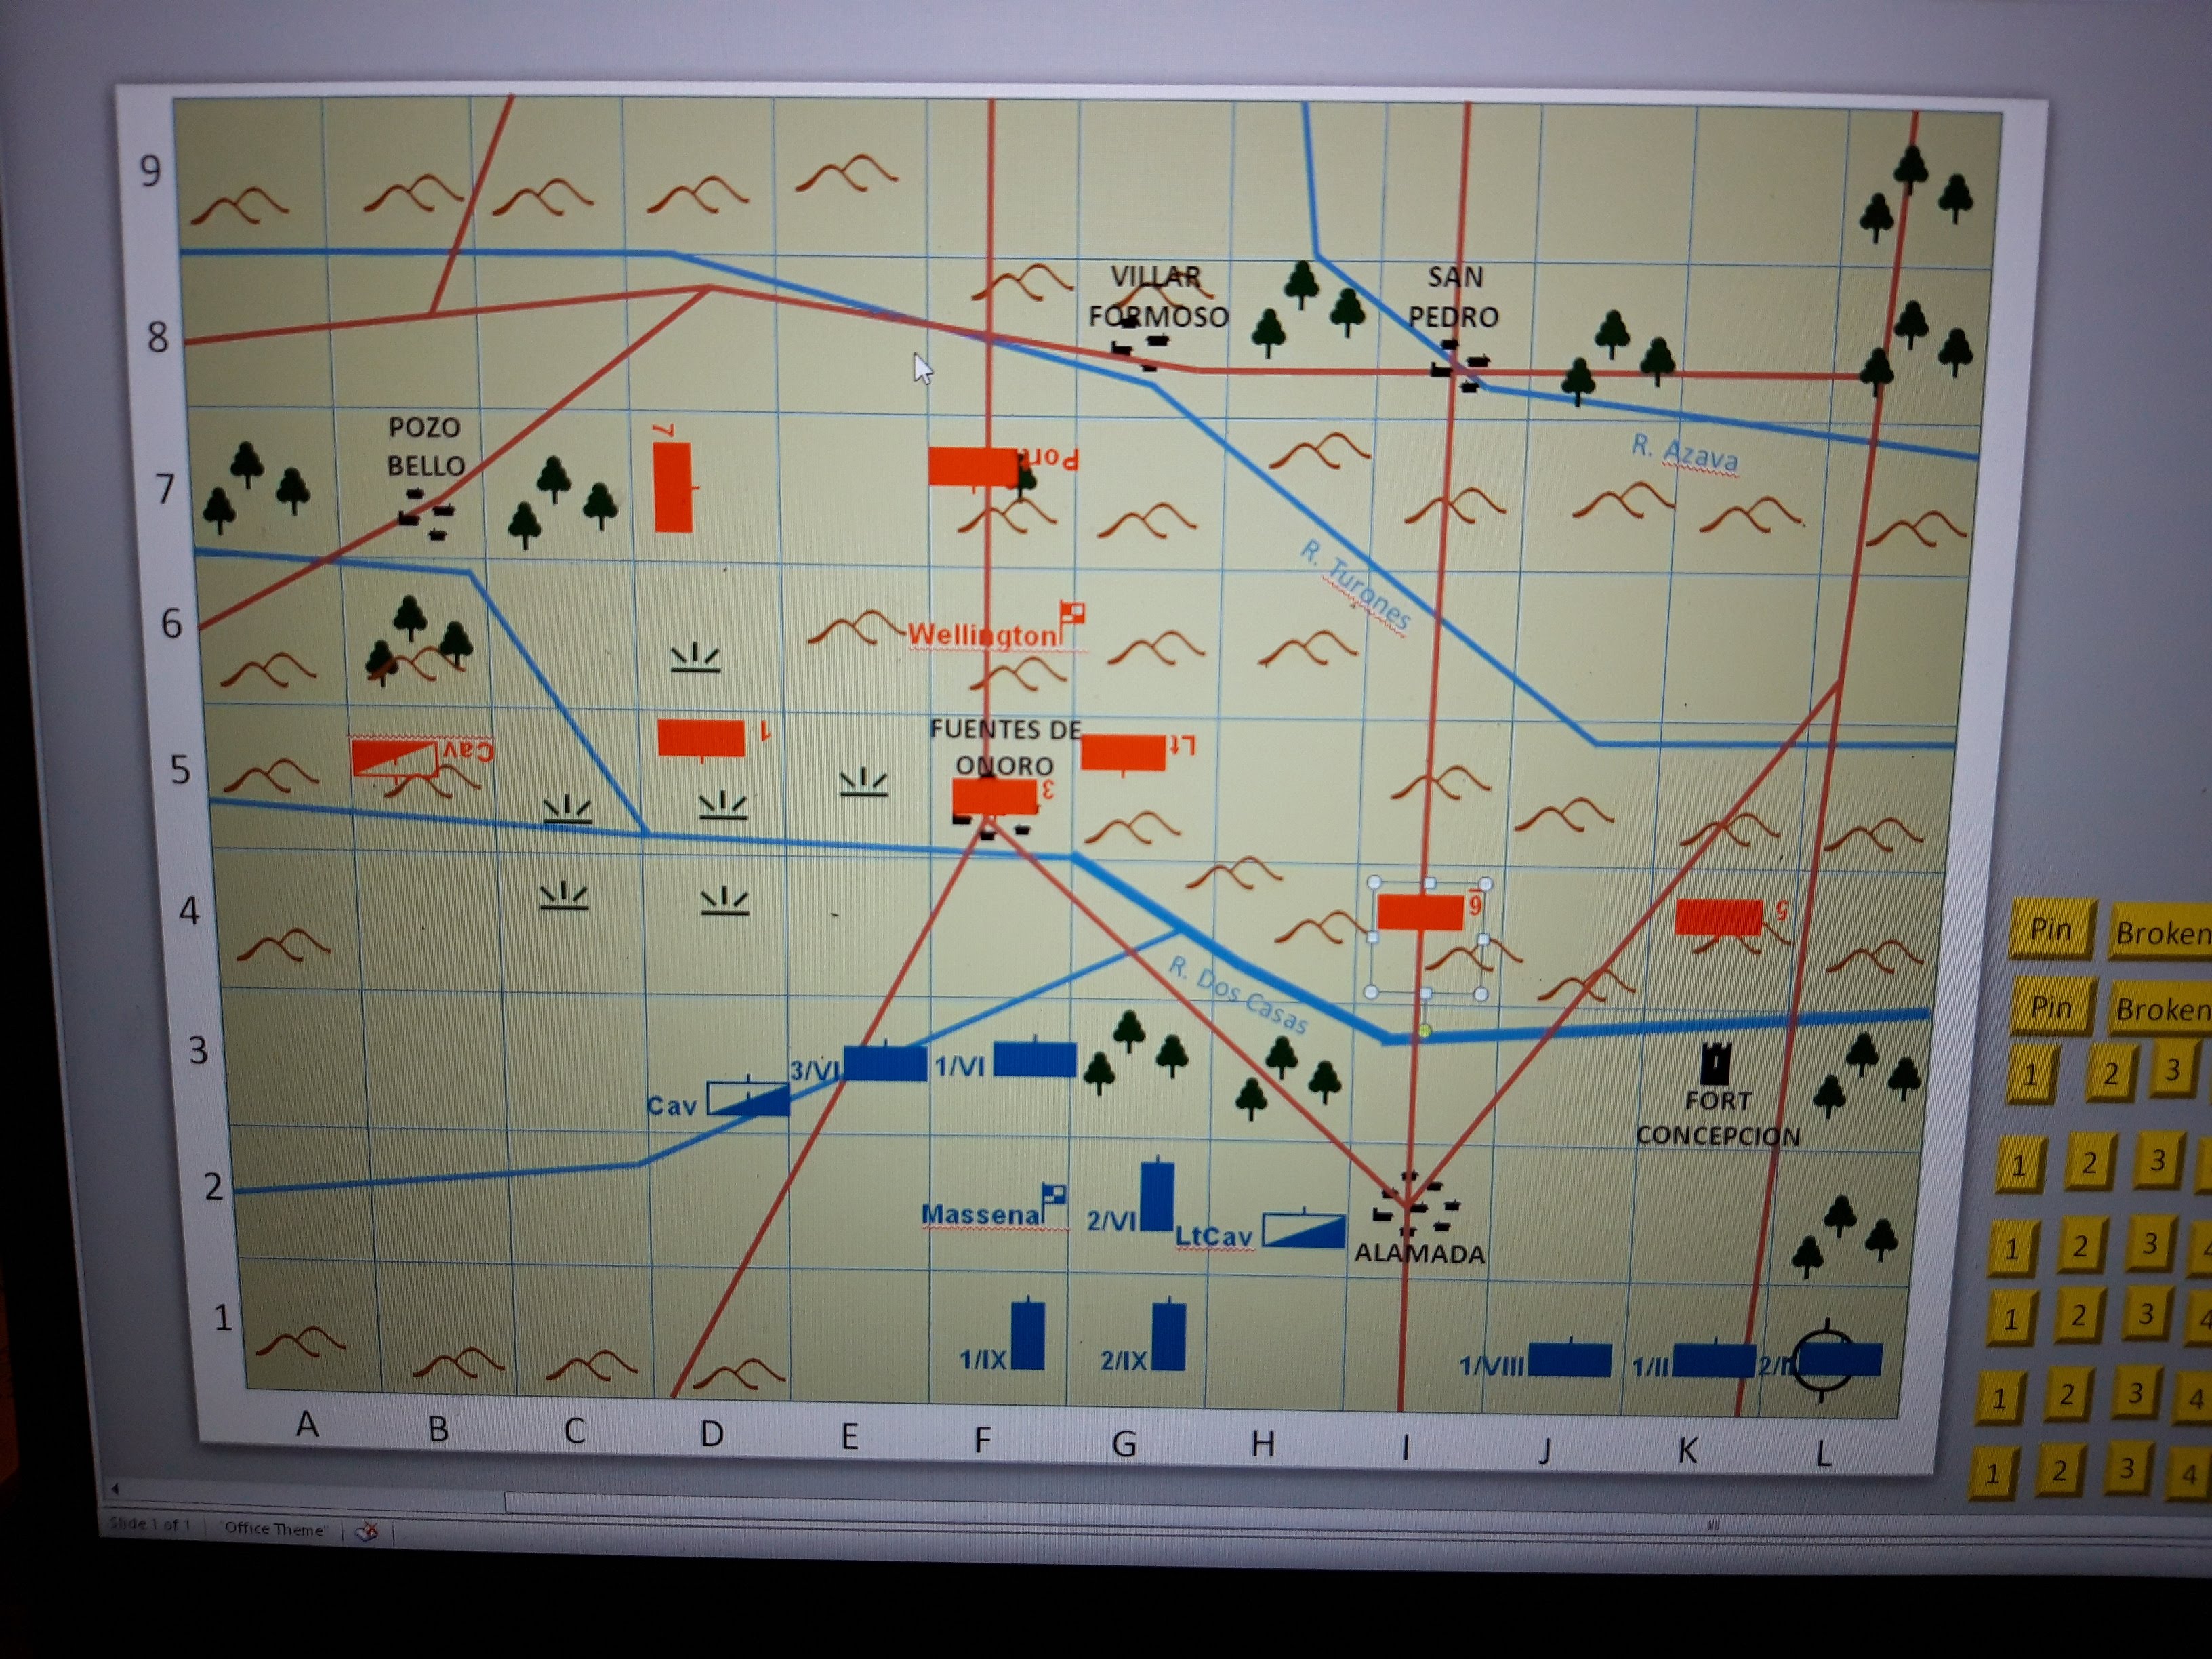
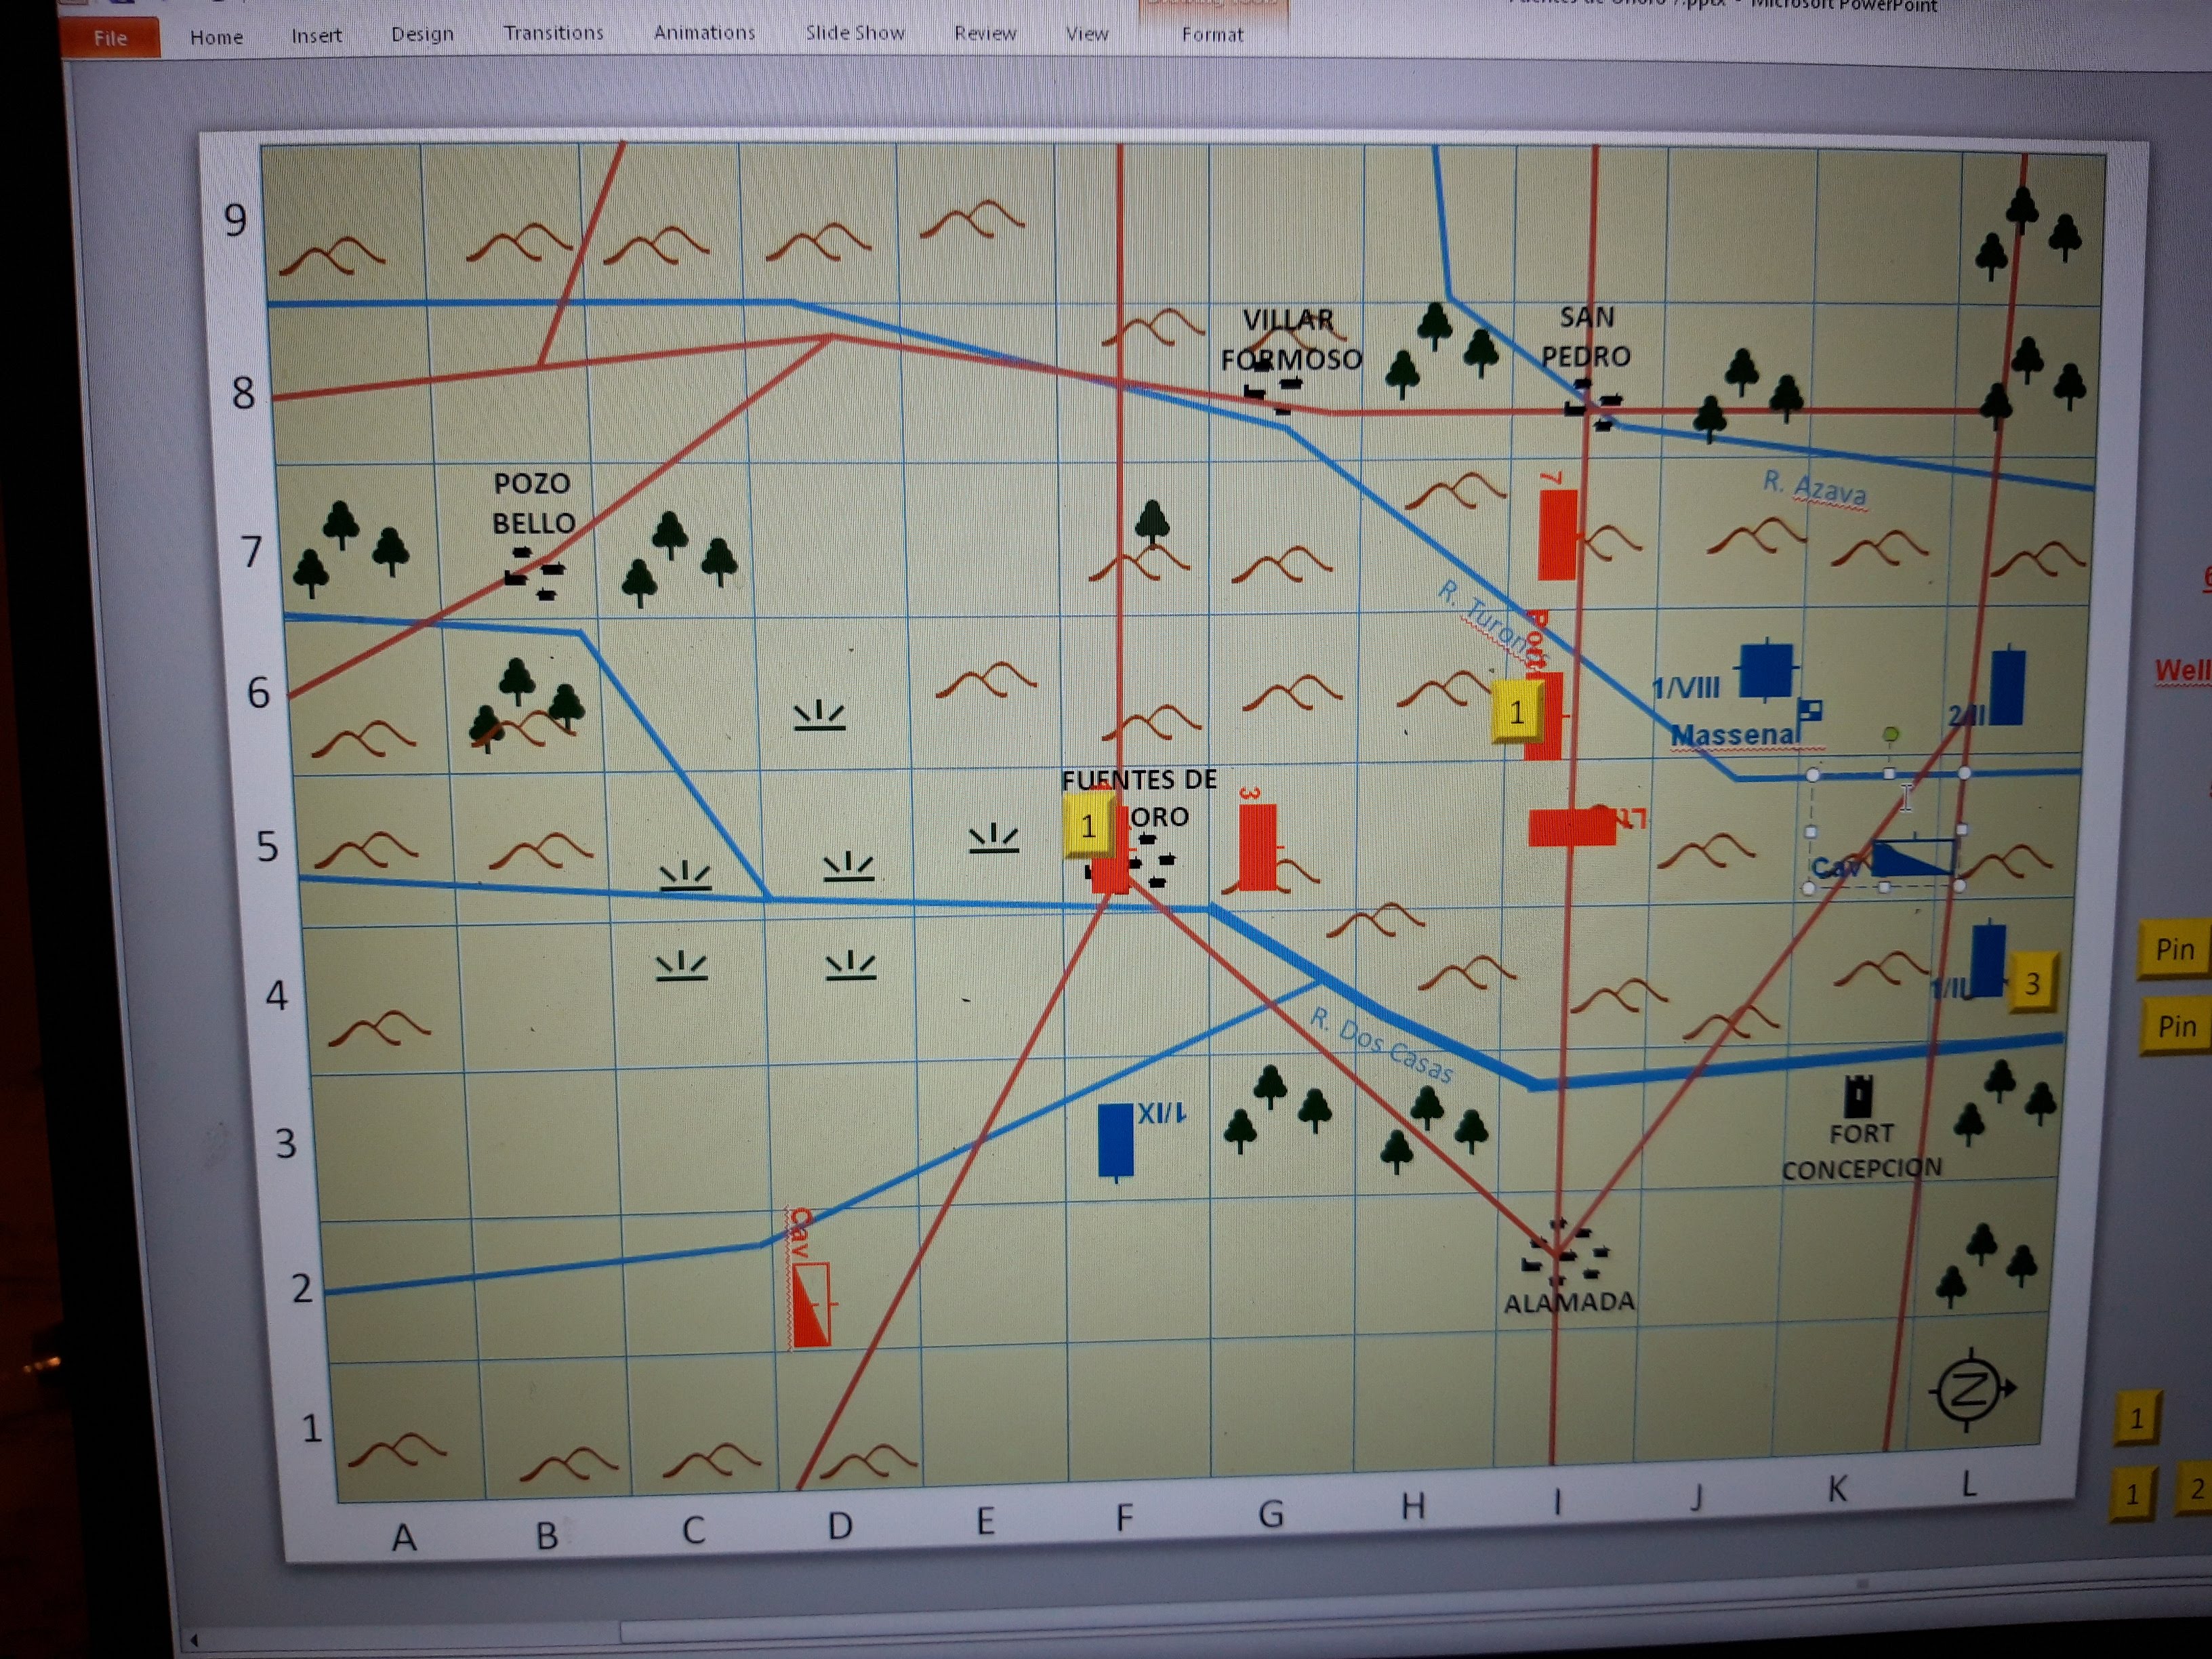
 John put on Fuentes D'Onoro using Brown Bess Squared. Myself, Mark and Tim C were the French, while Tim G and Russell were the perfidious Brits. I've actually gamed this battle three time before, using Horse Foot and Guns, DRAM and 2x2 Napoleonics. It is an interesting engagement and  bit of a sticky wicket for Massena. I have actually won it as the French, but I can't quite remember how I did it now as it was some years ago and pre blogging.


John had set the terrain and forces up as per Oman, whereas I based my games on Pagets "Wellington in the Peninsular". Irl Massenas most successful attack was via the south, but I have to say all those marshes make that look a distinctly uninviting route! Perhaps they were a bit drier in the real battle, but in Brown Bess they are an almost insuperable obstacle, far worse than then the enormous ravine north of Fuentes.

Anyway, I had a look at the map and came up with a plan. Mark would take the left wing and demonstrate strongly against Fuentes while screening the left flank with the cavalry. Tim would take the right wing and hang back a bit, then make a violent concentrated assault against the right. Given Wellingtons forward deployment, the road network mitigated against easy reinforcement of the right. 

I kept a single Corps of two divisions in reserve, located behind Mark but with an eye on all those lovely roads on the right leading across the gorge and off the table (we had to exit two divisions to lift the siege of Almeida). 


In the event, Russell couldn't make it, so Tim took the British on his own.


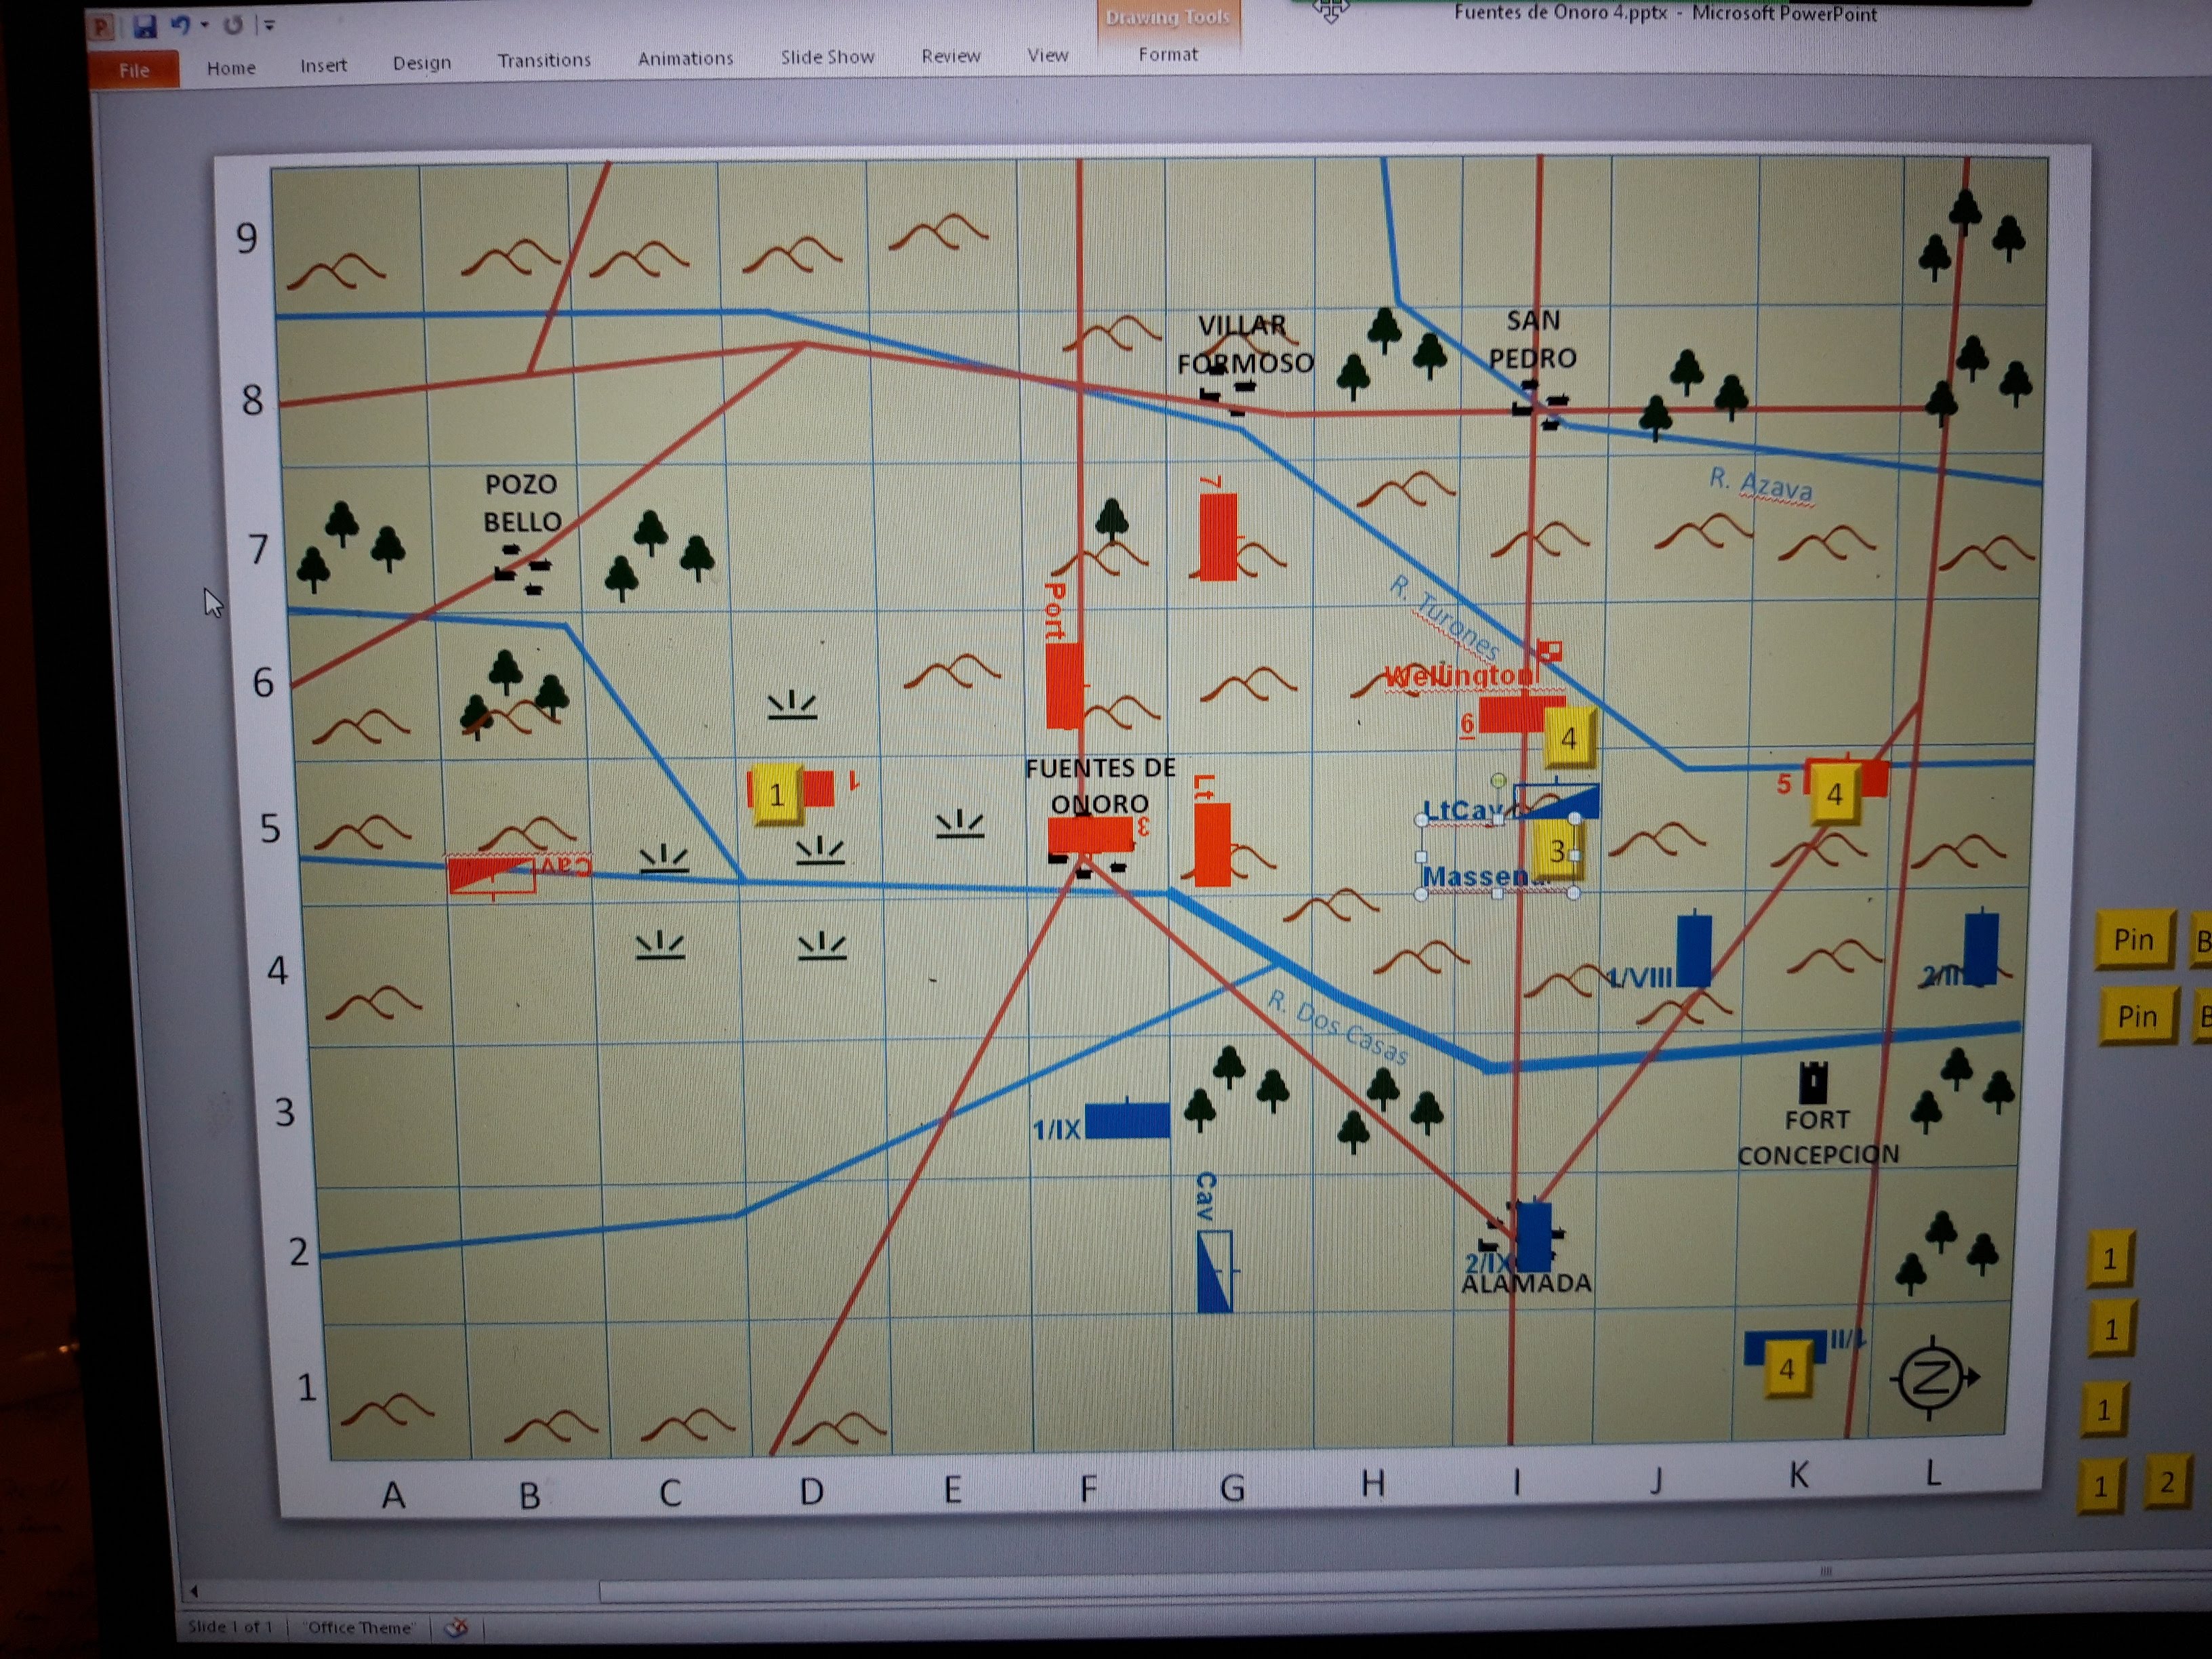
Marks Corps formed up with much fanfare for a frontal assault on Fuentes, while Tim C shuffled sideways surreptitiously. The woods rather interfered with the movement and Mark ended up in a ragged line. The British obligingly moved lots of troops forward to mass against the apparent threat.


The pinning attack on Fuentes could have gone better. Mark advanced in line with two divisions arriving before the third, and was shot to pieces by the three British divisions waiting to receive them. We did inflict some damage on 2nd Div in return, but that was all. Meanwhile Tim C advanced en masse to the river, and his Guard Light Cavalry dashed across the bridge into the British on the other side, who had advanced up to the river just within charge range and neglected to form square. Ooops.


The British aroudn Fuentes routed the remains of Marks Corps, and the fighting on the right wasn't going brilliantly. One hit on the British infantry and two hits on the Guard Cavalry. Our infantry had damaged the lone division on the far right though.


Things took a turn for the better fairly soon however. Massena dashed over to encourage the Guard cavalry, and although one of our infantry divisions was routed, both British divisions fell back in disorder and our troops formed column ready to exploit. Wellington suddenly realised the peril he was in and dashed northwards to rally the troops, while the British lines ponderously turned and began plodding towards the new threat.


Time for our carefully planned masterstroke. Tim's columns pushed across the gorge in pursuit of the division on the right. My Reserve Corps left one division to mask Fuentes, while the other division and the Dragoons dashed across to Alamada. The Guard Light Cavalry pursued the retreating infantry in front of them (naturally!). 


Tim handily obliterated the routed British on the right as his columns advanced, and the Guard Cavalry wiped out the British on the left, killing Wellington in the process. Disaster! The British were a bit purturbed to find a cavalry division in their midst and all three divisions formed square. Meanwhile I'd put my reserve division across the gorge to threaten their flank and the Dragoons formed march column on the road to the rear. 


Sadly my reserve division was gunned down by the Light Division who had very unfairly formed line before I could charge them. The British squares also saw off the Guard cavalry. All the delay had allowed the two French divisions on the far right to form into March column on the road to Almeida though, and the dragoons dashed up the highway in support. 


The British were just too far away now, and screened by a division on their left, and supported by the Dragoons, the two French divisions on the right marched off the table and brought much needed supplies to the Almeida garrison. Vive la France! 

The was loads of fun, and although at one point I thought things were looking pretty hopeless for the French as the British infantry are just so good, it worked out in the end. Mark was a bit unlucky to lose his entire Corps in two turns(!) but the Guard Cavalry got a bit lucky in their charge and that really opened things up. After that, we were able to exploit the breakthrough faster than the British could respond, although there were a couple of hairy moments in the centre.