Saturday 31 August 2019

Edgehill (again)

Our new member, Diego, indicated he had an interest in the ECW so John put on a game using his 'Pike and Shot' rules which date from the late 1980s.  The battle chosen was Edgehill, which avid readers may recall we have already visited using both Neil Thomas Pike & Shot rules as well as Marsten Less. The general situation was therefore very familiar to the players.

Tim C and myself took the wicked Royalists, while Diego and Jerry took the defenders of parliament and demcracy. We played it with Johns very old 15mm figures.


The view from the Royalist side. Massed Royalist infantry in the centre, horse on the flanks with the right wing led by Rupert.


In this scenario, the Royalists have tired of waiting and have already advanced through their guns. I usually let them bang away a few ineffective shots first. The Royalsist are bunched into sort of mini-Tercios. I'm sure that will work well.


The rebellious parliamentarians in the distance. Their chaps seem to have rather more muskets than ours. Oh well.


Over on the right, some dragoons cover Ruperts flank.


As ever, the game was a chance to get out some hats. Tim had this rather grand cavaliers floppy hat.


And Jerry had this magnificent felted Monmouth Cap with a brim. My own offering of a wool Montero cap bore a suspicious resemblance ot a WW2 US Jeep Cap.


Our cavalry soon got stuck in, but the rebels turned an fled before crossing steel.


Meanwhile our foot pushed up in the centre.


Providing close support to our outnumbered horse on the left.


As our cavalry on the left engaged, the infantry managed to shoot up some rebels


And in the centre, one rebel infantry regiment disintegrated and ran away. Hurrah!


Astonishingly Rupert managed to restrain the cavalry from pursuing.


They hovered around a bit....


Then decided to have a go at the nearest rebel infantry. Sadly this proved to be a catastrophic mistake as their morale was rather high and they also proved to be excellent shots, felling Rupert with their musketry and breaking the cavalry. Ouch.


Over on the left flank the cavalry slog continued with both sides amassing lots of hits.


After the rout of Ruperts cavalry, the Royalist infantry were left engaged, but sadly these Parliamentarians were somewhat higher quality.


The pursuing Parlimentary cavalry were getting dangerously close to Edgehill by now, but over on the far left the battle was going the Kings way.


In the town itself the Gentlemen Pensioners had spent most of the day drinking and swapping jokes with the somewhat unemployed gunners (as most of the time they'd been masked by their own troops).

We drew hostilities to a close as an honourable draw. For a set of rules penned in the late 1980s, they gave a very reasonable and (and fairly modern) type of game and it was nice to see Johns old 15mm ECW troops which hadn't been out for some time.


Tuesday 27 August 2019

Zvezda 1/144th Ju87

At the last club bring and buy, along with my super cheap M10s, were a couple of Zvezda planes, including this rather smart 1/144th scale Stuka.


I really like Zvezda kits, and this one went together nice and easily. Unlike the IL-2, there are no obviously flimsy bits to snap off on this one. 


Again, I borrowed Tims method of overpainting the cockpit. The canopy struts were a bit of a pain to paint though. This overall dark camo green scheme is actually from a 1944 tank buster, but it looks suitably sinister. I livened it up with a yellow band and a white spinner. I couldn't quite face painting the red spiral on the spinner though. 


Underside in pale blue with yellow wingtip markings. It has a satisfyingly big bomb hung off the bottom.  I didn't bother with underwing decals.


Here it is off to drop bombs on someone.

That is a lovely little model, highly recommended. Tim very kindly donated me a matching one, so now I have two, almost a whole squadron!

Friday 23 August 2019

Breaking the Crust

After out foray with The Portable Wargame, I have been kicking around various ideas for simple brigade level WW2 games. NATO Briagde Commander always worked well with smaller scale things, but some aspects of the game system were a bit slow (random movement in particular) and I wanted to play with 15mm stuff, which would be a bit of a squeeze for WW2 units at NBCs 1 hex = 1000m ground scale.

Eventually I came up with a relative of NBC, but using 600m hexes. This reduced the unit density per hex to manageable levels with the larger toys, and generated ranges better suited to WW2 weapons. It also meant that all units were now generally spread over multiple hexes which meant I had to introduce battalion command zones.

I'd been planning to play some more of the Command Decision 'Market Garden' campaign scenarios, neatly pitched at brigade level games. The one I picked for a live playtest was 'Breaking the Crust', the Irish Guards breakout through Kampfgruppe Walther. The Allies have three battalions supported by the entire Guards Div artillery against four weak German battalions, a mix of enthusiastic but poorly trained German paras, and veteran but rather cautious SS troops from 10th SS Panzer Division.


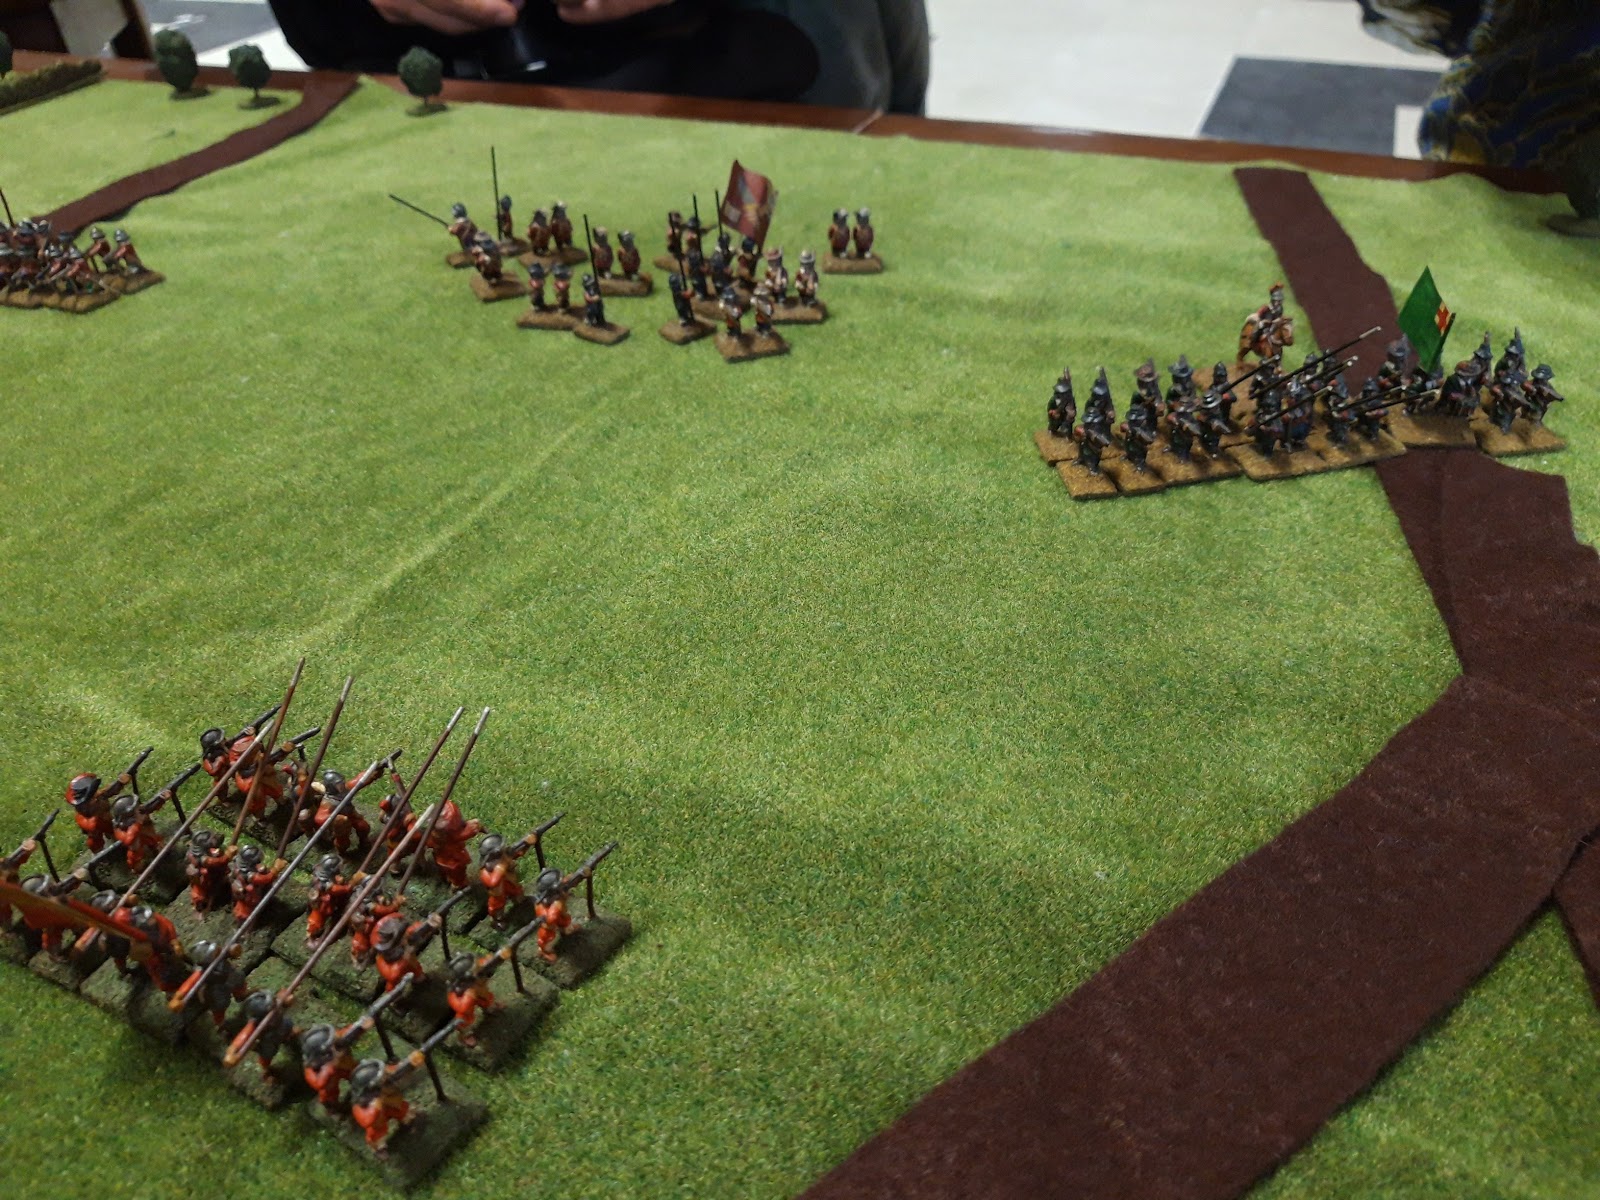
The battlefield from the west. 2nd Bn Irish Guards can be seen massing on the right. In the foreground are two battalions of 6th FJ Regiment, and lurking in the central woods are more FJ, KG Hoffman. In the far distance is SS KG Heinke, composed of panzergrenadiers, engineers, artillery and the entire 10th SS Panzerjaeger Abteilung. 


SS KG Heinke HQ. The lonely Panzer IV/70 is the entire 10th SS Panzerjaeger Bn... Both 9th and 10th SS Panzer were issued Jagdpanzer IVs to equip their AT battalions as the battle for France was ending, and they formed the bulk of both divisions armoured strength during the retreat to Holland. 10th SS managed to withdraw with a dozen operational jagdpanzers, and 9th SS still had two operational vehicles as 1st Airborne started to land. 


Tim and Tim got to wear the smartest hats.


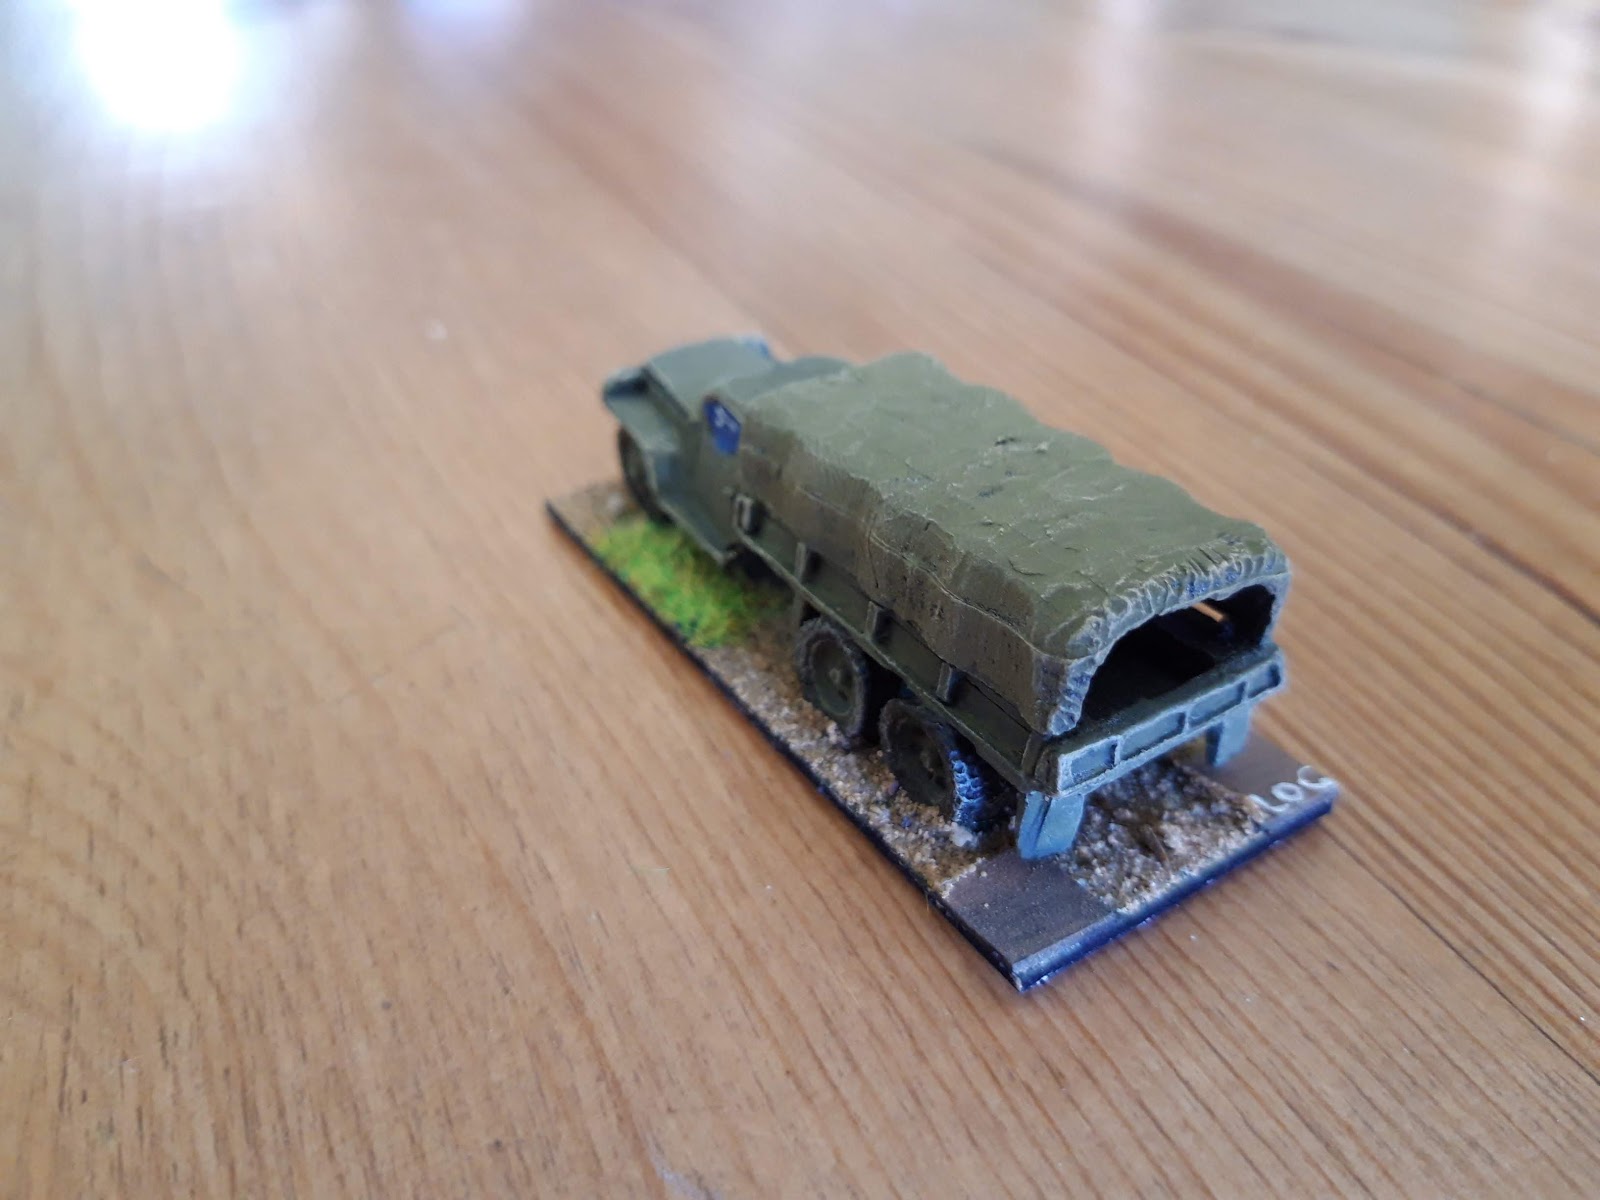
2nd Bn Irish Guards, a cross-attached group of Shermans, infantry from 3rd Bn and the all important Forward Air Controller in his scout car.


John and Jerry played the plucky Brits.


KG Hoffman on the main road. It seemed like a good idea to put their AT platoon on the edge of the woods, because that is where it was in the film. The Germans also had some minefields, some of them were even real!


The Irish Guards advanced behind a massive rolling artillery barrage. The barrage disrupted the German communications so no artillery for them.


The leading elements of KG Hoffman were obliterated by artillery and massed tank fire. Sadly the combat team on the road failed a morale test and were unable to follow up, stalling the advance. Meanwhile 3rd Bn (the rest of the Shermans and infantry) came piling on, heading for 6th FJR on the Germans right flank.  In the far distance a battalion of the Dorsetshire Regiment supported by Cromwells from 15/19th Hussars put in an appearance.


The Dorsets set off for KG Heinke. The Germans had moved their armour up in support and this attracted the attention of RAF Typhoons, who naturally missed completely.


The Dorsets closed in and the Cromwells and Jagdpanzers started duelling. British Engineers peered doubtfully at the minefield.


Over on the other flank the British armour waited for infantry support before trying to root the FJ out of the village.


The Germans scored some hits on the Cromwells, and the British return fire was ineffective as their shells bounced off the Jagdpanzers heavy armour. The Typhoons came back for another go and managed to strafe their own engineers who were trying to clear the mines. Danger Close!


The leading companies passed a morale test to assault the SS, but sadly the Germans were not put off by more airstrikes which destroyed the battalion and HQ, and the British were gunned down in a hail of MG42 fire. 


In the 6th FJR sector something of a stalemate settled in. The Germans couldn't do much except lob mortar rounds at the British, but the British failed their morale attempting to assault the village.


In the centre, the British had advanced a mile or so up the main road but KG Hoffman was still hanging on at 50% strength and as it seemed unlikely that the British were going to break through in any sector before nightfall, we called it a day.

That was a fairly tough scrap for the British. They were hideously unlucky with their morale tests and air strikes, and lost the rolling barrage fairly quickly. They may have been better putting an infantry heavy force up the main road and using their mass of armour in the better tank country on the right, but that was where the better German troops were. In all the excitement I also forgot some of the rules - the Germans should have taken some extra morale tests, and the British armour should have taken rather fewer, so many apologies to John and Jerry.

The main issue was (still) the amount of dice rolling required, to hit rolls, saving throws, morale checks.... In NBC as the units are all stacked together, you tend to throw handfuls of dice, whereas in this environment with more distributed units, were were resolving combats a couple of companies at a time.  An unfortunate consequence of the smaller hex size. It wasn't a complete disaster though, and although originally I was somewhat despondant about it, just writing this report made me realise it had reasonable flow and narrative, so I'll  persevere with it for now.

Wednesday 21 August 2019

QRF Studebaker truck

As a wise person once said, you can never have too many lorries, and my slowly growing US forces don't appear to have any! Well, that isn't strictly true, I've got several OD Hotwheels generic US trucks I use for AK47, but I thought my chaps deserved something better. Later in the war, the Russians liked to drive around in US trucks too.

Trucks are one of those bread and butter things, but finding them in large numbers in an easy to assemble format at a low price is a challenge. Sadly Zvezda don't seem to have managed to supplement their Opel Blitz and Gaz AA with a 'Willys' or a 'Studebaker'. Even the Forged in Battle ones seemed unattractively expensive, despite being nice easy lumps of resin. Good old QRF do quite a range of US trucks at around the £4.50 mark each, so very reasonably priced, particularly for metal models.


And here they are, hauling Coca Cola and ice cream for the boys at the front across the dining room table. You never quite know what you are going to get with metal models, and I was delighted to find that each of these had precisely three pieces. So, no fiddly sticking on of wheels and axles. Woo hoo!


The three bits are the basic cab and chassis (with all the wheels moulded on), the rear truck deck and the canvas tilt. There was a very small amount of flash but the rear deck mounting was pretty crude. There were two locating pins  to keep it roughly straight, but the deck basically just rested on the wheels. I padded it out with blu tak to raise it a bit and it all stuck together fine.


After some indecision, I put the tilts on. I should maybe have made them removeable, but hindsight is a wonderful thing and I was in a rush.. Perhaps a project for the future. You can see the panels are moulded nice and deep so very suitable for highlighting.


From the side you can see it sits slightly low, I should perhaps have wedged the rear deck up even more, but it looks good enough. I painted the windows my (now customary) blue with a bit of white highlight. The trucks themselves are just plain OD, although I did the tilts a lighter shade of OD, actually Vallejo Russian Uniform, to represent faded canvas rather than my more usual brown tilts.

I left them unmarked to so they serve with the US and Soviet forces, and who knows they may even turn up with the British Army from time to time. Like the Dodge Ambulance, a good workmanlike wargaming model and excellent value.

Saturday 17 August 2019

Defence of the Bridge

Another 54mm outing for Fistful of Lead, this time taking place in the killing grounds of the American Civil War. Tim C, John and Tim G (proud owner of a new US Cavalry hat) took the dull northerners, while Jerry and I were the plucky Rebs.


Various sorting of playsheets and toys taking place. The Rebs had to hold the bridge and road until nightfall, while the Yanks had to take them. Nightfall and/or the arrival of massive US reinforcements was signalled by the playing the sixth joker by each side.


Jerry had a very appropriate butternut hat.


While John sported this rather grand US Generals kepi. You do realise we only play these games in order to wear our hats in public.


The Rebs. A squad of infantry with an officer, and a squad of Zoaves armed with proper rifles.


The Union commanders confer. They had three equal units of infantrymen.


We put the regular infantry forward into the tree line with a bridge guard. The Zoaves hung back to take advantage of the range of their rifles (even if the reload times were hideous). The Union lines were soon engaged with hot fire.


World class pointing from John. The Union plan was apparently to walk slowly forwards towards the enemy. Already one of their number has fallen wounded.


My Zouaves opened fire. The little black markers indicate the figure is unloaded. Rifles take up to four(!) actions to reload, whereas the more normal rifled muskets only take one action. The 'six' cards which allow an automatic reload were highly valued by the Zouaves. 


The bridge guard was out first fatality. In death his rifle appears to have morphed into a cannon swab.


The Union troops directly opposite my troops were gradually worn down by long range fire. 


Johns remaining troops were under heavy fire. Fortunately the Union infantry seemed reluctant to close to effective range, which means the trees continued to provide excellent concealment against their long range musketry.


The Union centre was looking a bit ragged by now.


In a shock development one of the Union soldiers ran for the bridge.


He kept on going and promptly bayonetted one of the Rebel infantrymen. What a hero!


The Rebel officer was somewhat put out by this and rushed over to help with his sword and Navy Colt.


Sadly, if  Stephen Crane has taught us anything about the ACW, it is that heroism usually results in a 'Red Badge of Courage'. The lone Union infantrymen was gunned down by the rebel officer.


The bridge approaches were now littered with wounded or cowering Union soldiers.


While our forward firing line was still holding on.


And the Zouaves hadn't suffered a scratch. So at that point it was fairly obvious that the Union weren't going to take the bridge, so we called it a day. "A fly spec on Headquarters maps" as the Union Captain in The Good, The Bad and The Ugly observed, and as Clint himself said "I've never seen so many men wasted so badly".

In retrospect the Union would have better off massing their troops against our forward detachment and closing to effective range as fast as possible, accepting the losses on the way in. At long range against troops in cover they only had a 20% chance to hit, whereas out aimed rifle fire had a 40% chance. At close range the firepower differential was much more even (50% vs 60%) and their superior numbers would have blown us away.

So, another fun game, although this one seemed to take a bit longer than the previous one, partly as we kept forgetting which cards we all had and partly as it bogged down into an indecisive long range firefight (all very realistic no doubt).