Showing posts with label Spanish. Show all posts

Saturday, 14 March 2026

Peninsular War 1809 to 1814

Another multi player area movement strategic game from Ian, this time covering the Peninsular War!


A very lovely map of Spain. The size and intersections of the various areas represent the density and difficulty of the terrain (generally major rivers or mountain ranges)  and also correspond roughly to the various regions of Spain. The map also has various major cities, which are important for determing lines of communication, some are inside the areas (eg Burgos, Madrid) and some (like Cordoba) are on area boundaries as major rivers flow through them.


With a varied array of real life participants, it was an excuse to wear an an array of stupid hats as well as show off various figures. I was cast as Spanish, so found the biggest bicorne I own. Tim is showing off some of his 54mm Portuguese staff officers, while Russell counters with his Del Prado Napoleon.

Tim C and Ian were French, Russell and I Spanish, Jim and Tim G Anglo-Portuguese while John ran the game.


The game runs from 1809 to 1814, with three campaign seasons per year and simple movement and combat rules. Units can stack up to three per area, move one area and fight when they are in the same space. Attacker wins draws. Once per year each side rolls for reinforcements, although there were various restrictions on what and when. The French have to start removing units from 1812 onwards as Napoleon invades Russia, and the British start to have the option to land in Corunna or Santander later in the war.

The various factions have overlapping objectives. The French want to keep Joseph on the throne and keep the British penned up in Portugal (ideally kick them out). The Spanish want to kick the French out of Spain and the British want to invade France!


We went with the historical setup. Ian has designed it so that various alternate options can be explored, the main one being that the French don't invade Russia.

The Spanish are scattered around the periphery of Spain, Joseph is on the throne supported by large French forces and the British are in Lisbon and Oporto. The Spanish and Spanish Bonapartists fight worse than everyone else, needing a 6 to instead of 5.

The black blobs are Spains trump card, guerillas! These are placed in an area and interdict French movement on a 1-3. They don't move and can't be destroyed, but proved to be surprisingly effective in disrupting French movement. These also get diced for annually as reinforcements and by the end of the game, Spain was in uproar as the map was black with guerillas.


1809 saw the British march into Estramdura and the Spanish concentrate in Adalucia and actually drive the French back! The French consolidated their hold on northern Spain


By the end of the year though, it had all gone wrong. The French attacked aggressively and conquered Andalucia and Galicia, destroying most of the Spanish Army in the process. The fighting with the British was brutal and although Wellesley came out on top, it was a much reduced British Army which marched into Madrid. Joseph retreated north to link up with his French allies.


Going into 1810 things looked a bit cheerier as both sides rolled for reinforcements. The Spanish bounced back in Leon, more French troops crossed the Pyrenees and some British forces landed at Lisbon while the main force was back in Oporto, concerned about the French in Galicia. Even Joseph managed to raise some more troops! Guerillas spread out across Spain, we were trying to isolate various areas of the country with blocks of interdiction.


1810 was the French high water mark, they pushed aggressively against Portugal, which allowed the Spanish to retake Madrid (again). Once more Joseph survived, albeit with reduced numbers.


1811 saw a big French effort against the British and they took Oporto and threatened Lisbon. Meanwhile the Spanish chased Joseph into Navarre.


But as summer 1811 drew to a close, the French had been repelled at heavy cost and were back in northwest Spain while Wellesley still held Portugal. The Spanish were content to sit in Navarre for now.

We broke for the night at that point.


On Wednesday Micheal toook over from Russell. The Spanish marched back to Madrid while the French concentrated northwest of the capital, somewhat hampered by the guerillas who were all over Spain now.

The Anglo-Portuguese followed up slowly but seemed content to let the Spanish do all the fighting in 1811.


1812 was curtains for the French. A decisive battle was fought northeast of Madrid (Vitoria?) which resulted in heavy British and French losses. A small British force landed in Santander and the French had to withdraw some units to send to Russia.

The Spanish went from strength to strength with their main army at Burgos, a subsidiary force from Barcelona invaded southeastern France! 


As 1812 drew to a close, the last French units were destroyed and the British were on the French frontier, ready to cross the Pyrenees in 1813.

With no more French units in play and no prospect of reinforcements, we called it at that point.

That was a great game, very enjoyable and rattled along at a fair pace. You could perhaps pick holes in it as a simulation of Napoleonic warfare, but as a strategic game it worked well. We had a good washup session afterwards and ran through some potential changes but without over complicating it. The main things we decided to try were:

  1. making the number of French units withdrawn in 1812 and 13 variable rather than fixed
  2. allowing a possibility for French units to destroy guerilla units by staying place
  3. having defending units win draws, which I think better reflects the realities of Napoleonic warfare.

We liked it so much, we wanted to play it again the following week! Well done Ian. 


Sunday, 31 October 2021

Albuera 1811

 As I wasn't ready to put my planned game on, John instead ran the Battle of Albuera using his squared version of Brown Bess. Although I've read about Albuera, it isn't a battle I've gamed before so I was looking forward to it.

The Allies were Tim C (Beresford and the British), me (the Portuguese) and Russell (Blake and the Spanish. The wicked French were Tim G (Soult), Simon and Jerry.


It is quite a complex battlefield, bisected with many rivers, which in this case, were all fordable. We had a nice ridge to stand on and in the historical setup Beresford positioned his troops to cover the main road and crossings. Blake had just arrived and set up on the flank. 

Wily Soult conducted extensive recce and the poorly concealed Allied dispositions were blindingly obvious, so he mounted a demonstration against the town while putting the bulk of his troops around the Allied right against the the Spanish.

This is where we picked up.


On the first turn, the French pushed forward on their left, and shuffled across a bit on their right. They seemed very nervous of the Allied guns behind Albuera. The Allies meanwhile started shifting their reserves across to their right. In my case that meant shuffling Coles mixed British/Portuguese onto the road and forming up in match column.


Things hotted up a bit next turn as the leading French columns tore into Blake. My chaps speeded up their march along the road, preceded by the British cavalry. Over on my left Jerrys cavalry demonstrated north of Albuera and the Portuguese cavalry engaged them. So far the Spanish were hanging on.


By the end of turn three one of the Spanish divisions had routed and the French were thoroughly in control of the south end of the ridge. They had sustained considerable disorganisation however and the Soult ran around helping the troops to rally. Jerry had meanwhile got the better of the Portuguese cavalry who fell back behind their infantry to reorganise.

The Allied reserves were now in position and deploying behind Blake.


The resucitated French now attacked along the entire line. The French diversion piled into the Albuera position and the defenders responded. Unfortunately Jerry managed to slip his Polish Lancers in and overran the Allied gun line from a flank. 


Over on the French left, things got a bit sticky as they ran into the British and Portuguese units. The British cavalry were routed, but so were one of the French cavalry and an Infantry brigade. The impudent Lancers were surrounded an annihilated, but Jerry's last cavalry unit overran a Portuguese infantry unit in line. The French infantry trying to attack Albuera suffered brutally and a brigade was routed. 


The French diversionary force was completely routed, and Beresfords redcoats routed another French infantry brigade. Jerrys cavalry were still rampaging north of Albuera, but like the Lancers, they were now surrounded and engaged by the revived Portuguese cavalry.

We called it a day at that point as the French attack had run out of steam despite heavy Allied losses. By and large it replicated the historical result. Soult gave up for the day and withdrew, while Beresford wrote a gloomy despatch to Wellington, who responded "This will not do. Write me a victory".

That all went fine and we've played BB plenty of times. I'm a little uneasy about the squared version as it produces some oddities in Napoleonic warfare - units which melee also get to magically enter the enemy square and appear on the flank of any supporting units without any ability to respond, and the unit facing is very all-or-nothing. On the tabletop version these issues don't arise as the physical location of the units is very obvious and units can deploy obliquely. I don't really know how to fix it without a ton more rules about geometry and the squares work fine for linear warfare. It is just the more fluid Napoleonics which have a problem. I suppose you could let units face 45 degrees, but that would add a whole load of other issues. Anyway, it is good enough for now.


Friday, 19 June 2020

Gridded Age of Sail

We'd played Johns One Hour naval game at the club before lockdown, and we all thought it would benefit from a grid to make navigation easier. John had incorporated some ideas from the Portable Naval Wargame, and lo and behold, Gridded Age of Sail was born.


The scenario, the British are escorting a convoy from west to east, sadly the wind is from the NE so we are beating and a bit doomed from the start! The convoy has four merchant ships including an East Indiaman, while we had two frigates (myself and Tim C respectively) and a sloop (Jerry). Our job was to get the convoy off the eastern table edge or sink enough Spanish ships to claim a great victory.


The Spanish came on reaching from the east, a frigate and three ships of the line. Oh dear. Tim G had the frigate, otherwise Richard, Graham and Simon had the liners. 


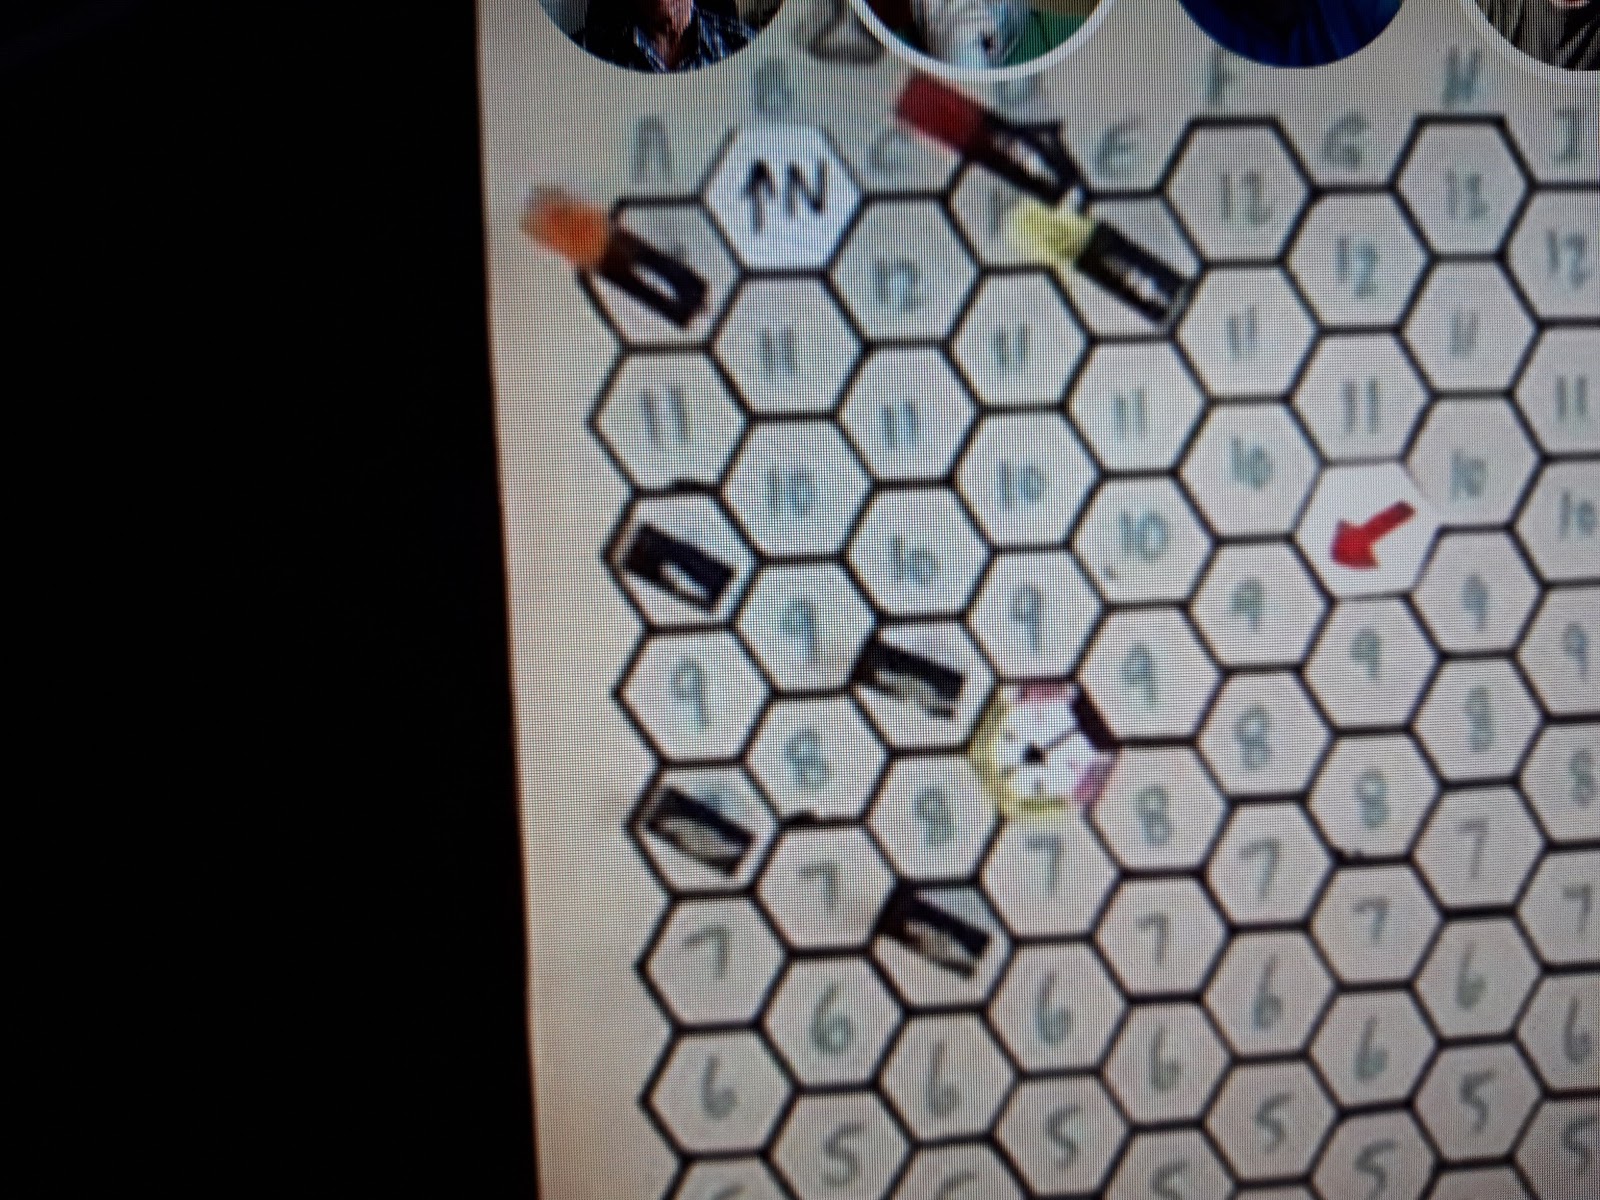
The British in close up, the merchants are at the bottom. Orange is Jerry's sloop, yellow is Tim C and red is the mighty HMS Galatea (me). The red arrow is the wind direction and the compass shows our movement relative to the wind. Beating into the wind means we go one hex per turn (plus an extra one for undamaged frigates).


With the wind gauge, the Spaniards were on us in no time. We tied to stay to windward to gain and advantage over the Dons.


Sadly, three hexes per turn reaching with the wind beats two hexes into the wind every time, even for the RN and the Spaniards were in among the convoy before we'd even completed out turn.


The Spanish frigate was soon grappled with the East Indiaman, the rest of us took on a ship of the line each. 


As might be expected, Jerry's sloop didn't come off too well from this, but it was very heroic as he sank beneath the waves. Tim managed to sail around exchange salvoes with the enemy but I got hung up on Grahams 74. Fortunately I'd managed a bow rake on him before grappling so we went in with better odds.


A somewhat confused action ensued. My chaps began to get the better of the Spaniards (I guess they'd figured out how to climb the side of the huge ship towering above us).


To everyones surprise, I managed to sink the Spanish 74 (I'd have preferred to capture it but hey ho). Sadly the Galatea was crippled by this action and drifted slowly south, barely under control. Jerry was long on the bottom and under close range fire from two Spanish 74 Tim C soon struck.


By now the convoy was scattered to the four winds and another Spanish 74 sailed over and sent my crippled frigate to the bottom. I'd have preferred to surrender my heroic crew but that didn't seem to be an option.

Rather than prolong the agony we called it a day there. The convoy was scattered, sunk or captured and all our ships had been lost, although we'd managed to take one Spaniard with us. 

We gave the rules a good test out and all agreed that the grid made it much easier to keep track of what was where. The gunnery and sailing all worked fine. The only slight oddity was the number of ships sunk (very rare in this period) so we made some  suggestions on increasing the likelihood of ships striking once they were crippled, and John also added it as a captains option. Good stuff and I'd like to try it again.


Saturday, 26 October 2019

Ocana 1809

John put on another game in his tour of unknown battles of the Peninsular War, this one was hot on the  heels of Tims 1808 matrix game. This was the Battle of Ocana, some 35 miles south of Madrid, featuring Joseph Bonaparte and Marshal Soult taking on a huge Spanish Army under General Arezaga hiding behind a ravine.

Tim G, myself, Richard and Diego took the French, while Tim C, Jerry and Graham took on the wicked Spaniards.


View from the French side. Tims cavalry are on the left, I've got the brave Poles and Battenburgers while Diego has a great mass of French infantry. Basic plan, avoid all the Spanish in the town and roll up their right flank. Simples! We had 12 turns to destroy the entire Spanish Army...


My Allied contingent led the way, marching rather slowly to  let the French catch up. Each unit represents a division, so as there were no grand batteries, all the artillery is factored in.


Over on the left a massive cavalry battle rapidly develops while some of the Spanish form square.


It is all very bloody and unpleasant!


The French infantry have caught up, so a massive three division assault goes in against the Spanish right.


The superior quality of the French Army soon tells and rout the first Spanish division. The square is proving a tough nut to crack though.


The French cavalry inexorably drive their opponents back.


Another Spanish division is routed. Time to stop for a turn and reform.


Sadly things are looking a bit sticky at the square. The Battenburgers pile in but also suffer some disorder. One more hit and the Poles are going to rout. These Spanish were apparently armed with machineguns judging by the fire damage they put out.


Some French infantry took on the far left Spanish square after shooting them up first. The Spanish defensive fire was still astonishing though.


In the centre our chaps rallied and Richard committed our reserve cavalry and infantry to assault the town.


The last of the Spanish cavalry left the field, and at that point we called it a day.

The Spanish were left with three divisions surrounded in the town and the rest of their Army routed. The French had lost one base of troops. So a resounding victory, as in real life. I've done a fair bit of commanding the Spanish and it can get a bit dispiriting facing the French without a significant terrain or numerical advantage, and I think the Spanish commanders did the best they could under the circumstances.

There are a couple of oddities with the rules but they work well enough and produce a fast game which looks like a proper wargame.


Friday, 11 October 2019

Battle of the Coa

Johns trip to battles of the Peninsular took us to the Siege of Almeida this week, and the Battle of the Coa.  At last, some decent troops to fight the Frenchies!

Almeida was held by an Allied garrison, and the Light Division of around 4,000, under 'Black' Bob Crauford was rather unwisely floating a round outside it, despite being warned by Wellington that it was unsafe to stand on the far side of the river. Meanwhile Ney was marching towards Almeida with over 20,000 men and when his cavalry pickets found the small British force in the open, he hastened to attack at once in the early morning mist.


The Coa and the road leading to the fateful bridge. In real life it is a steep ravine (hence the bend in the road) and the whole area was deemed to be out of LOS unless units were actually over the edge of the ravine.


Almedia, with various enclosed fields around it. These were ruled to provide cover for skirmishers only, as irl they didn't prove much of an obstacle.


Almeida! a scan from Google Earth.


The Light Division deploys covering the road to the bridge. The cavalry picquets and Chestnut Troop, RHA, are already formed up to pull back. The infantry are two battalions each of British and Portuguese light infantry, and in the far distance, the 95th Rifles. Sharpe and Harper are in for a hot day. 


Portuguese Light Infantry in the foreground. They are all formed up in skirmish order to take advantage of the walls. Tim and I were the British, and we thought we had a cunning plan.


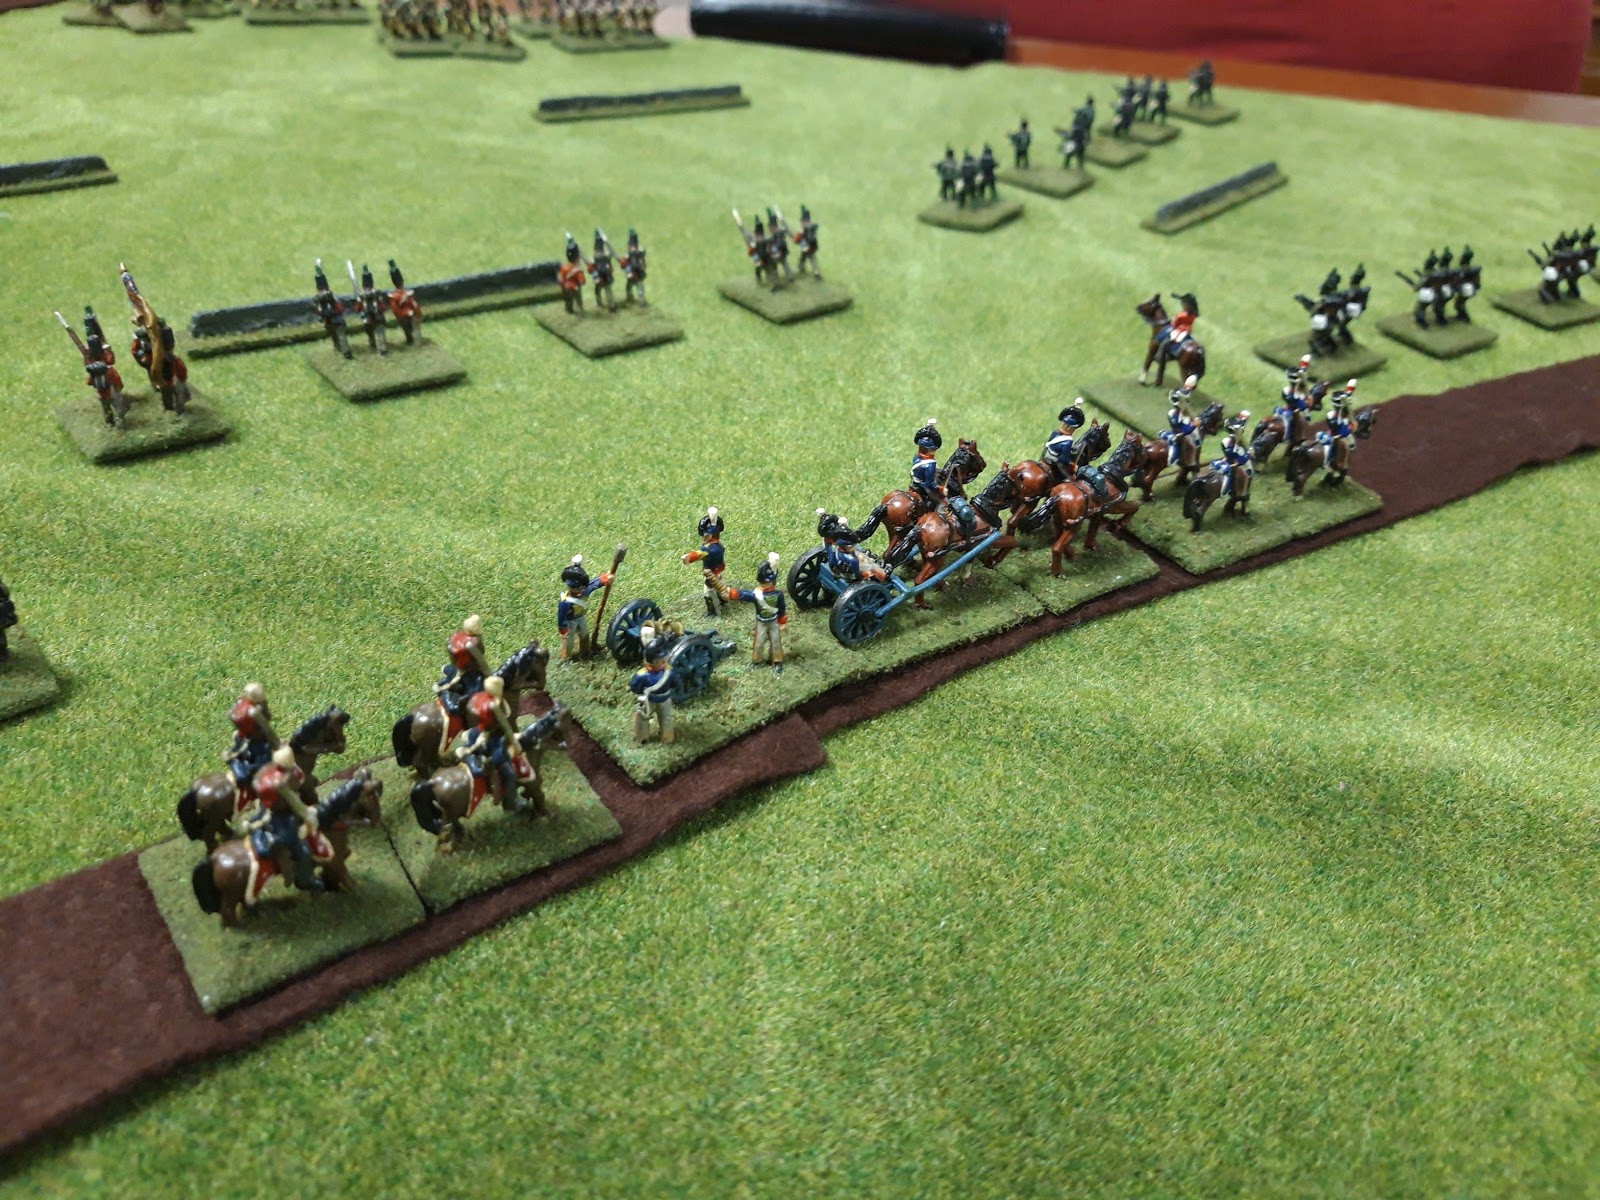
RHA, flanked by cavalry.


Neys leading division. There are an awful lot of them! Thirteen infantry battalions and four cavalry regiments. Plenty more behind... Graham, Tim C and Jerry took the French.


Our opening volleys were very effective, which rather took the swagger off the advancing French.


The French cavalry shook out into line, but took some losses from the fortress guns. Almeida had over a 100 pieces of artillery mounted on the walls, but somewhat unhelpfully, most of them were sited to fire in enfilade along the bastions.


The surviving French made contact all along the line. Attack columns vs skirmishers, not so good...


Our guys evading back, becoming disordered in the process. At least they had bought some time for the cavalry and guns to get over the river. Unlike their real life counterparts, Chestnut Troop made it across without leaving a disabled cassion to block the road (they passed all their move checks, much to our relief.


The guns began to deploy on the far side of the river, while some Portuguese infantry headed for the bridge. The cavalry fanned out to clear the way.


By now we were in a ring around the knoll covering the bridge as one battalion was over the bridge and another was lined up to do so. Alarmingly two French cavalry regiments were sneaking around the left flank in a typical wargamery fashion.


As the French closed in, were formed up into close order. 95th on the left, Portuguese in the centre, and 'South Essex' on the right of the picture. Crauford went to join the 95th as they seemed to be facing the bulk of the French.


And in they came. Two battalions against the Portuguese, two more against  the 95th and a cavalry regiment against the South Essex.


The 95th didn't do to badly at first, inflicting some losses on the French.


But sadly in the ensuing melee came off much the worst and broke contact into a sort of pudding shaped skirmish formation. To add insult to injury, Crauford was wounded and went in search of medical attention.


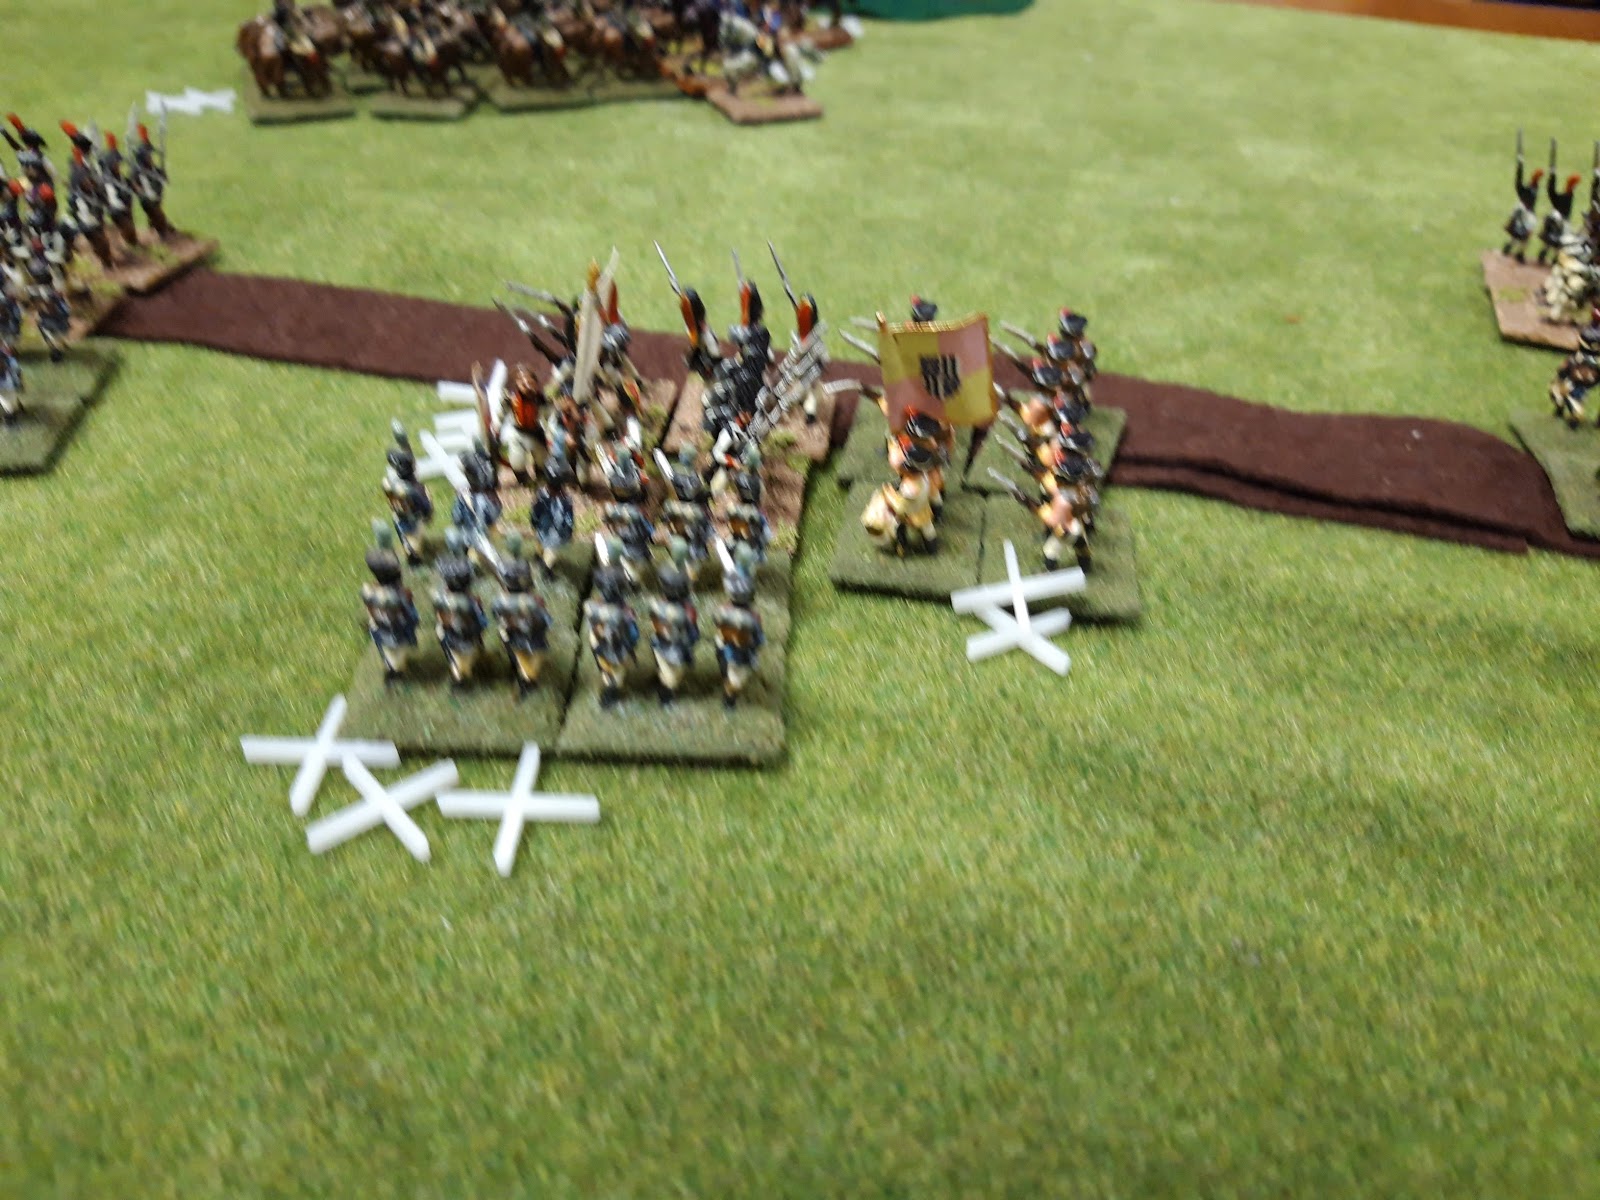
The French cavalry followed up into devasting defensive fire from across the river and the regiment routed, leaving a sad pile of white crosses behind.


The South Essex had seen off the French cavalry at some cost and fell back to the knoll as the 95th retired across the river. The Portuguese did not manage to score a single hit in melee at all, and unsurprisingly were overwhelmed by the French infantry.


At this stage it was pretty much all over and the South Essex were clearly going to escape. Ney declined to repeat his historical counterparts series of suicidal assaults over the bridge, so with four battalions over the river it was duly declared to be a 'tactical victory'.

Fighting retreats in the face of overwhelming force are always difficult to model and to game, but that worked OK. Our original plan proved to be over-optimistic in the face of French speed and strength, but we just got away with it. The French didn't feel too had done by as they'd routed the 95th, wounded Crauford and obliterated one of the Portuguese battalions, albeit at the cost of two destroyed cavalry regiments and hideous infantry losses. Ney had flung himself into the heart of the action time after time and missed death by a hairs breadth. Truely, the bravest of the brave.