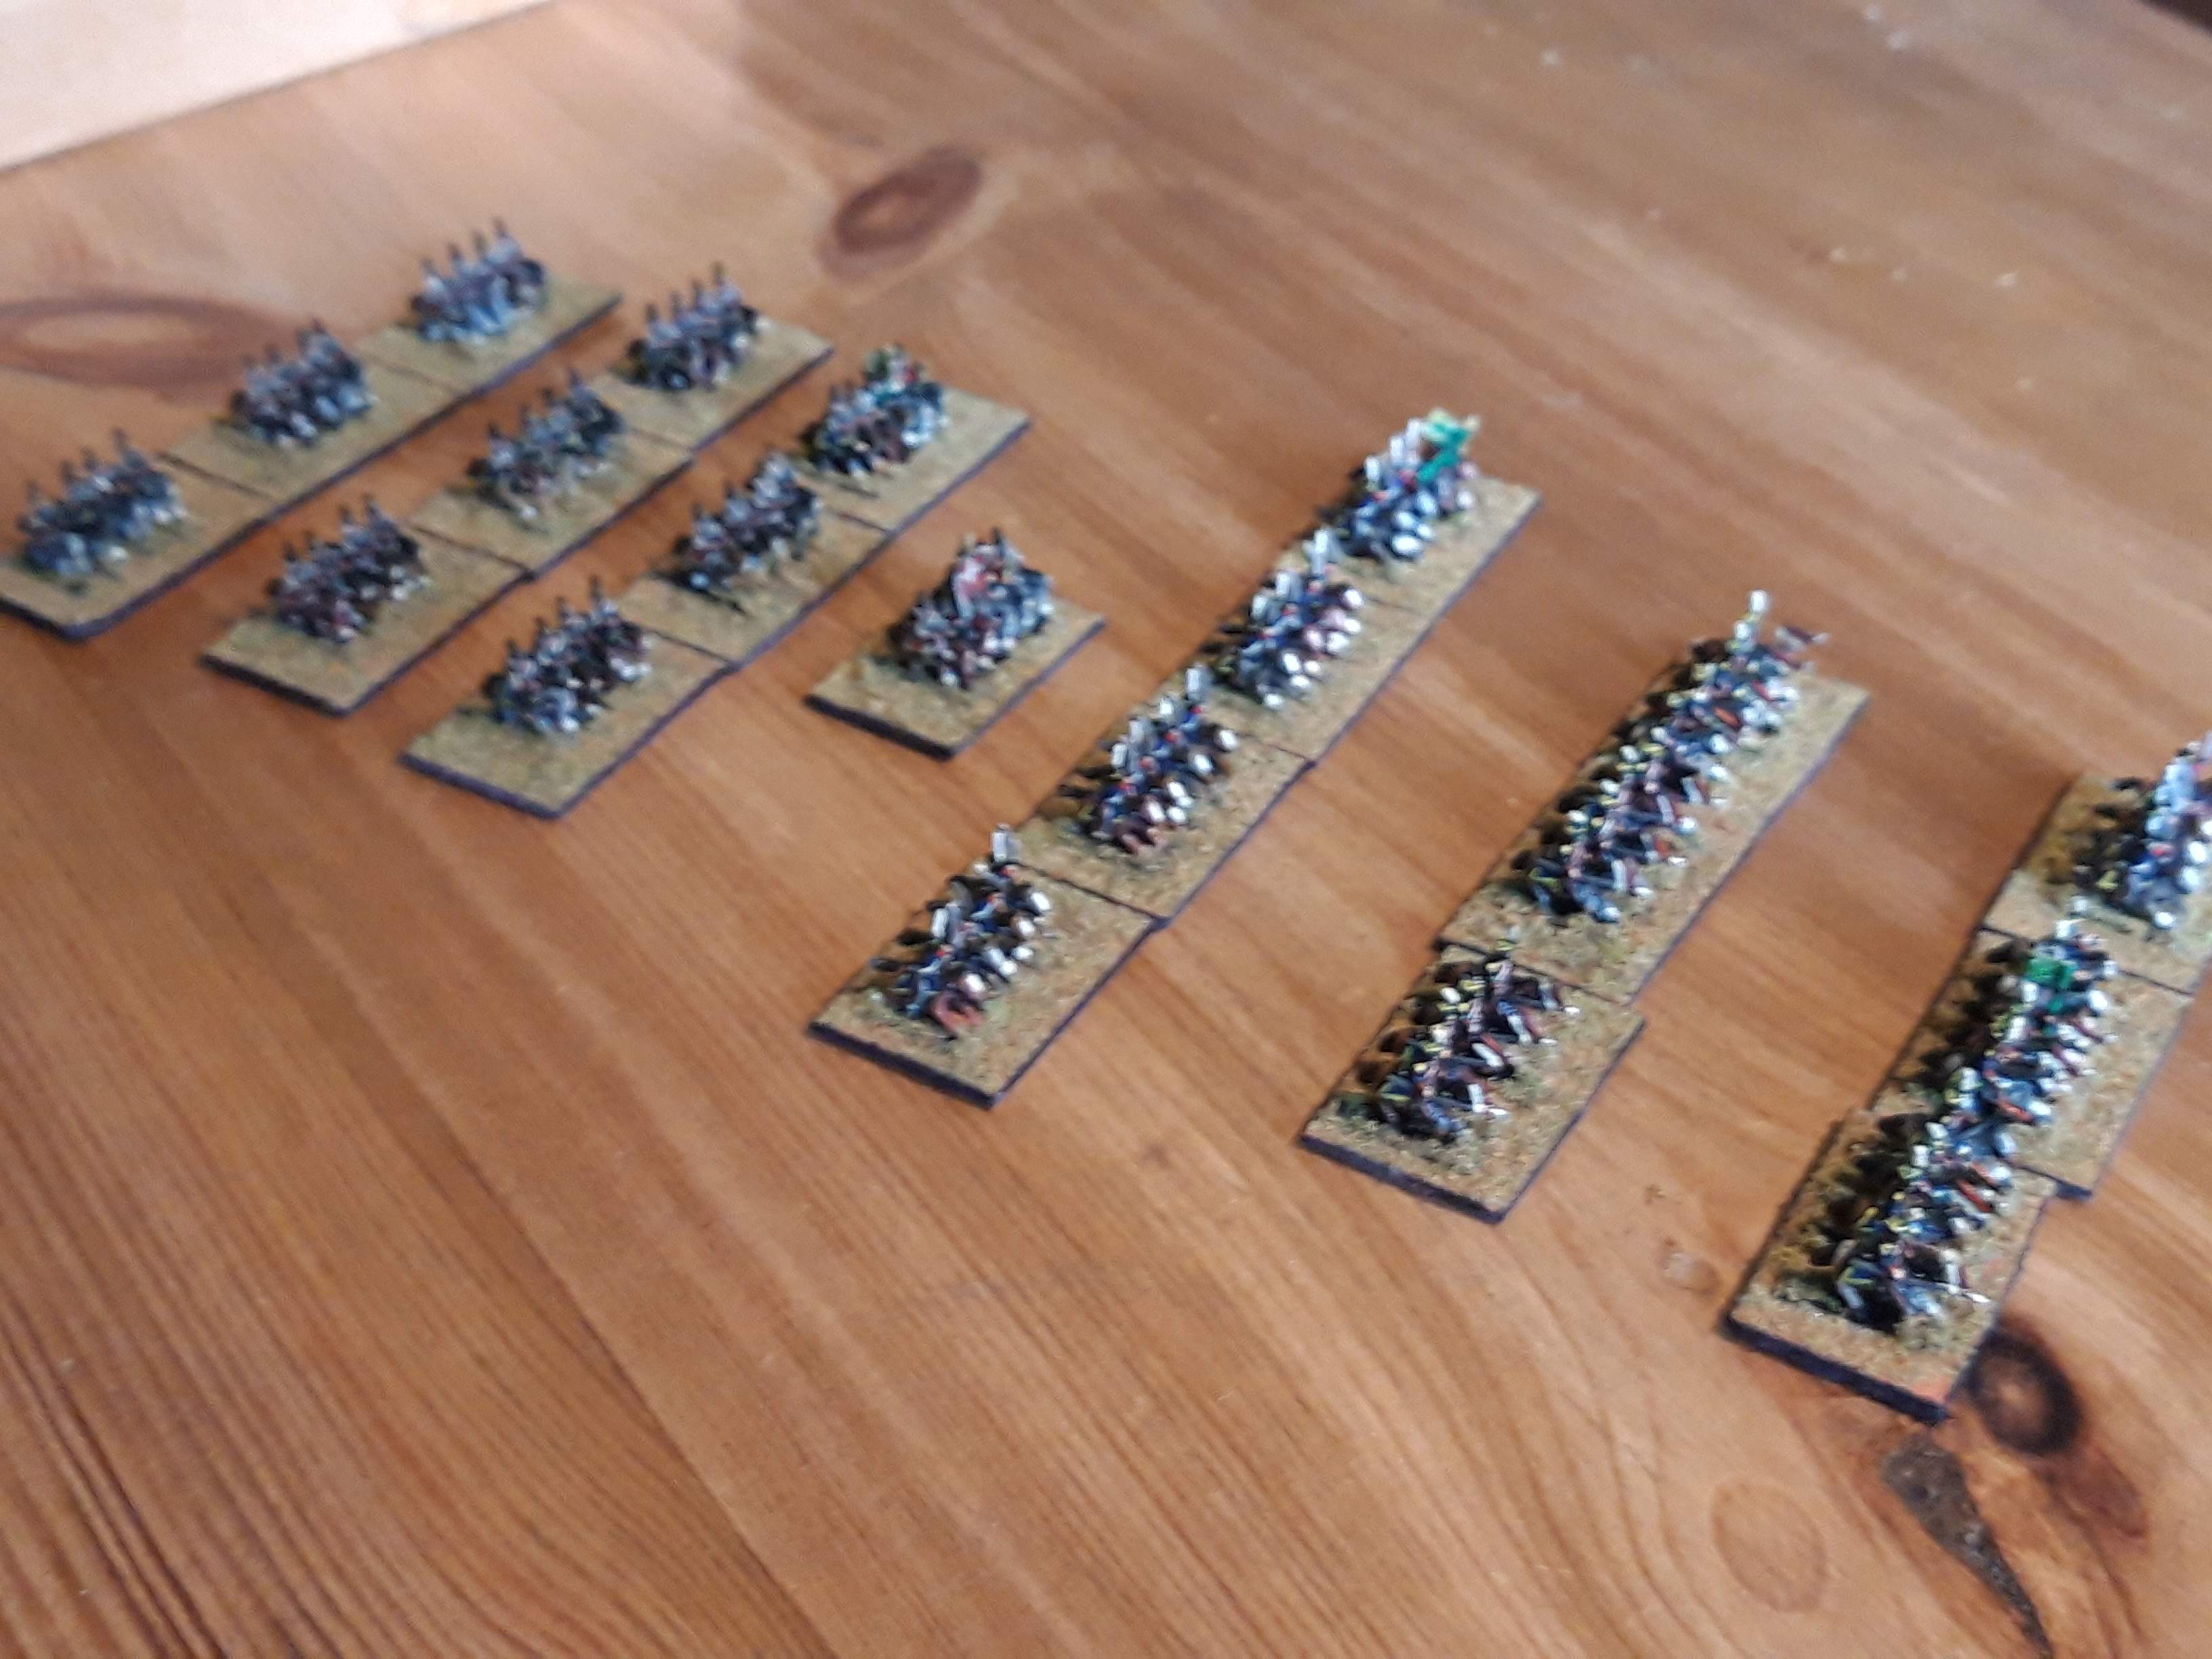
My Napoleonic rules writing has been parked for a bit as I try to drum up some enthusiam. I had a go at reworking Neil Thomas's Napoleonic rules for hexes in a similar manner to his ACW set, but his focus is really too tactical for me. Do I actually care what formation the battalions are in if the manouvre units are Corps?
Anyway, I've been back and forth with this for a bit and thought I'd give some boardgames a go for inspiration. Warerloo a la Carte didn't really cut it for me, nor all the super simple stuff like Waterloo 1815 as it is very hard to design new historical scenarios in such a staged setup. I've still got a few Napoleonic boardgames left over from my days of intensive gaming back in the day (Waterloo, Dresden, War and Peace etc) but one game I own but never got around to playing was the old Napoleons Last Battles Quad.
Well, why not give it a go. The individual scenarios are pretty small and as I'd developed an interest in Ligny, it was worth a look.
The rules are short and deceptively simply. A lot of it is standard SPI stuff explaining in great detail that each player takes it in turn, you can't move enemy units etc. They read much like those for an AH classic, although in the basic game there were some special rules for Chateaux and some optional rules for combined arms attacks. Might as well use those I thought, as otherwise the arms aren't really differentiated, although this game has the novelty of ranged artillery fire, and cavalry have various restrictions in woods which I should have paid more attention to. It all seemed a bit vanilla with standard MP type movement and a very ordinary Terrain Effects Chart. The CRT was very unbloody, mainly AR or DR results.
The other bit I should have paid more attention to was stacking and ZOCs. A maximum of two units can stack and are treated as a single unit, so no AH style multiple soak off attacks from one hex, and the key bit about ZOC is that the only way to leave a ZOC is is a result of combat (winning or losing a battle), although Chateux are exempt. ZOC extend through friendly units for retreat determination, but not command determination.
I didn't quite appreciate the impact of that before I started playing.
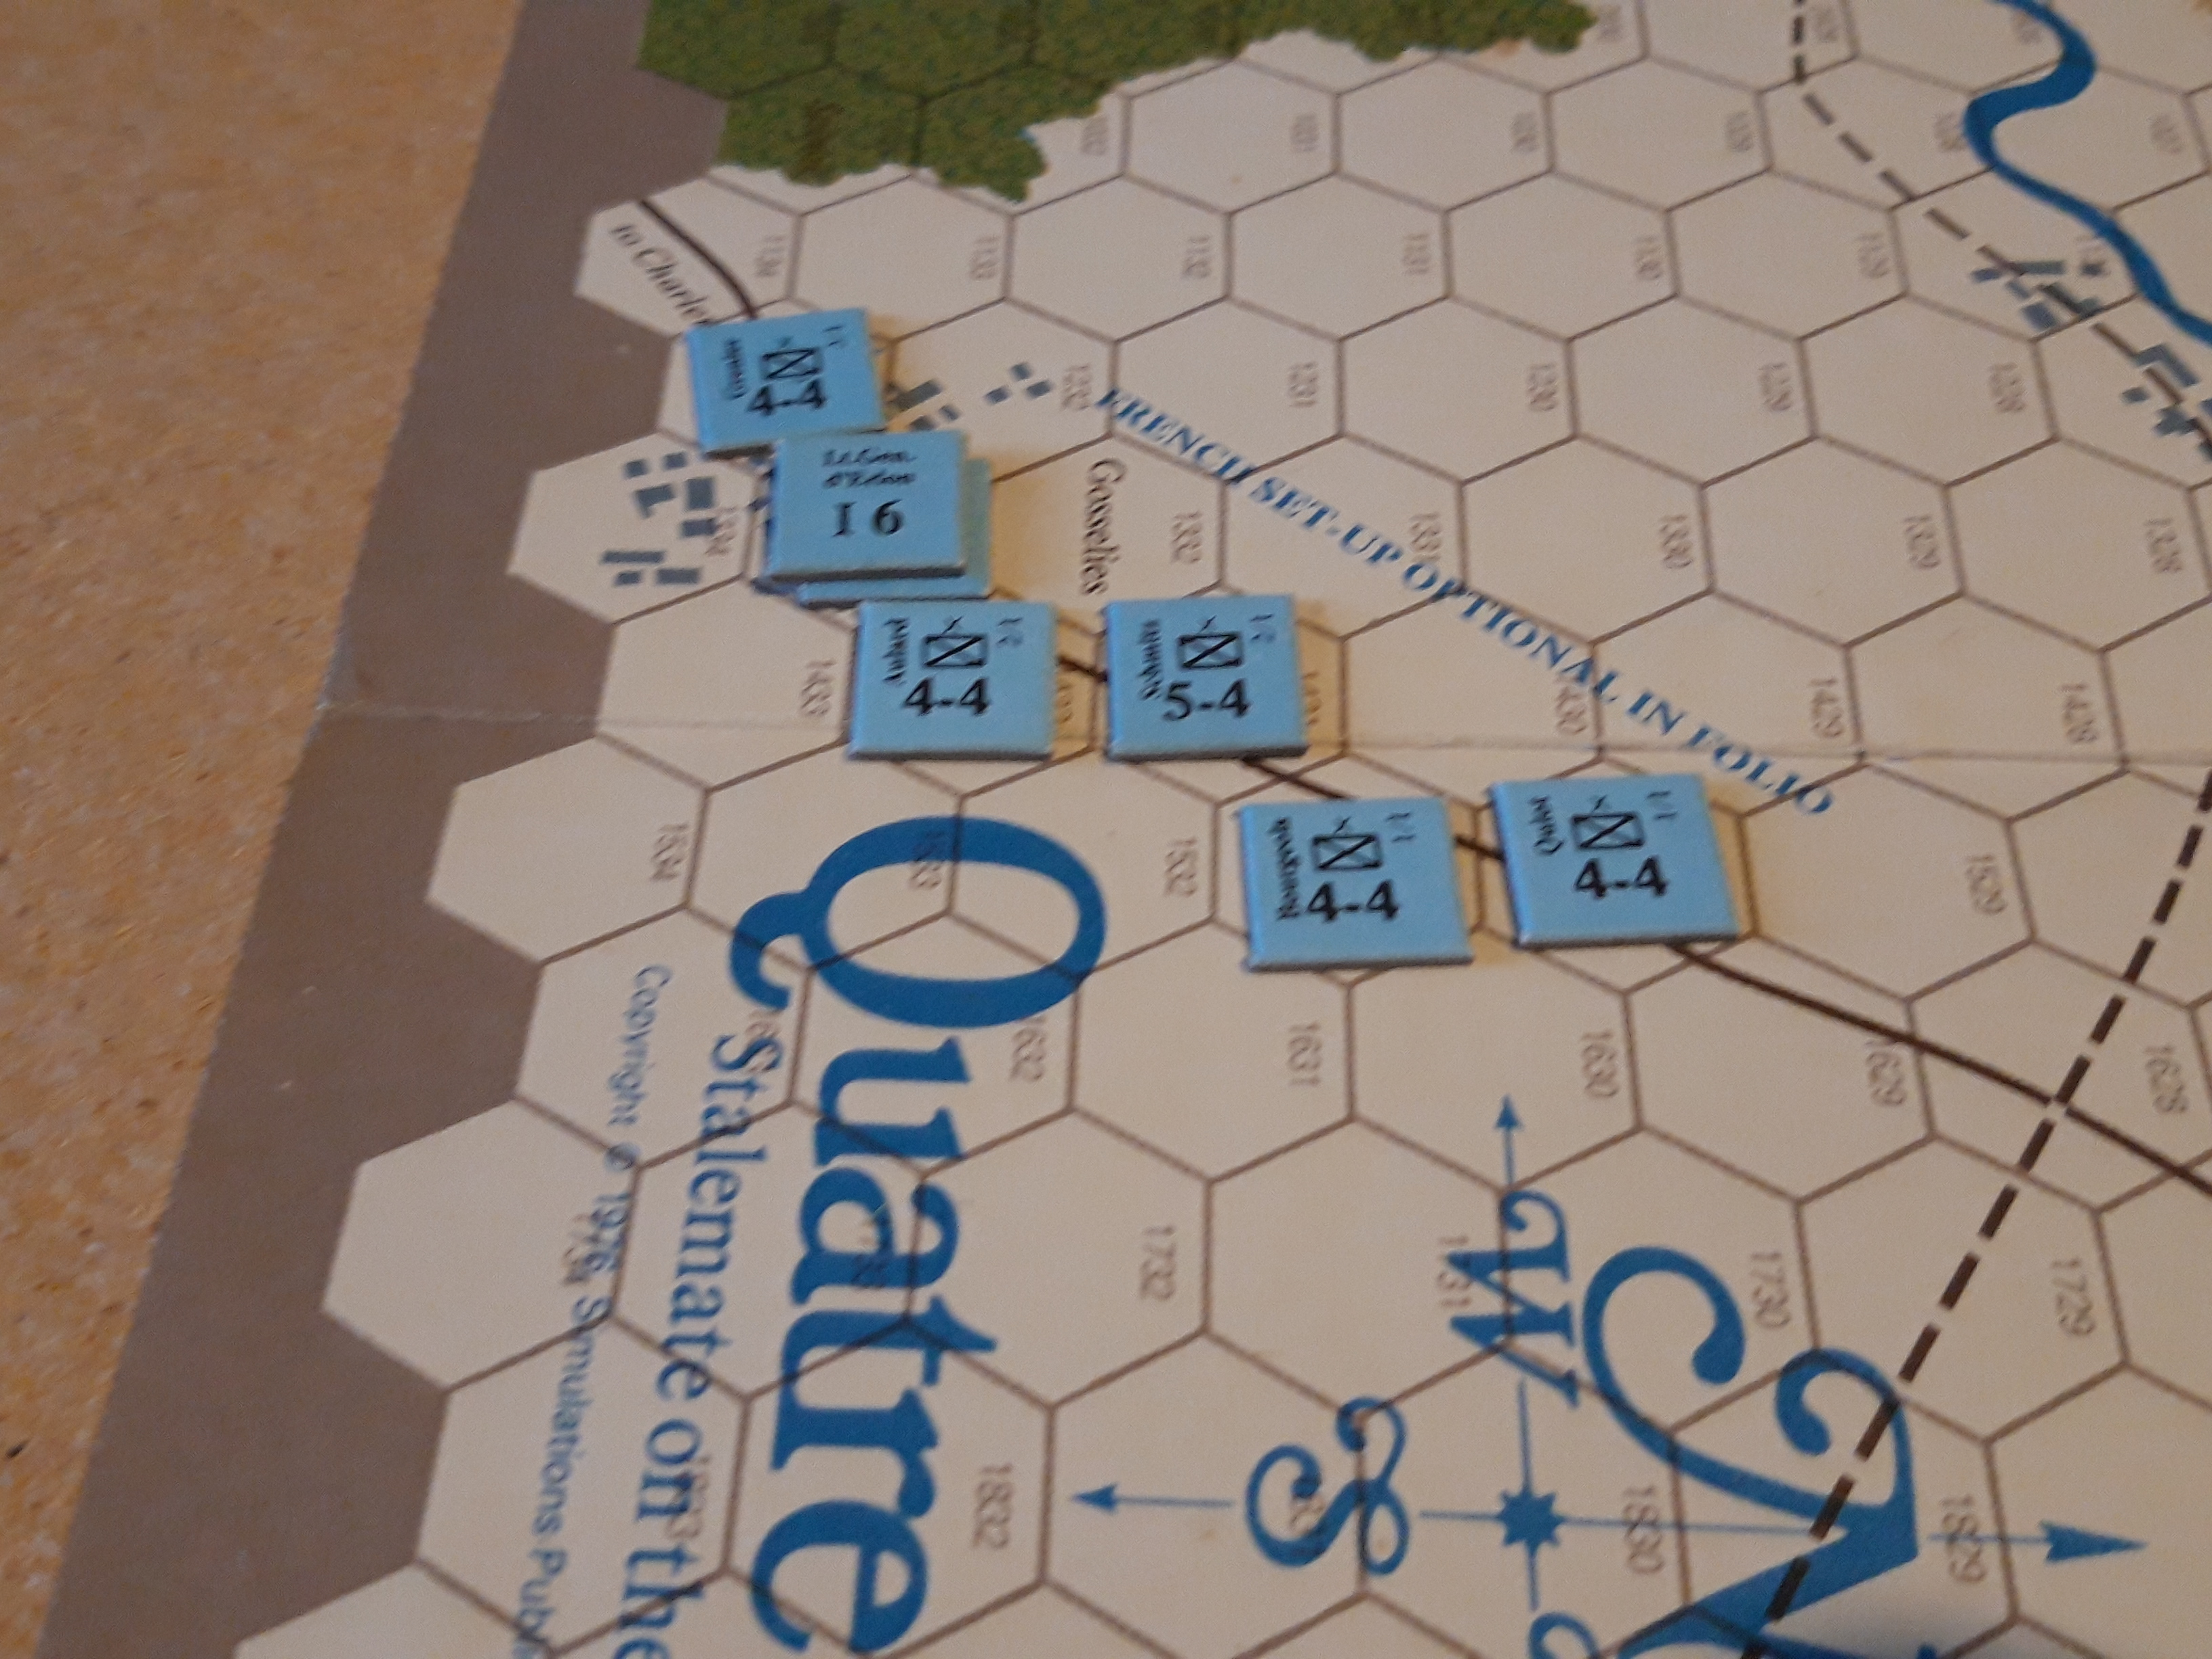
Map from the south. Quatre Bras is top centre between the two long woods lines. Reille and Kellermans Corps at the top, D'Erlon straggling up from the bottom. D'Erlon is optional in this scenario but I put the counters on anyway.
Each side gets 1VP per enemy SP destroyed, 1 VP for each turn they control Quatre Bras and 5VP if they hold it at the end. So Quatre Bras is pretty important. The French also lose if their army becomes demoralised, which happens at 10SP lost in the first two turns, 25SP thereafter.
Quatre Bras is held by Perponchers Netherlands Division. Two brigades and an artillery battery. Each hex is 480 yards (a quarter of a mile) and the units are generally infantry brigades, cavalry divisions and massed Corps artillery batteries. The Anglo-Dutch formations are divisions, whereas the French formations are Corps.
The maps and counters were obviously designed for people with keener eyesight than mine, and unlike many other games, there is no scenario specific counter location manifest, just what is printed on the map. That is fine for open hexes, less good trying to read tine blue print on a thick woods hex. I spent ages trying to locate the hex for Merlens Dutch cavalry brigade, only to find it five miles west of Quatre Bras!

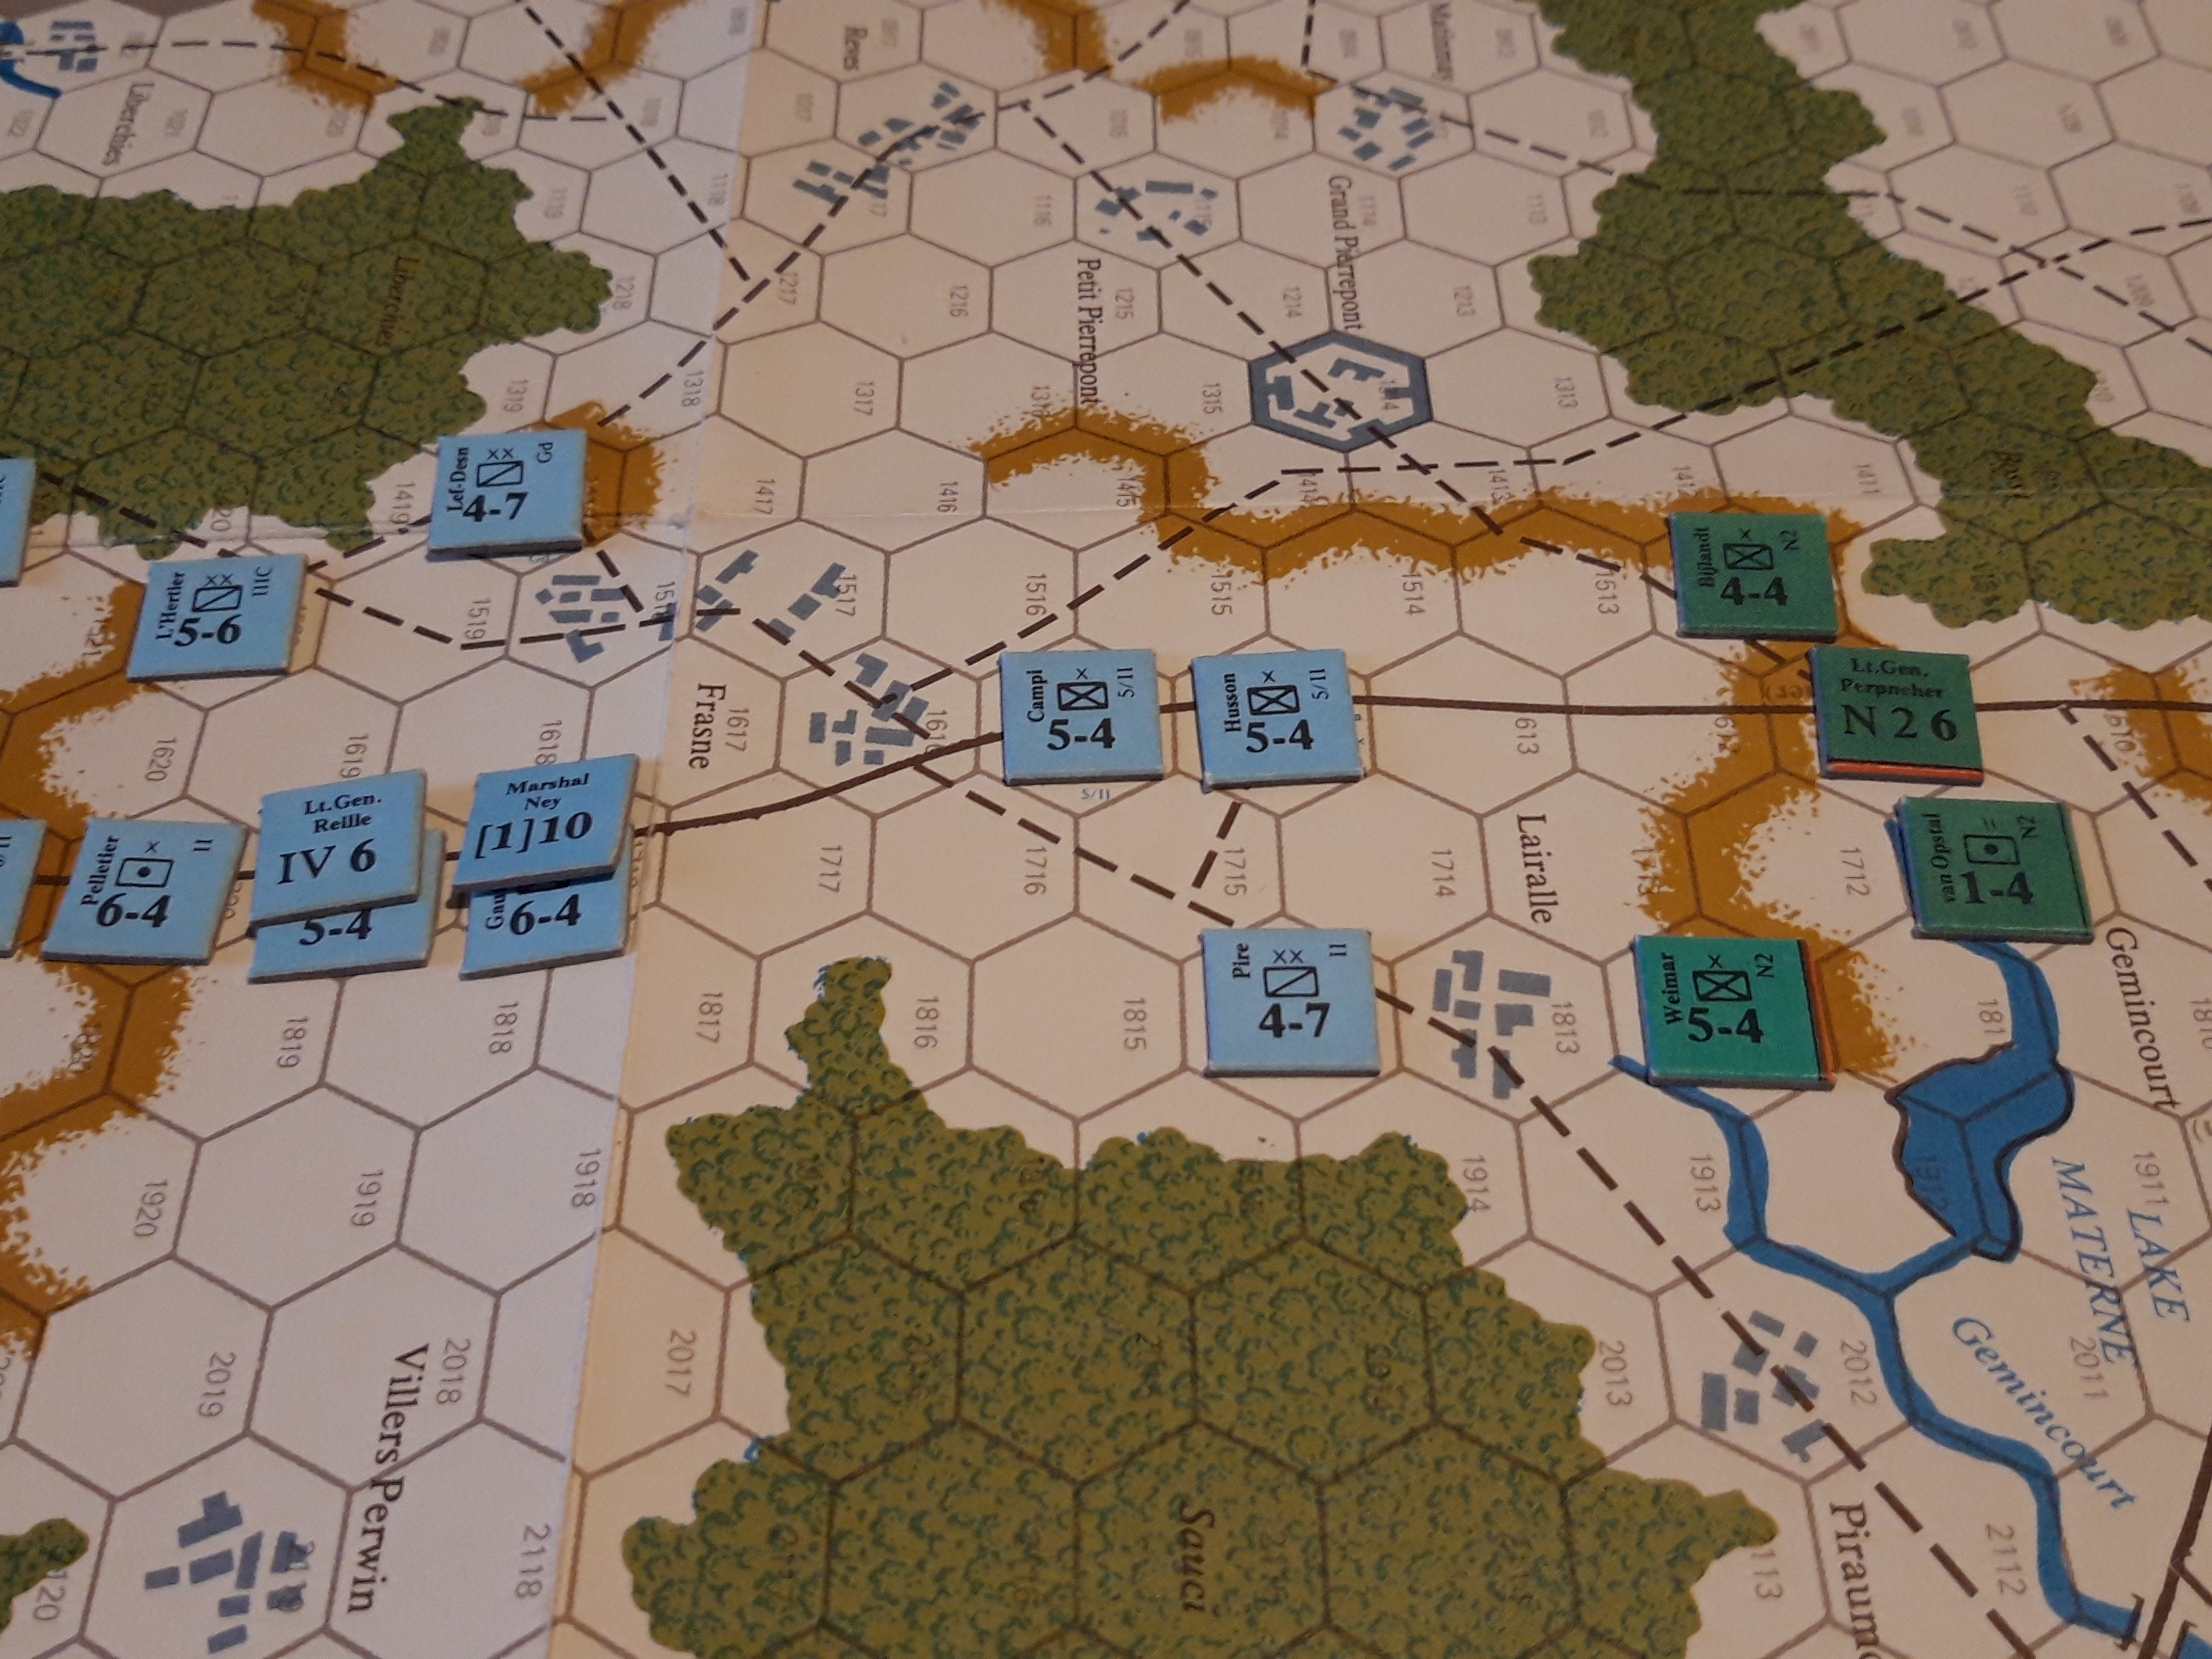
Reille and Kellermans Corps. The Leaders are only used in the campaign game, but I like the extra colour they add so put them on. I was completely unable to locate the counter for the Prince of Orange however, perhaps Sharpe has locked him in a barn. Both these Corps are powerful, and Kellerman seems to have an extra division of Guard cavalry as well.The tracks (dotted lines) negate terrain penalties but don't give any move bonus, whereas the highway is only 1/2 MP to enter each hex, so key to rapid movement. The woods are serious obstacles to movement, which is why the French cavalry are on tracks.
Reilles Corps has some hefty units, and the Corps artillery is a whopping six batteries (6-4). Under Kellerman is a very useful 2-6 Horse Artillery battalion. With two artillery pieces and the great mass of cavalry in attendance, the French can mount two combined arms attacks per turn, which get a column shift.
There was an optional rule about cavalry delay (ie they can retreat before combat if attacked by infantry) but I had enough to remember so ignored that.
D'Erlons Corps. Weaker divisions than Reille, but still a powerful force. His Corps has four infantry divisions, the Corps artillery and a Cavalry Division. That is the kind of force mix I'm aiming at for my game, albeit with half mile hexes, not quarter mile. I really want to include the Corps cavalry as it makes them into a genuine combined arms force.
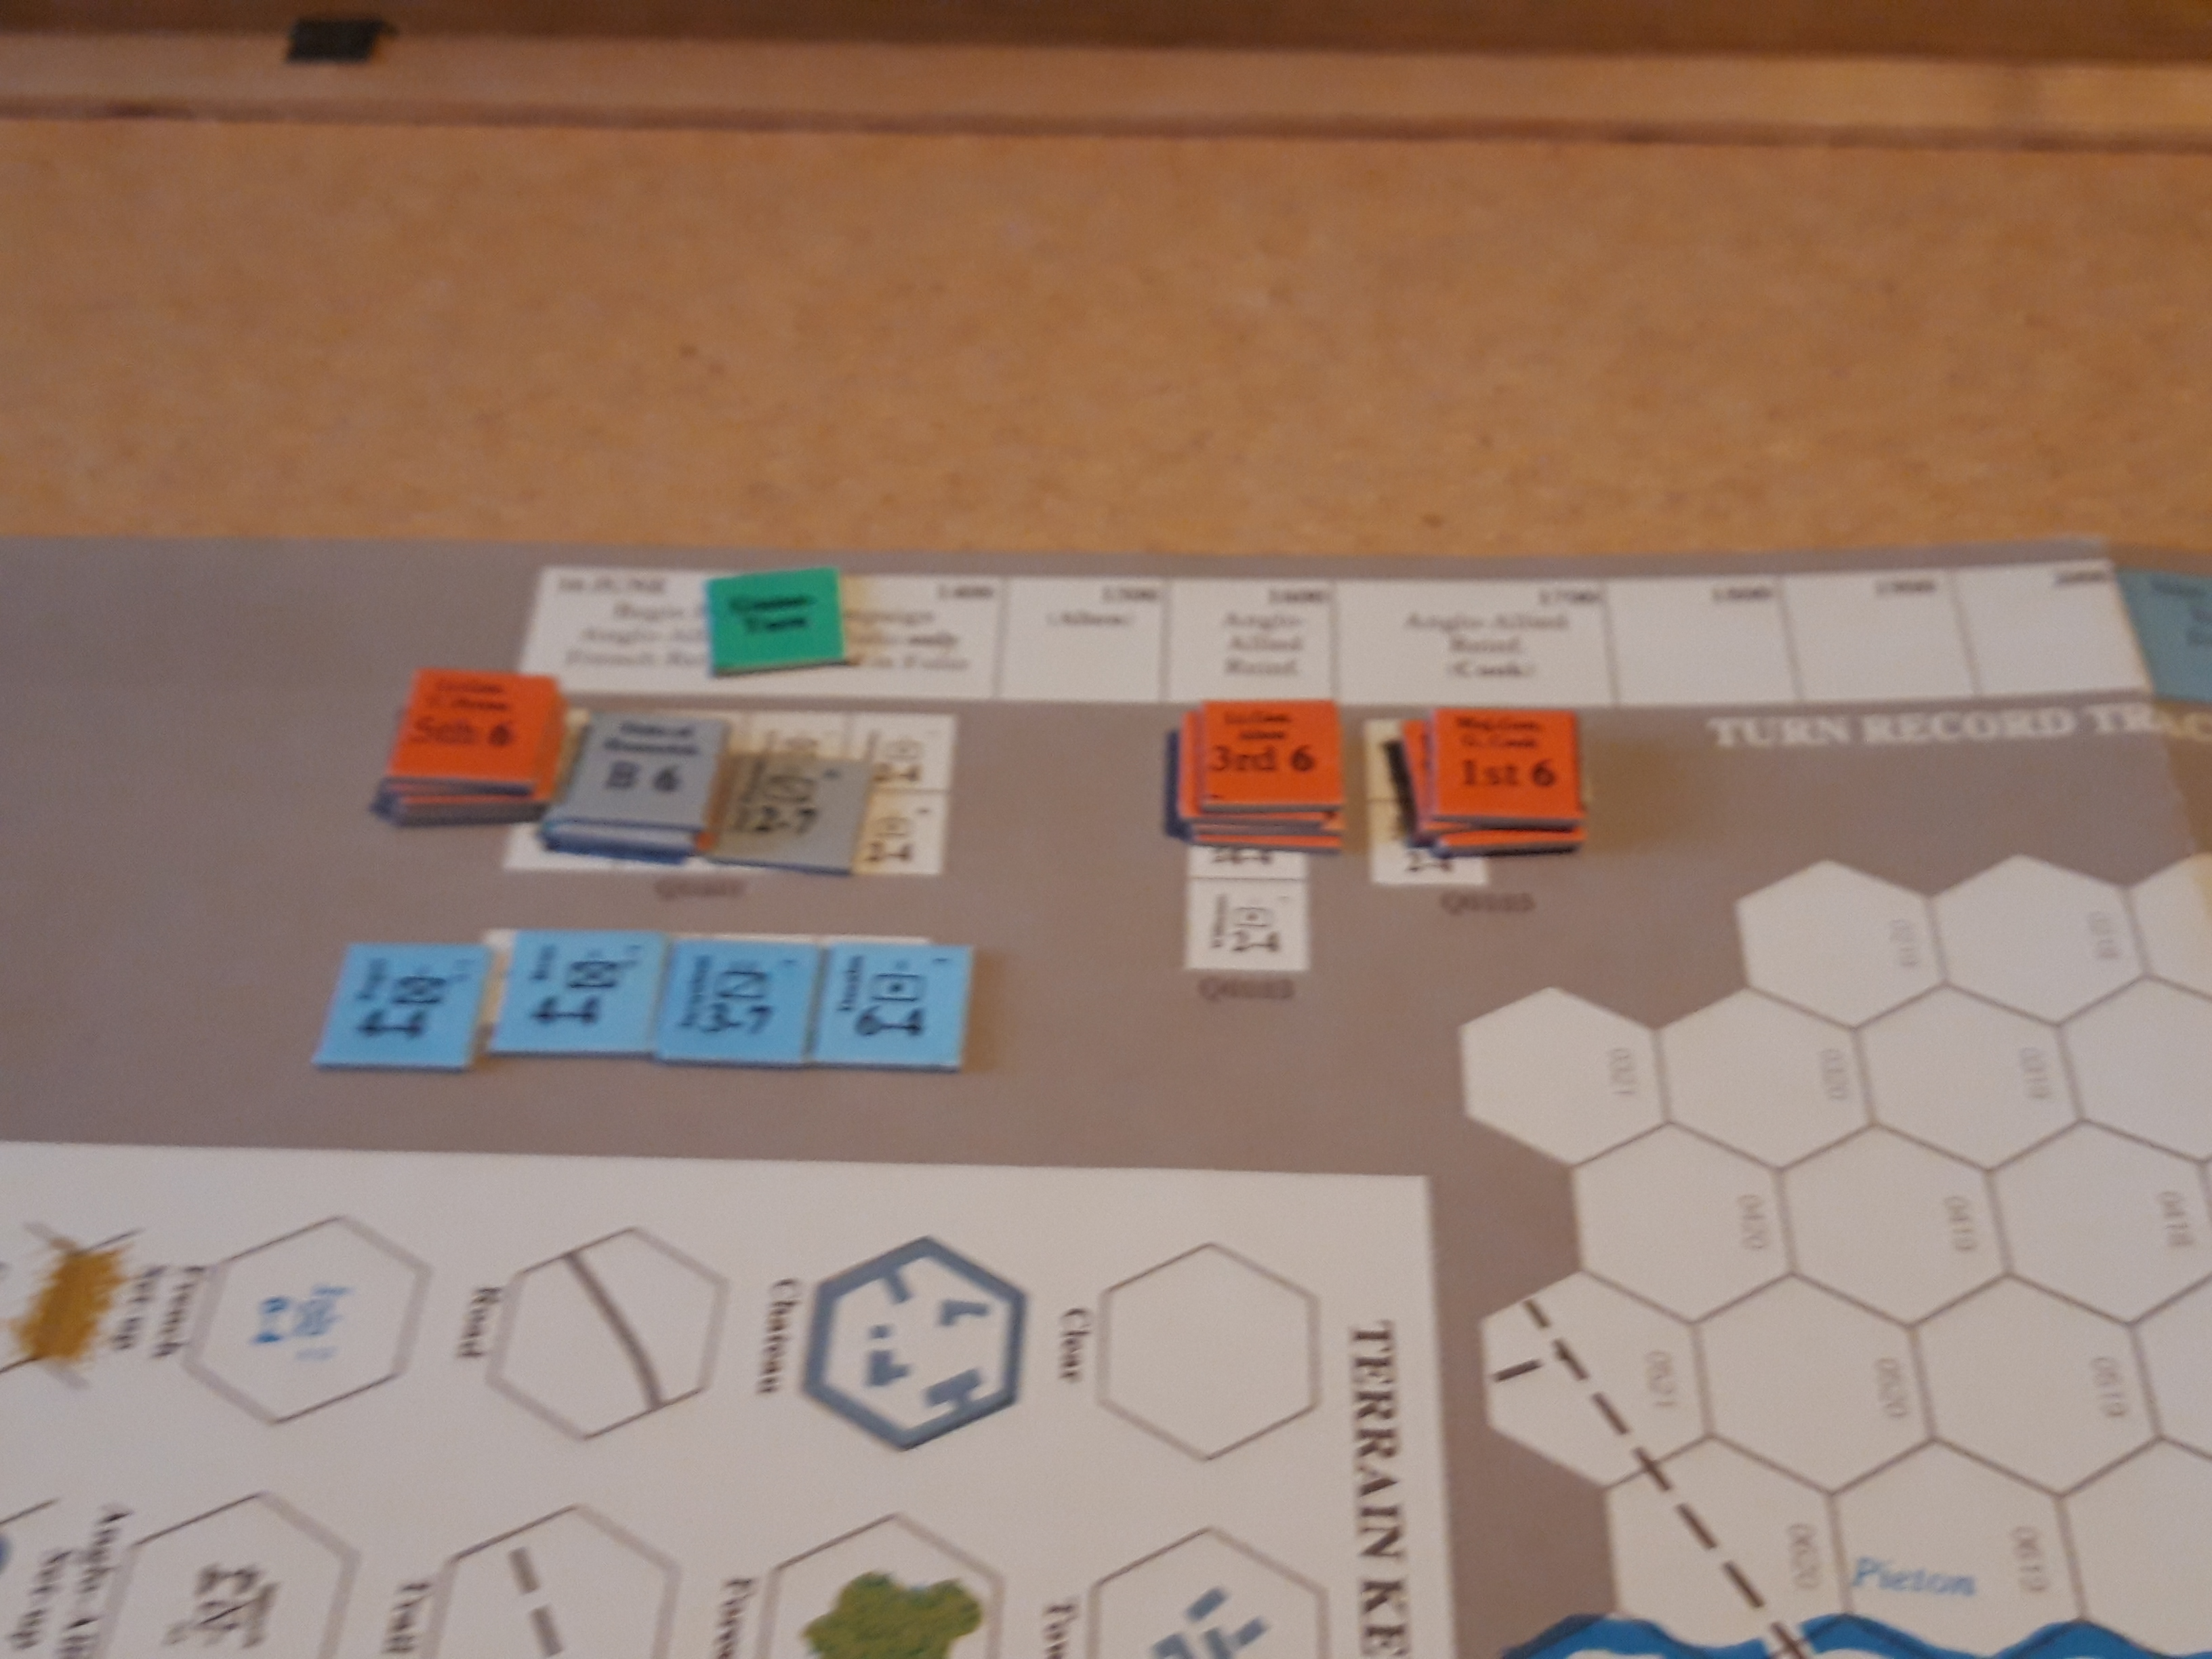
Reinforcements. Brunswickers, three British infantry divisions (Picton, Cooke and Alten) and the balance of D'Erlons Corps.
The Dutch position looks weak but is actually very strong. Their ZOCs prevent them being outflanked as the rest on woods, the ridges prevent ranged artillery fire through them and they have plenty of room to retreat. They should be able to hold up Ney for some time.
If using the leaders, the Army commanders can use their command rating to activate subordinate formations and units. A 3 commander (like Napoleon) can activate three formations AND three individual units within their five hex command range. Units and formations out of command can move but not engage in combat.
Both Ney and Orange (I found a counter manifest on the interweb), the Army commanders in this scenario, have command ratings of 1.... So, in the campaign game, Ney can only attack with Reille plus one of Kellermans units, or vice versa.
In the standard game however, there are no command limits however. I can see this posing a few problems given the huge map and preponderance of French cavalry. I've also played a lot of hex and ZOC type games over the decades, so by cunning move sequencing and use of the various types of road available, I manage to get almost all of Reille and Kellermans Corps into contact with the lead Dutch infantry on the first turn!
The attack on the 4-4 atb the top will just be infantry and cavalry, but the attack on the 5-4 is combined arms. The limited stacking required a certain degree of thought to achieve this, which was interesting, and I only just manged to get he bottom cavalry in contact by marching through the woods. I guess they are lights as they are 4-7. After all that manouvering, the modified odds against each are 5:1
D'Erlons Corps comes marching on. Perahaps I'm not as good at hex games as I thought as I've ended up with a gap in the column. The wording of the text on how to pro rate movement for entering units wasn't very clear. ie I couldn't work out if units were allowed to enter stacked. I suspect not, which was how I did these units.
I resolved the southern attack first, and rolled an Exchange! Up to 3:1 the only results possible are AR/DR, at 4:1 there is a single Ex, and at 5:1 and 6:1 are a number of DE and Ex results. Interesting.
Anyway, the Dutch infantry rout and my surviving infantry brigade advance into the hex. You are only allowed to advance one unit after combat (unless using the optional leader rules), and I had plans for the Corps cavalry.
The northern attack went in at 5:1 and rolled a DE, so I pushed another brigade forwards into the hex, next to Perponchers counter. Also interesting. So in theory he has mount an attack next turn as he isn't allowed to move out of a ZOC.
The French are all on the reverse slope from the Dutch artillery by the stream now. Ridges have no other terrain effect, which is very different to eg Waterloo a la Carte where they act as a sort of mini Maginot Line!
The dead pile, neither side is anywhere close to becoming demoralised, although I realised afterwards that if I'd rolled two EX results, the French would have lost at this point. Oops. Anyway they didn't, and fortune favours the brave etc. That is also presumably why you can voluntarily attack at a lower odds ratio if you wish (to avoid EX results).
So far, apart from the unit shuffling to get the combined arms bonus, it felt a bit like playing D-Day or something.
The first Allied reinforcements roll up, Picton and Brunswick. I briefly glanced at the optional leader rules and decided Perponcher just needed to make a risk roll. He survived and rode away.
The Allied infantry could just make it to the outskirts of QB, and the Brunswick cavalry could go further. I think I made a critical mistake at this point. I didn't want to lose the Dutch artillery, so they fell back from the village behind the stream and I stacked them with the Brunswick cavalry. This left the approaches to QB open. I also moved up the Dutch cavalry to cover the paths through the woods.
There was therefore nothing to stop both French Corps from simply piling straight down the road and attacking the Dutch/Brunswick guns and horsemen. The French put one cavalry division in the chateau on the left to guard against the Dutch cavalry, and Reilles light cavalry went off on a foray to the right around the woods.
The cavalry in the Chateau didn't get the same defensive benefits as an infantry unit would, but they were still tripled on defence. I assume dismounted with their carbines.
D'Erlon now set off in the direction of Ligny over to the right.
The restricted front and stream stopped the French guns getting into the fight, they were in range but the Allies were hidden by the ridge. They still pushed enough infantry and cavalry forwards to mount a devastating attack as the defenders only had a combat strength of three.
The Dutch guns and Brunswick cavalry were duly routed and removed, and that big 7-4 infantry brigade tramped forwards. I had now lost one of the only two Allied cavalry units available, which was a bit silly of me. The French had also succeeded in putting their 7-4 next to the two leading British infantry brigades who would be forced to attack next turn. Very interesting indeed. There is a lot more to this game than meets they eye,
I attempted to return the favour and mount an Allied combined arms attack while occupying QB. The unengaged Brunswick infantry moved into the town, all the Allied guns move up in support firing at range 2, and my last remaining cavalry the Dutch 1-7, moved into the wood in support. It was the only place I could put it.
The pinned British infantry would have to make a 1:1 attack on the 7-4, but that is actually quite safe as the worst result is AR and it is a 50% chance of a DR. I put the unengaged 3-4 out to cover the flank, and moved the leader counters out of the way.
This was an interesting situation and I began to understand the design intent of some of the ZOC and stacking rules.
The Brunswick combined arms attack was 3:1 and duly rolled DR and pushed the French back. They declined to advance out of Quatre Bras. Pictons British Infantry attacked the 7-4 at 1:1 and rolled AR, which was great as although stacked units fight and defend as one, they can retreat into seperate hexes, so I spread them out into a line.
That is looking a bit better, and the French 7-4 is now stuck in a ZOC next to QB so forced to attack next turn and a distinctinctly unattractive 7:16 (as the Brunswickers are doubled in the town).
I did seriously think about letting the 7-4 attack at 1:3. There was a 16% chance of a DR and the worst adverse result was Ex. That is also an interesting consequence of the structure of the CRT.
That wouldn't be very Ney like though would it? And I hadn't spent all that time working the 4-7 cavalry around the flank for nothing either.
Instead I lightly reinforced the 7-4 so the attack was a more surviveable 1:2 and otherwise concentrated on the weak flanking units. The 1-7 Dutch cavalry were hideously vulnerable on their own as cavalry in woods is halved, so even a single 5-4 infantry brigade was enough for a 10:1 attack(!). What a stupid mistake.
Over with Pictons boys, it was time for a DBA style 'buttocks of death' using the 4-7 cavalry to cut off their retreat. As ZOCs do extend through friendly units for retreats, all I had to do was pushed back the 3-4 to kill it. I mounted a 2:1 soakoff attack on the adjacent 5-4 so I could cut the retreat from that direction too. I'm starting to feel like I'm getting the hang of this.
The Dutch cavalry were duly wiped out, although I rolled an EX and had ot remove an entire French 5-4 as well. Ouch.
The British 3-4 was also enveloped and destroyed, while the soakoff attack rolled a DR (66% chance) and pushed back the British 5-4. The diversionary attack on QB failed and retreated back behind the ridge.
Eagle eyed readers will note that Kellermans 4-6 cavalry division has pushed through the woods to the north as well.
10 French SP lost to 16 Allied. The Allies still hold QB though.
Cookes division comes marching on. I have a horrible feeling it is a bit too late. I'm doing this as one unit per road hex. It just feels better as road columns take up a lot of space.
The Allies try to buy time. They aren't really strong enough to counterattack and have now lost all their cavalry (doh) to mount combined arms attacks. The British infantry are unengaged however and take the opportunity to occupy QB with both brigades. The Brunswickers fan out to provide flank support, each brigade supported by artillery.
That is the best I can do, but even so, QB is vulnerable to being surrounded, but the restricted front makes it quite a tricky proposition.
Which the French duly do. As before, they focus on the weaker supporting units and mount a (safe) 1:2 diversionary attack on QB itself. The unfortunate Brunswickers are completey surround by marauding French cavalry, assailed frontally by infantry and I even manage to work the French artillery into range to get the column shifts for combined arms. At this stage I don't care about the potential for EX results, as this is a chance to crush the Allies piecemeal.
The Brunswickers are duly obliterated, and in a pleasant bonus, 9SP of British infantry are left in contact and completely surrounded in QB by 17SP of French. They have a chance of breaking out, but not a huge one.
Altens 1st Division makes an appearance.
Cooke masses against the French cavalry cordon. As they are basically in road column at the limit of their movement, they just mass both infantry brigades forward, supported by the artillery.
The French 4-6 is forced to retreat but Cooke declines to advance, it is just putting his head in the noose. Pictons boys mount their desperate counterattack at 1:2, roll an AR and are removed, leaving the General alone in Quatre Bras.
The Allies have now lost enough stuff to become demoralised, so they can't advance after combat any more. They won't break until they reach their disintegration level.
QB is occupied by Reilles Corps artillery, and poor old Cooke s literally overwhelmed by Reille and Kellerman. The French infantry pile up the road, Kellermans cavalry around the flanks and horse artillery moves up in support. Cooke is surrounded.
And utterly wiped out under attack from all sides. At this point the Allies have reached their disintegration level and their remaining forces withdraw.
The final tally, a pretty shattering French victory.
That was a decent first run through, although I made more mistakes as the Allies than as the French, it is always easier to attack than defend. That is part of the learning experience I guess, and at first I put it down to lack of the (campaign) command rules, but in retrospect it was more about not understanding the full ramifications of the bloodless CRT and the way that ZOCs worked. I was too nervous of low odds attacks (remembering too many AE results playing AHGC games!) and I wasn't careful enough about flanks.
I'm still a bit dubious about cavalry wandering off miles to the flanks irl, but actually if the Allies had played better, they would have been very vulnerable.
I really liked the sticky ZOCs and forced attacks, I thought that worked really well and it reminded me how good the same approach was in Richard Brooks 'Terrible Swift Rules'. I also found I learned to ignore the ease of movement, as what actually mattered was which combinations of units you could get into contact. Many Napoleonic rules make a great faff of just moving units around the battlefield, but it never seemed to bother Napoleon that much, more about who attacked or defended, where and with how much. Army Commander, not Division Commander.
I did find I ended doing a lot of SP and MP counting and odds calculations, which perhaps isn't very Napoleonic, however unit strengths can be abstracted (Phil Sabins 'Kartenspiel' just counts 'divisions' in each engagement).
So, lots of food for thought there and worth a replay now I've got a better idea of what I'm doing. Ligny is a much bigger battle and I'd rather get the basics down first before tackling that.