Tim organised another fine 54mm outing, this time to the Somme in 1916. I've played this scenario a couple of times already, so I opted to be the German commander, which is more of a plumpire type role.

The assembled British commanders. We were supposed to be playing outside but it decided to pelt with rain, fortunately Tim had access to an empty house, so we set up in there instead. The British had an entire infantry division with a range of infantry brigade commanders, artillery commanders and even an air commander. Divisional HQ was provided by remote Zoom call to Paul in London, Mr Funny Little Wars himself. The signal was appalling, which added to the command confusion.

The British forces were quite impressive. Nine infantry battalions of 20 figures each, plus six field guns in support and a pair of heavy howitzers. The plan called for the main effort to be made on the left, so the heavy guns were concentrated there as were the more experienced (Scottish) troops. Most of the British units were New Army battalions, and each brigade had an infantry commander and an artillery commander.

The German defences. These were a bit thinner, with two infantry battalions of IR94 holding the lines, with a further battalion and Stosstrupp von Gow in reserve. The outpost line was held by a couple of companies and a mortar detachment, The main line by four companies and four MG detachments, with a further two companies in reserve.
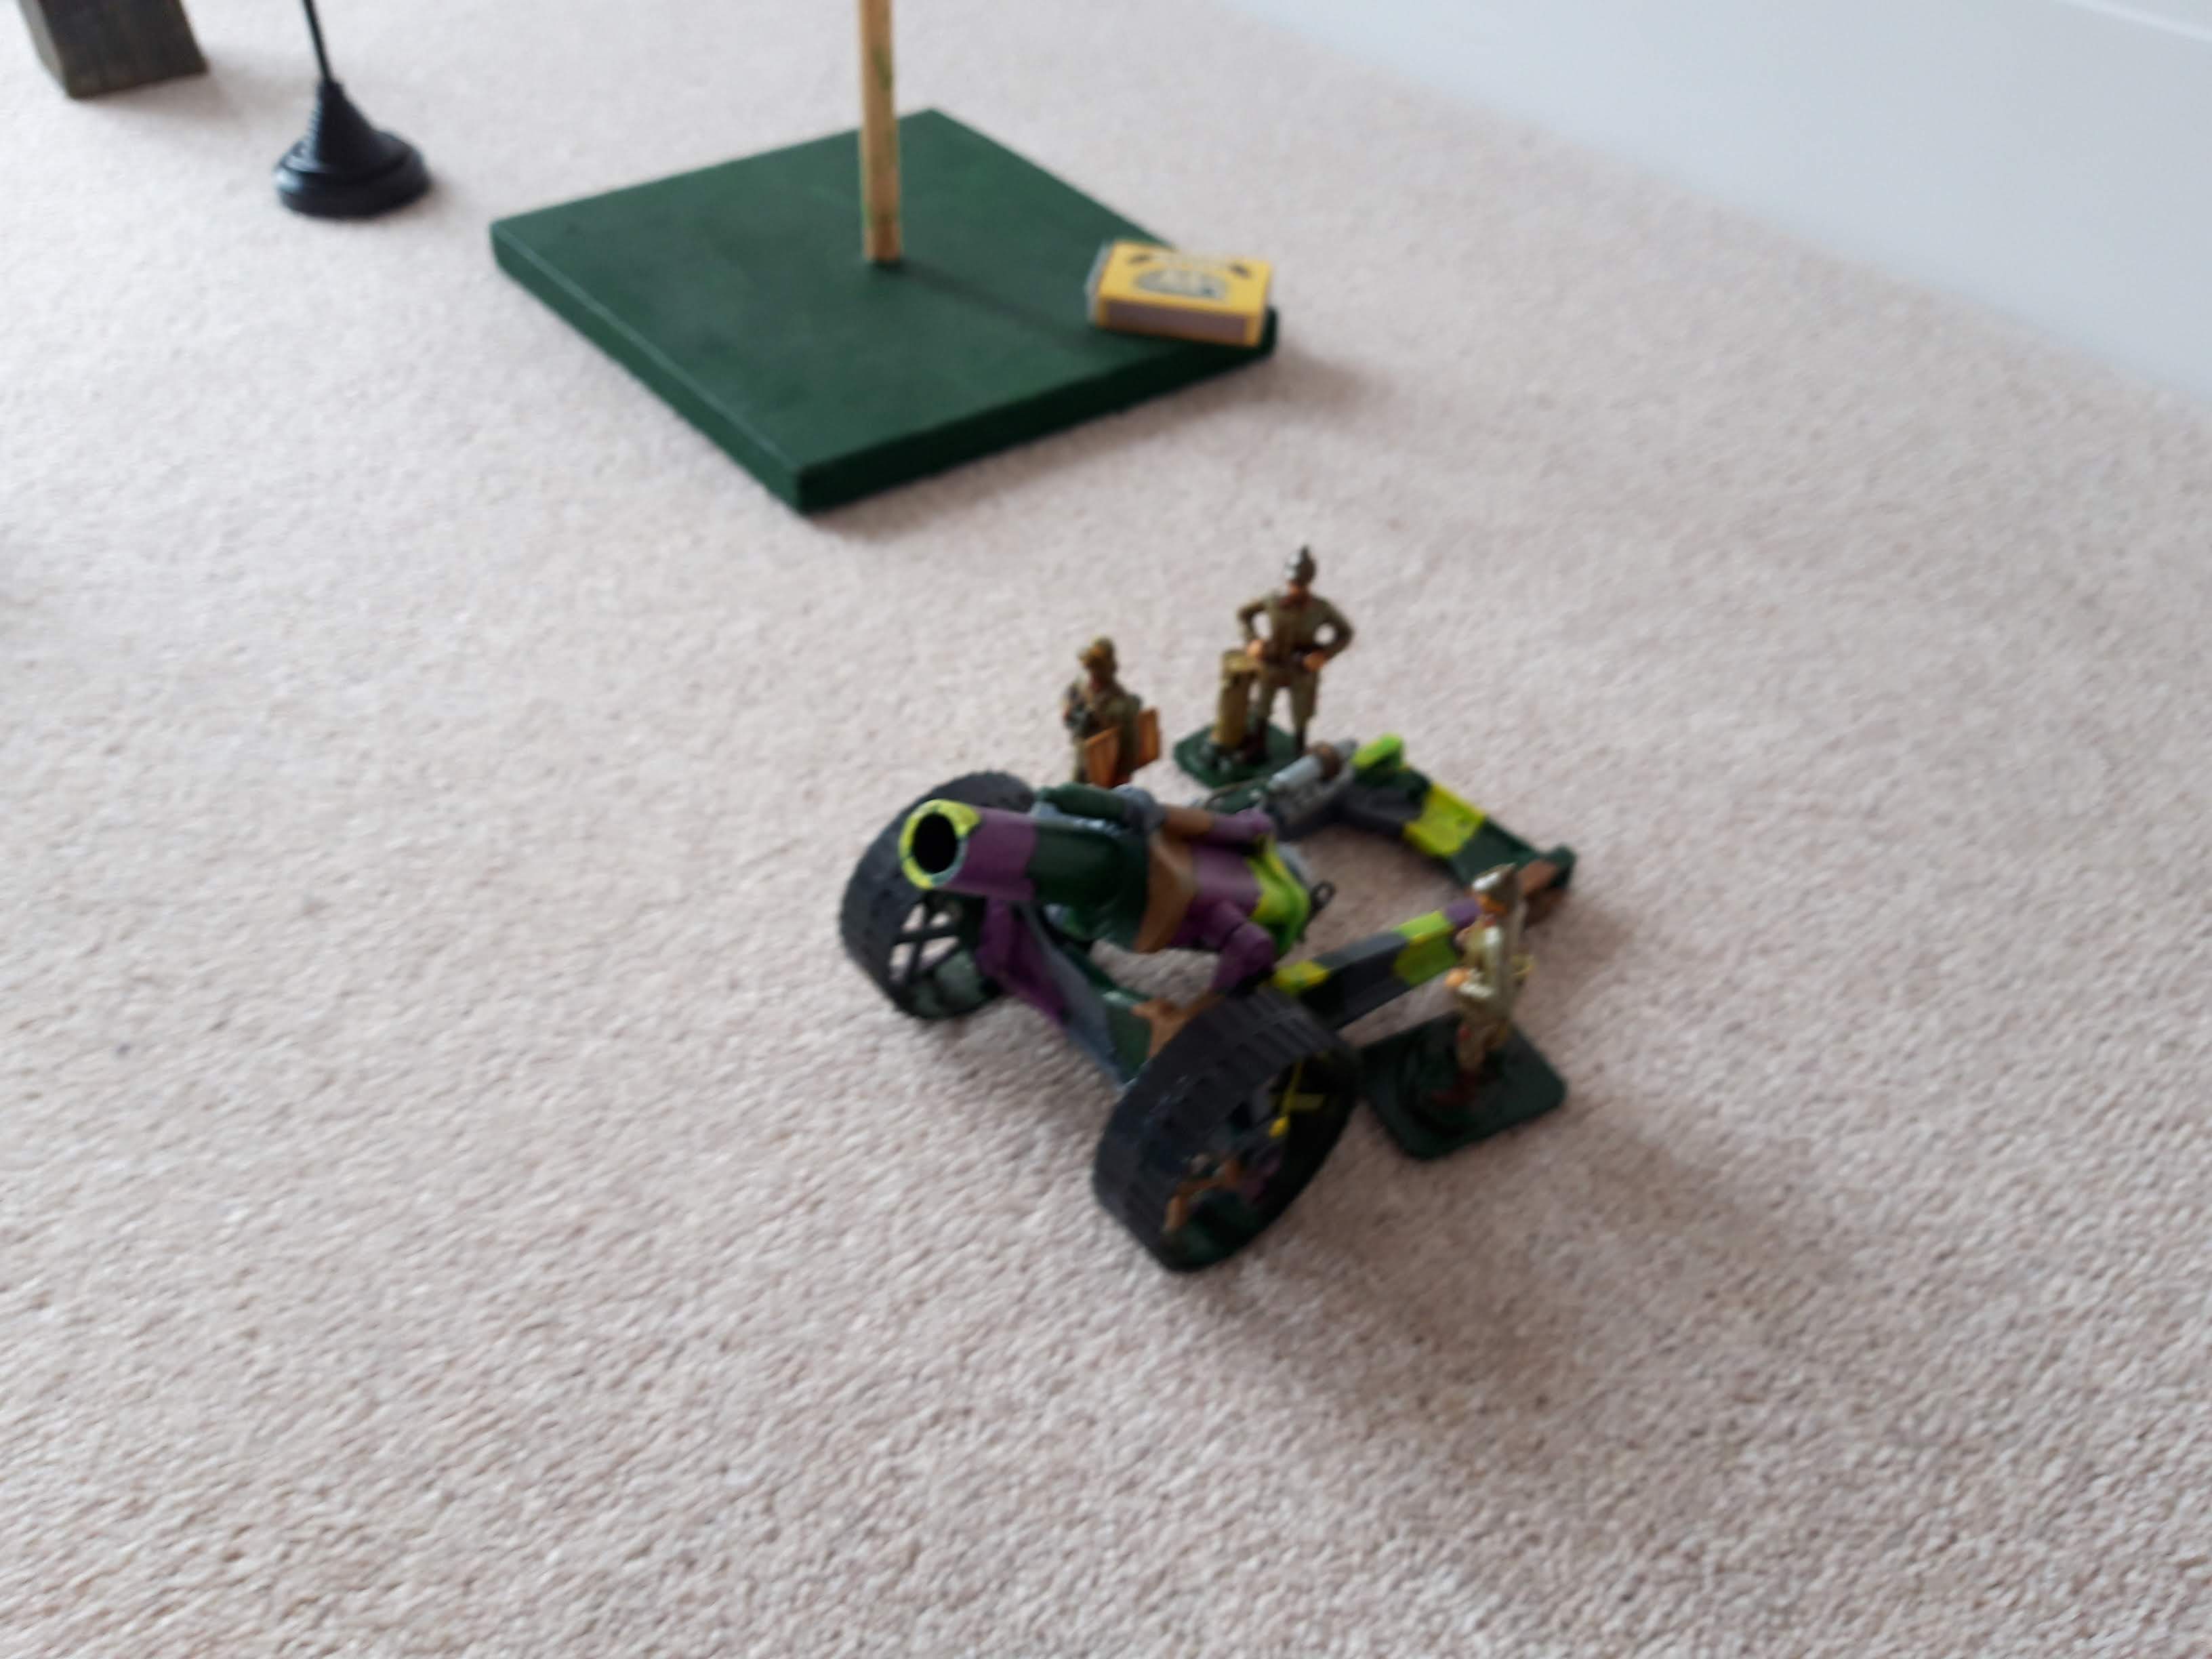
The Germans had this magnificent howitzer battery, as well as two Field Gun batteries in support. The spotter balloon was located next to the heavy howitzers.

Tims home made Minenwerfer in the redoubt in the front line.

The British heavy guns. The model on the left is Britains, but the one on the right is a pre WW2 tin toy.

The Main Effort brigade. All the brigades were deployed two battalions up, with each battalion in two waves. Diego commanded these.

They look rather good at ground level. These figures are all individually named after people we knew from various wargames clubs around the country. This lot are the Sheffield Pals and feature people from Sheffield Wargames Society. Lurking among them is the lanky figure of Sergeant Rapier. Tom commanded this lot.

This brigade had the unenviable task of pinning the German left. They were all from North Yorkshire under Russell.

First off, some air recce. I sent a patrol over the British lines to have a look at their guns and shoot down their balloon!

Very unfairly the British responded in kind. In the ensuing dogfight I managed to down the British fighter but the recce plane sneaked through.

My chaps then had great success in downing the British balloon, but sadly my recce plane succumbed to AA fire on the way back, so no photos.

This would have been the magnificent photo if my guys had survived. The British sent their phots to General Wright, who seemed disinclined to make any changes to the plan.
The air recce was followed by some counter battery fire as both sides fired fairly inaccurately at each others gun positions. I did at least manage drop a shell in one of the British trenches and knocked a few figures over.

Time for a bit more air action to check the effects of the fire. My guys just patrolled the front line, and combined with my local AA guns, saw off all the British aircraft.

The British 'box barrage' then commenced. Essentially this was a 3'x3' square marked with flags for each firing brigade - shells which landed in it were more effective, those outside it, less effective. The British worked their way along hammering my outpost and main line trenches. Fortunately there were a lot of duds as the matchstick firing cannon were a lot more accurate indoors than outside in the wind!

The British then advanced behind a rolling barrage. This went across the whole table and advanced at 18" per turn. German units behind the line hit by shells were neutralised and unable to fire effectively.

This actually worked very well, and large sections of the German trenches were suppressed. The German field guns lobbed shells at the advancing masses, and in an ominous shape of things to come, the unsuppressed Germans opened a withering fire which began to knock holes in the ranks.

It looks like it is all going spiffingly from back here.

The forward edge of the barrage is marked by the flags. Here it has lifted beyond the German outpost line as the British close in. Some gaps are visible in the British ranks, but there are only about seven German figures left in the front line (the trench mortar was knocked out by a direct hit).

Russells brigade is making good progess in the south, but the top battalion is looking a bit ragged.

In the centre, the Sheffield Pals stormed the redoubt but only had half a dozen figures left so went firm. The other two battalions have suffered losses too but have made it to the trench line. In the north the Main Effort has overrun the remains of the German front line, but has already lost one battalion to MG fire as it presses on.

Catastrophe in the south as Russells entire brigade evaporates in the face of the undamaged defences. The German front line holds, with heavy fire support from the main line.

The Allied centre runs out of steam having occupied the German front line.

In the north, the British don't make it to the German main line, their troops are shot down or pinned in place, and the offensive grinds to a halt. The British are left on possession of about half the German outpost line.
As some people had to leave, we didn't run the German counterattack to retake the lost ground (with a fresh battalion and Stosstrupp von Gow), but given the relative force ratios, it is unlikely the Germans could re-take the lot.
We called it a day there, with perhaps the most successful British attack of the three Somme games Tim has run. More troops and more guns certainly helped, but the barrage was extremely effective at suppressing the defences, allowing longer advances than in previous games.
As ever, it was loads of fun playing with the large scale figures, and adding the extra elements of recce and bombardment transformed what could otherwise have been a rather dull dicefest trench assault, which is the key to these Western Front games I think. The very simple rules with their physical mechanisms (matchstick cannon, nerf guns etc) produced results very much in line with those whcih migh tbe expected from more 'realistic' sets. Bravo.

Looks like a great game. I am not suprised to hear that Tim has a "wargaming house"! I am really tempted by WW1 in 54mm and think that is probably the best way to play it.
ReplyDeleteI think the guns and tanks can take up a prohibitive amount of space! Even my 20mm stuff seems to take up a lot of room. If starting from scratch I'd go 15mm all the way, rather than the three different scales I use. Ahem. I sold Tim all my 54mm stuff.
DeleteI must admit that 20mm plastics have been considered as you can get nice 20mm trenches and it would fit on a table top. I'd mis firing matchsticks at them though...
DeleteIt was a great game. My WW1 toys are Kallistra 12mm.
ReplyDeleteCheers Simon
This was a fantastic game. A really enjoyable day.
ReplyDeleteCheers,
Pete.